

Cute smiling ghost stand
 Instruction


Information
      I was looking for designs for Halloween, what I can make as a desk stand, and came up with this cute ghost. It is an AI-generated image by me, the design is scored with M1, and cut. The stand has 2 parts to make sure it will keep the ghost - you can use only one, if you want.
Design is for 3mm (about 1/8 inches) plywood sheet.
Instruction
Step1: Score and Cut the design

Use my file to score and cut. You can leave out the simple base if you do not need it - I do have small kids, so I wanted to make it more secure :)
In case you want to make the design smaller or bigger, make sure that you adjust the part, then you put the stand together (currently it is set for 3mm wood)
Step2: Paint


I left the base in it's original color, and painted only the ghost itself. You can play with the flower colors, or add extra details to your ghost - it's up to you how to design it.
I used markers only (made a black contour with a fine point, then used bigger markers for the rest. Next time I might use real paint for the white part, it was a bit too much to color with markers… but at least I did not make a mistake with my lines :)
Step3: Glue the base parts (optional)


If you used the 2 based together, you can glue them together. The top one will be one with the slice - in case you want to paint it.
Step4: Varnish


Once it is completely dried, I am using glossy varnish to add some extra texture to my creations. Do not forget to add varnish to the base, both sides, and aside as well to make it completely water-resistant.
Step5: Finish :)

It has to be dried, then you can put it together. You can use glue again, if you want; but if you want to make more designs, and change it, you can just put them together, and later re-use the base part. :)
I hope you like it - share your version, if you made it. :)
Remixes
License



You may also like

Ghost Witch With Jack O Lantern


Ghost Shaped Wallet Size Picture Frame with Bow


Ghost wearing a beanie making a peace sign


Wooden Ghost Figurine for Halloween Tabletop Display


Happy Halloween Ghost Tabletop Sign with Witch Hat and Pumpkin Bucket


Small Phantom candle holder


Wooden Ghost Wearing a Witch Hat Holding a Jack-o'-lantern Trick-or-Treat Bucket

Cute Wooden Ghost Keychain with Bow Tie


Wooden Ghost Halloween Shape


Ghost Wearing a Witch Hat Holding a Broom Halloween Wall Hanging

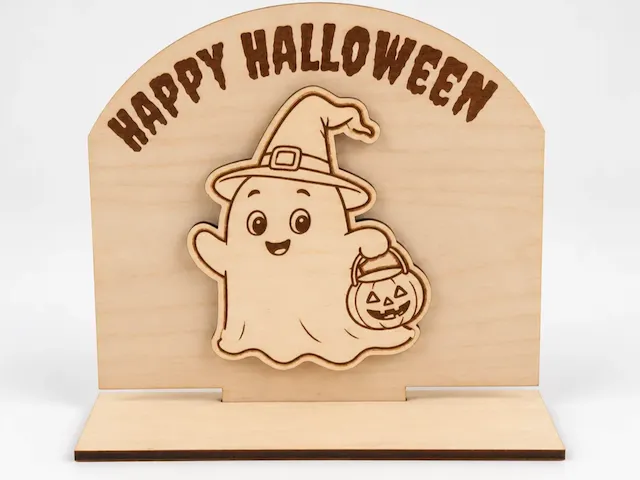
Happy Halloween Ghost Tabletop Sign

Lighted ghost and bat tabletop halloween figure


Ghost Halloween Mug Hugger

Ghost with Pumpkin and Coffee Cup Boo-tiful Halloween Wall Sign


Halloween Ghosts Sign With Flowers


Cute ghost holding heart-shaped balloon wooden decoration


Laser Cut Halloween Pumpkin Stack Decoration with Spider Web


Boo Crew – 10 Cute Ghost Wooden Stands with Round Base
