
Report
![[Laser cut and engrave] Snowy Owl Flying Illustration Ceramic Tile](https://storage-public.atomm.com/xtool/community/attachment/xtool-community/0fc40fe8-75a8-47e4-85c2-40ee4e44c5db.jpeg)
![[Laser cut and engrave] Snowy Owl Flying Illustration Ceramic Tile](data:image/png;base64,iVBORw0KGgoAAAANSUhEUgAAAAoAAAAKCAYAAACNMs+9AAAAAXNSR0IArs4c6QAAABdJREFUKFNjZCASMBKpjmFUId6QIjp4AAppAAuXjCs4AAAAAElFTkSuQmCC)
![[Laser cut and engrave] Snowy Owl Flying Illustration Ceramic Tile](https://storage-public.atomm.com/xtool/community/attachment/xtool-community/811630bc-7934-4377-9d62-58ea1e776b9f.jpeg)
![[Laser cut and engrave] Snowy Owl Flying Illustration Ceramic Tile](https://storage-public.atomm.com/xtool/community/attachment/xtool-community/003b502d-5bc8-44ce-b6e4-72716f9199ed.jpeg)
Snowy Owl Ceramic Tile
 Instruction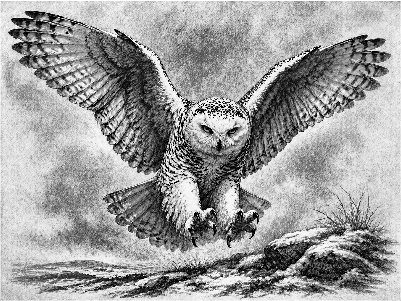
Owl Tile
.xs
Application scenario
Laser processing (30min)
Machine & module

xTool F2 Ultra UV
5WMaterial used

White Glazed Ceramic Board

6
251
Instruction
1
Step1: Easy Directions
Preview
Preview
Preview
3 More images
- Prepare the tile - clean with rubbing alcohol and allow to dry
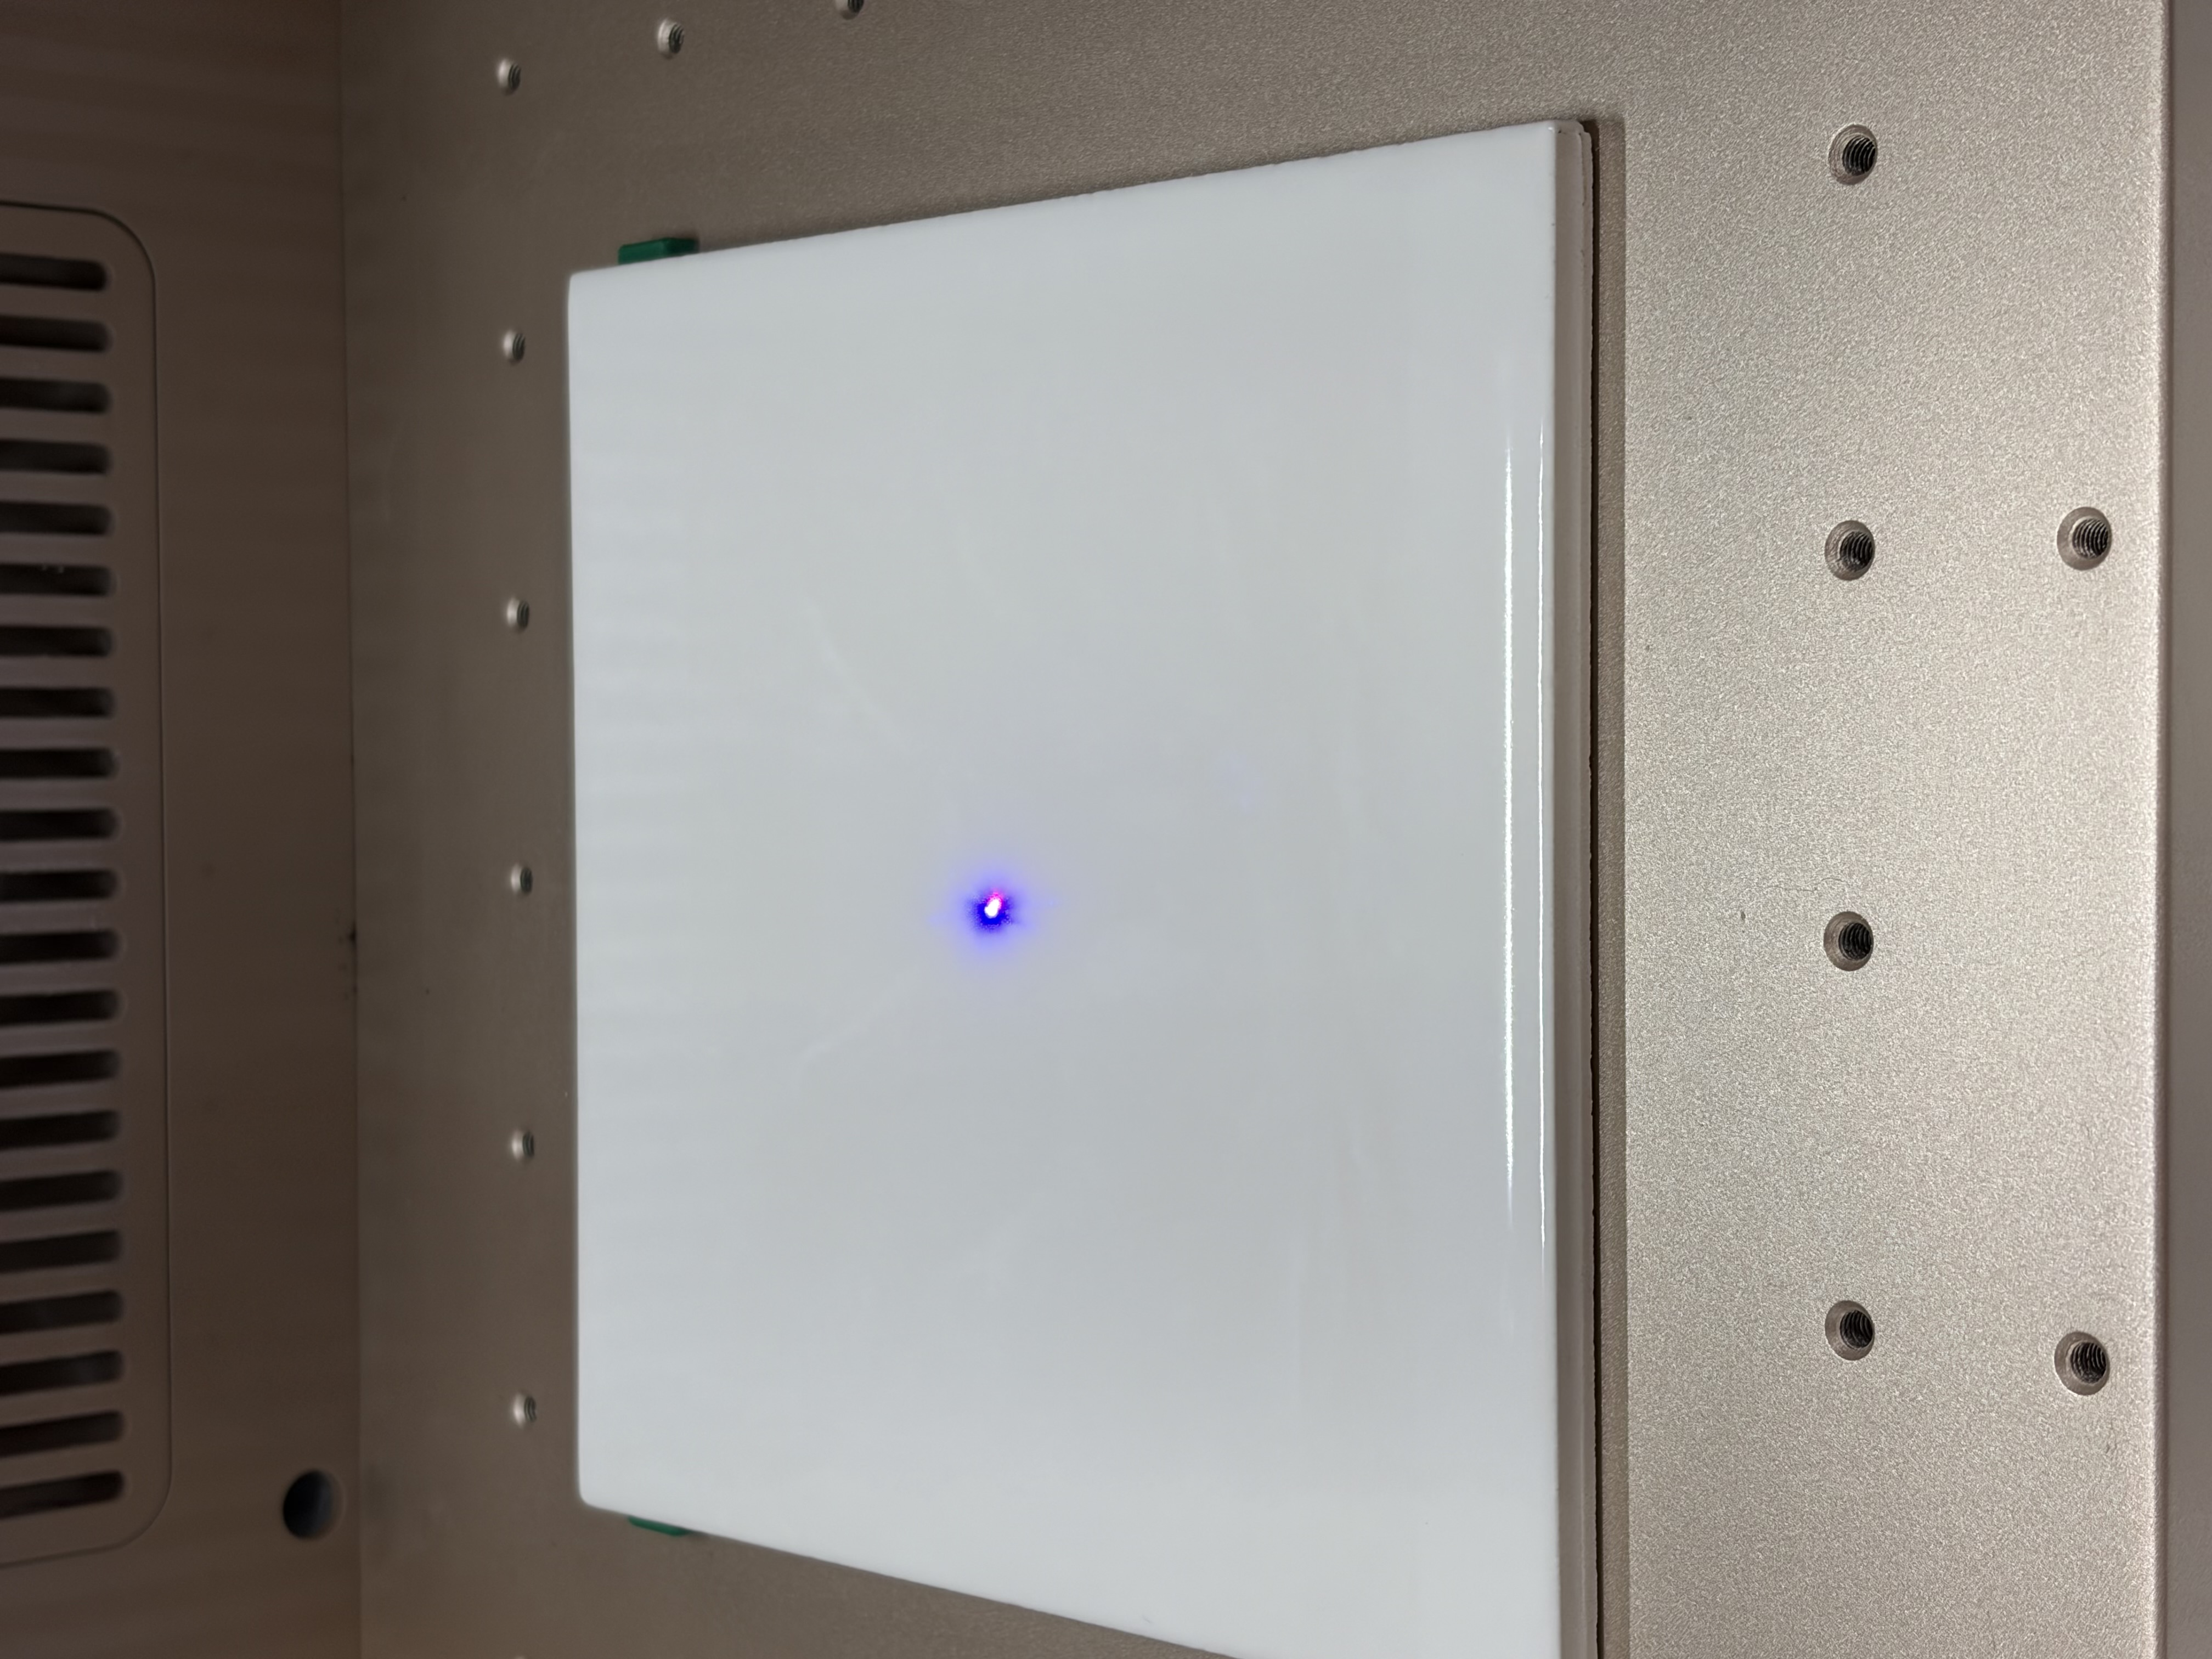
- Load the file in xTool Studio - set focus and frame it out
- Use the settings in the file - engrave
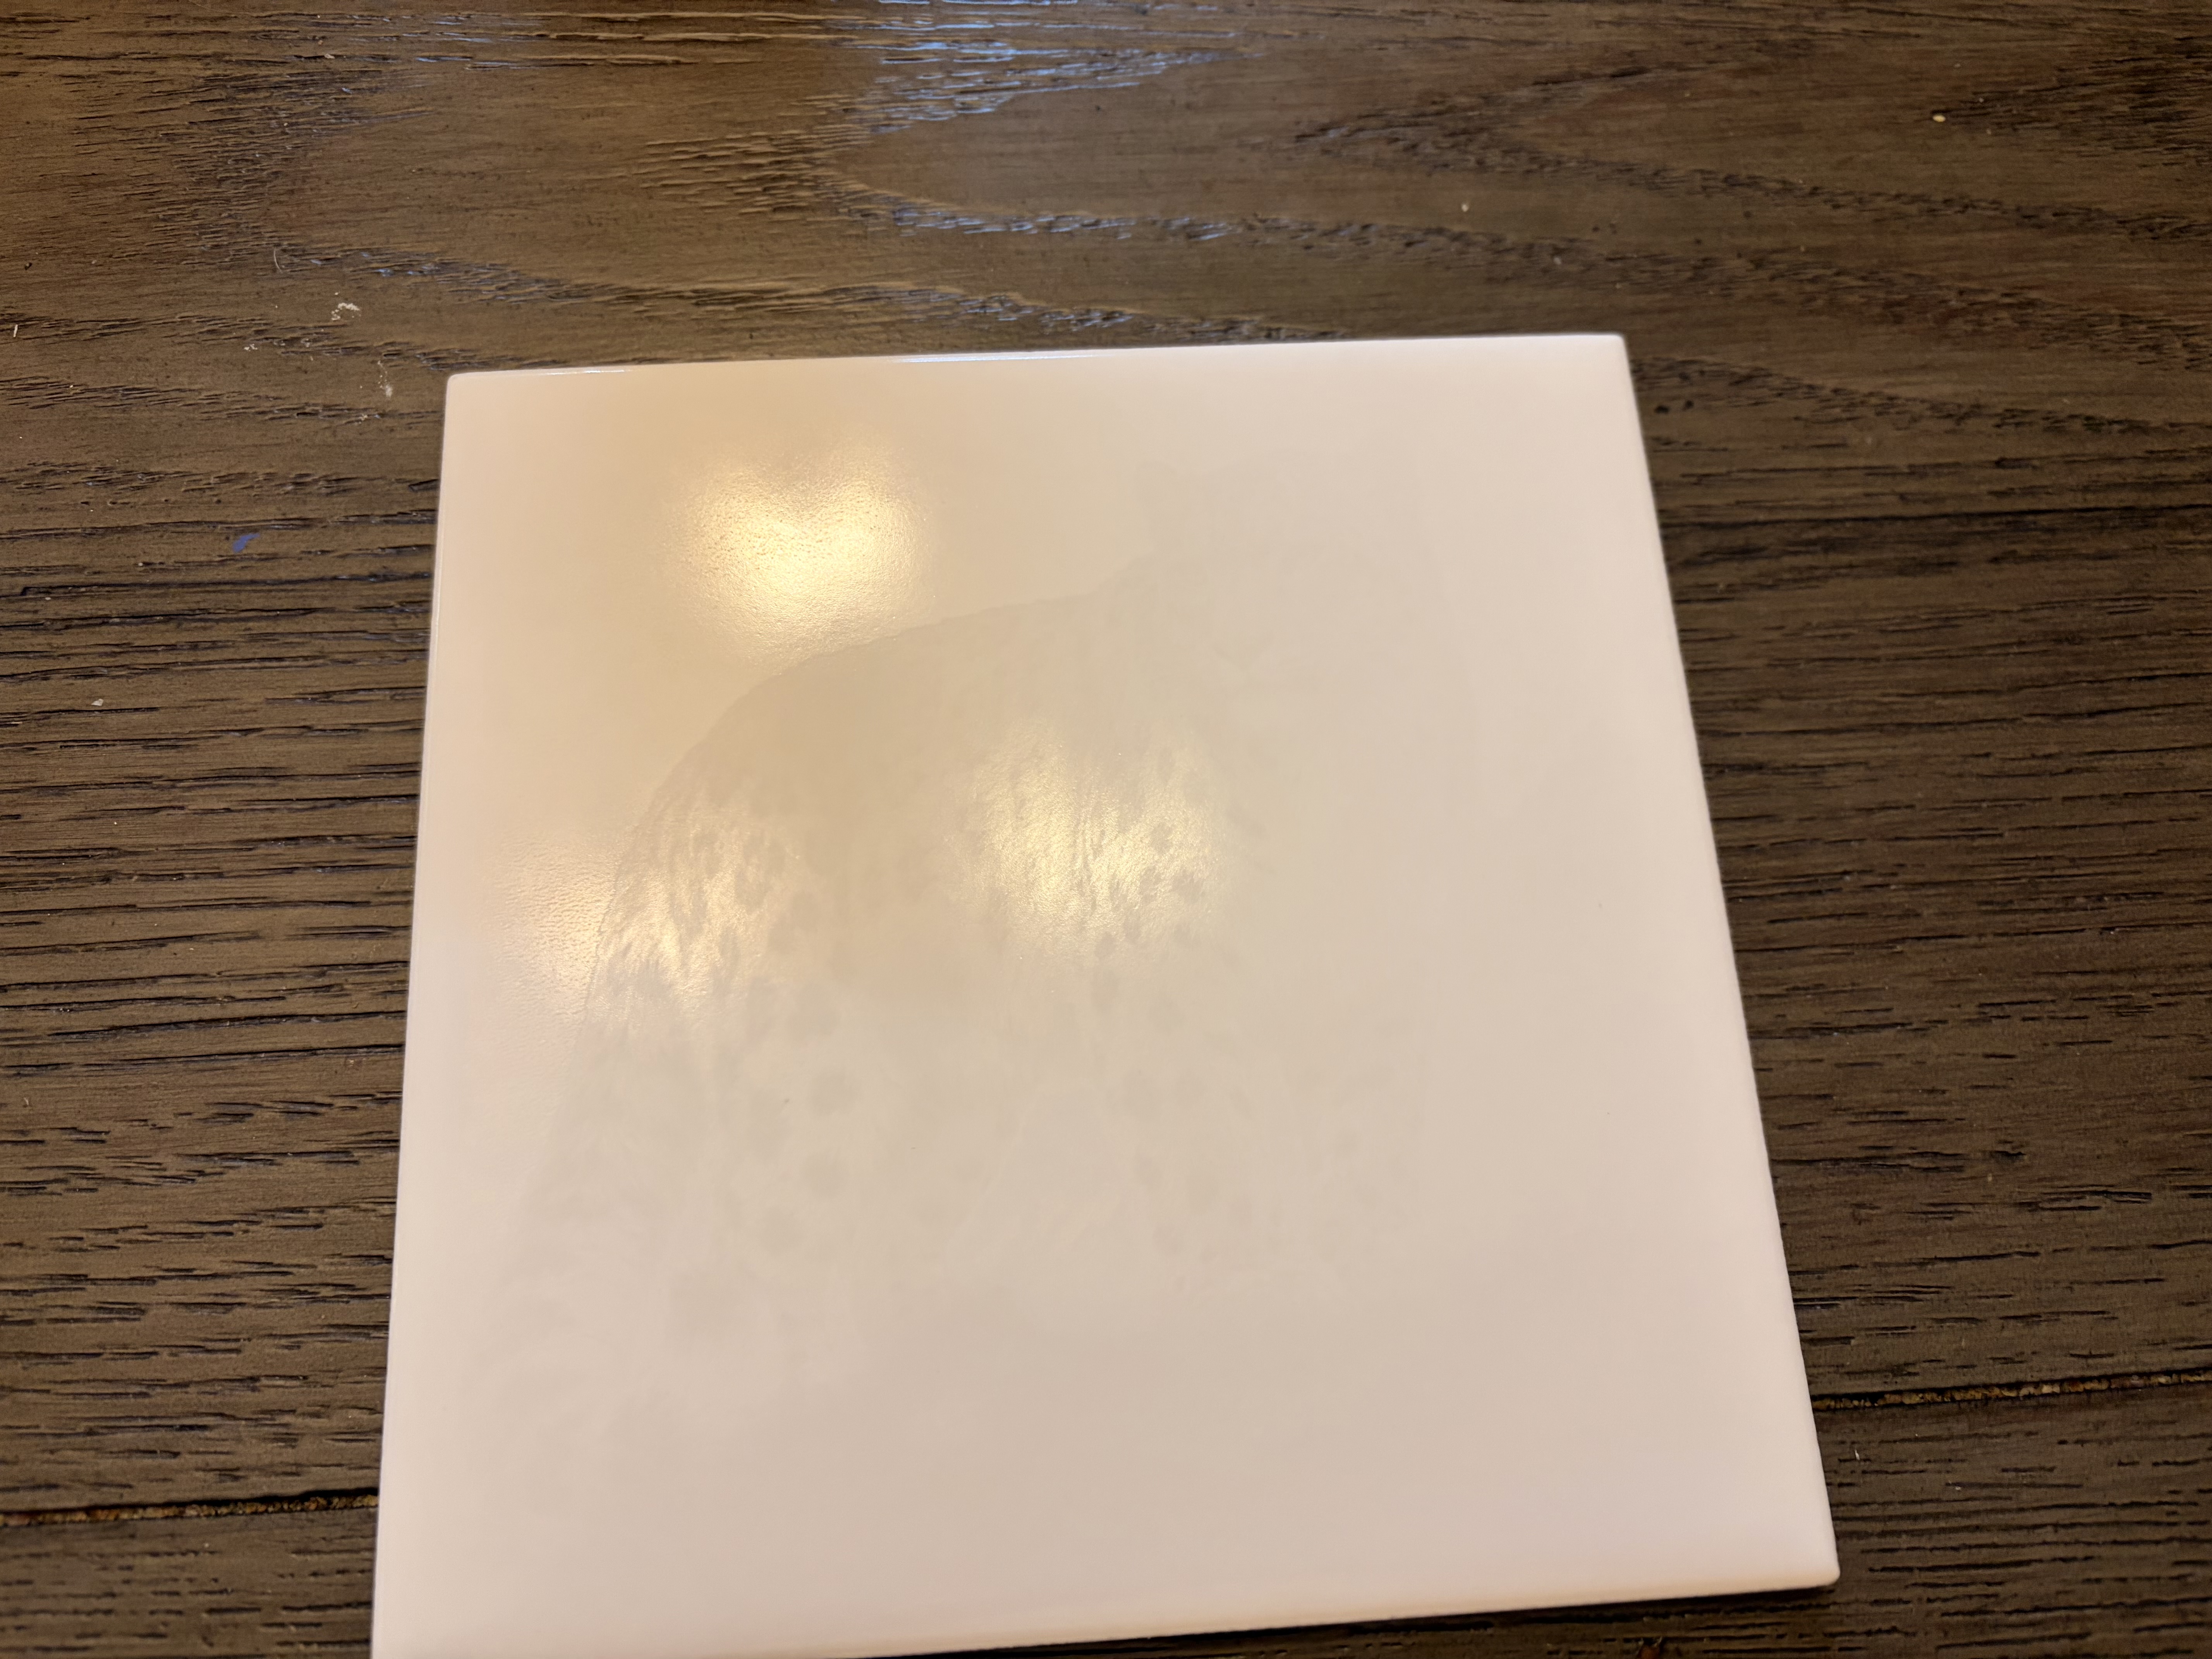
- When the project is engraved, remove it. You will see a faint rendering of the image on the tile.
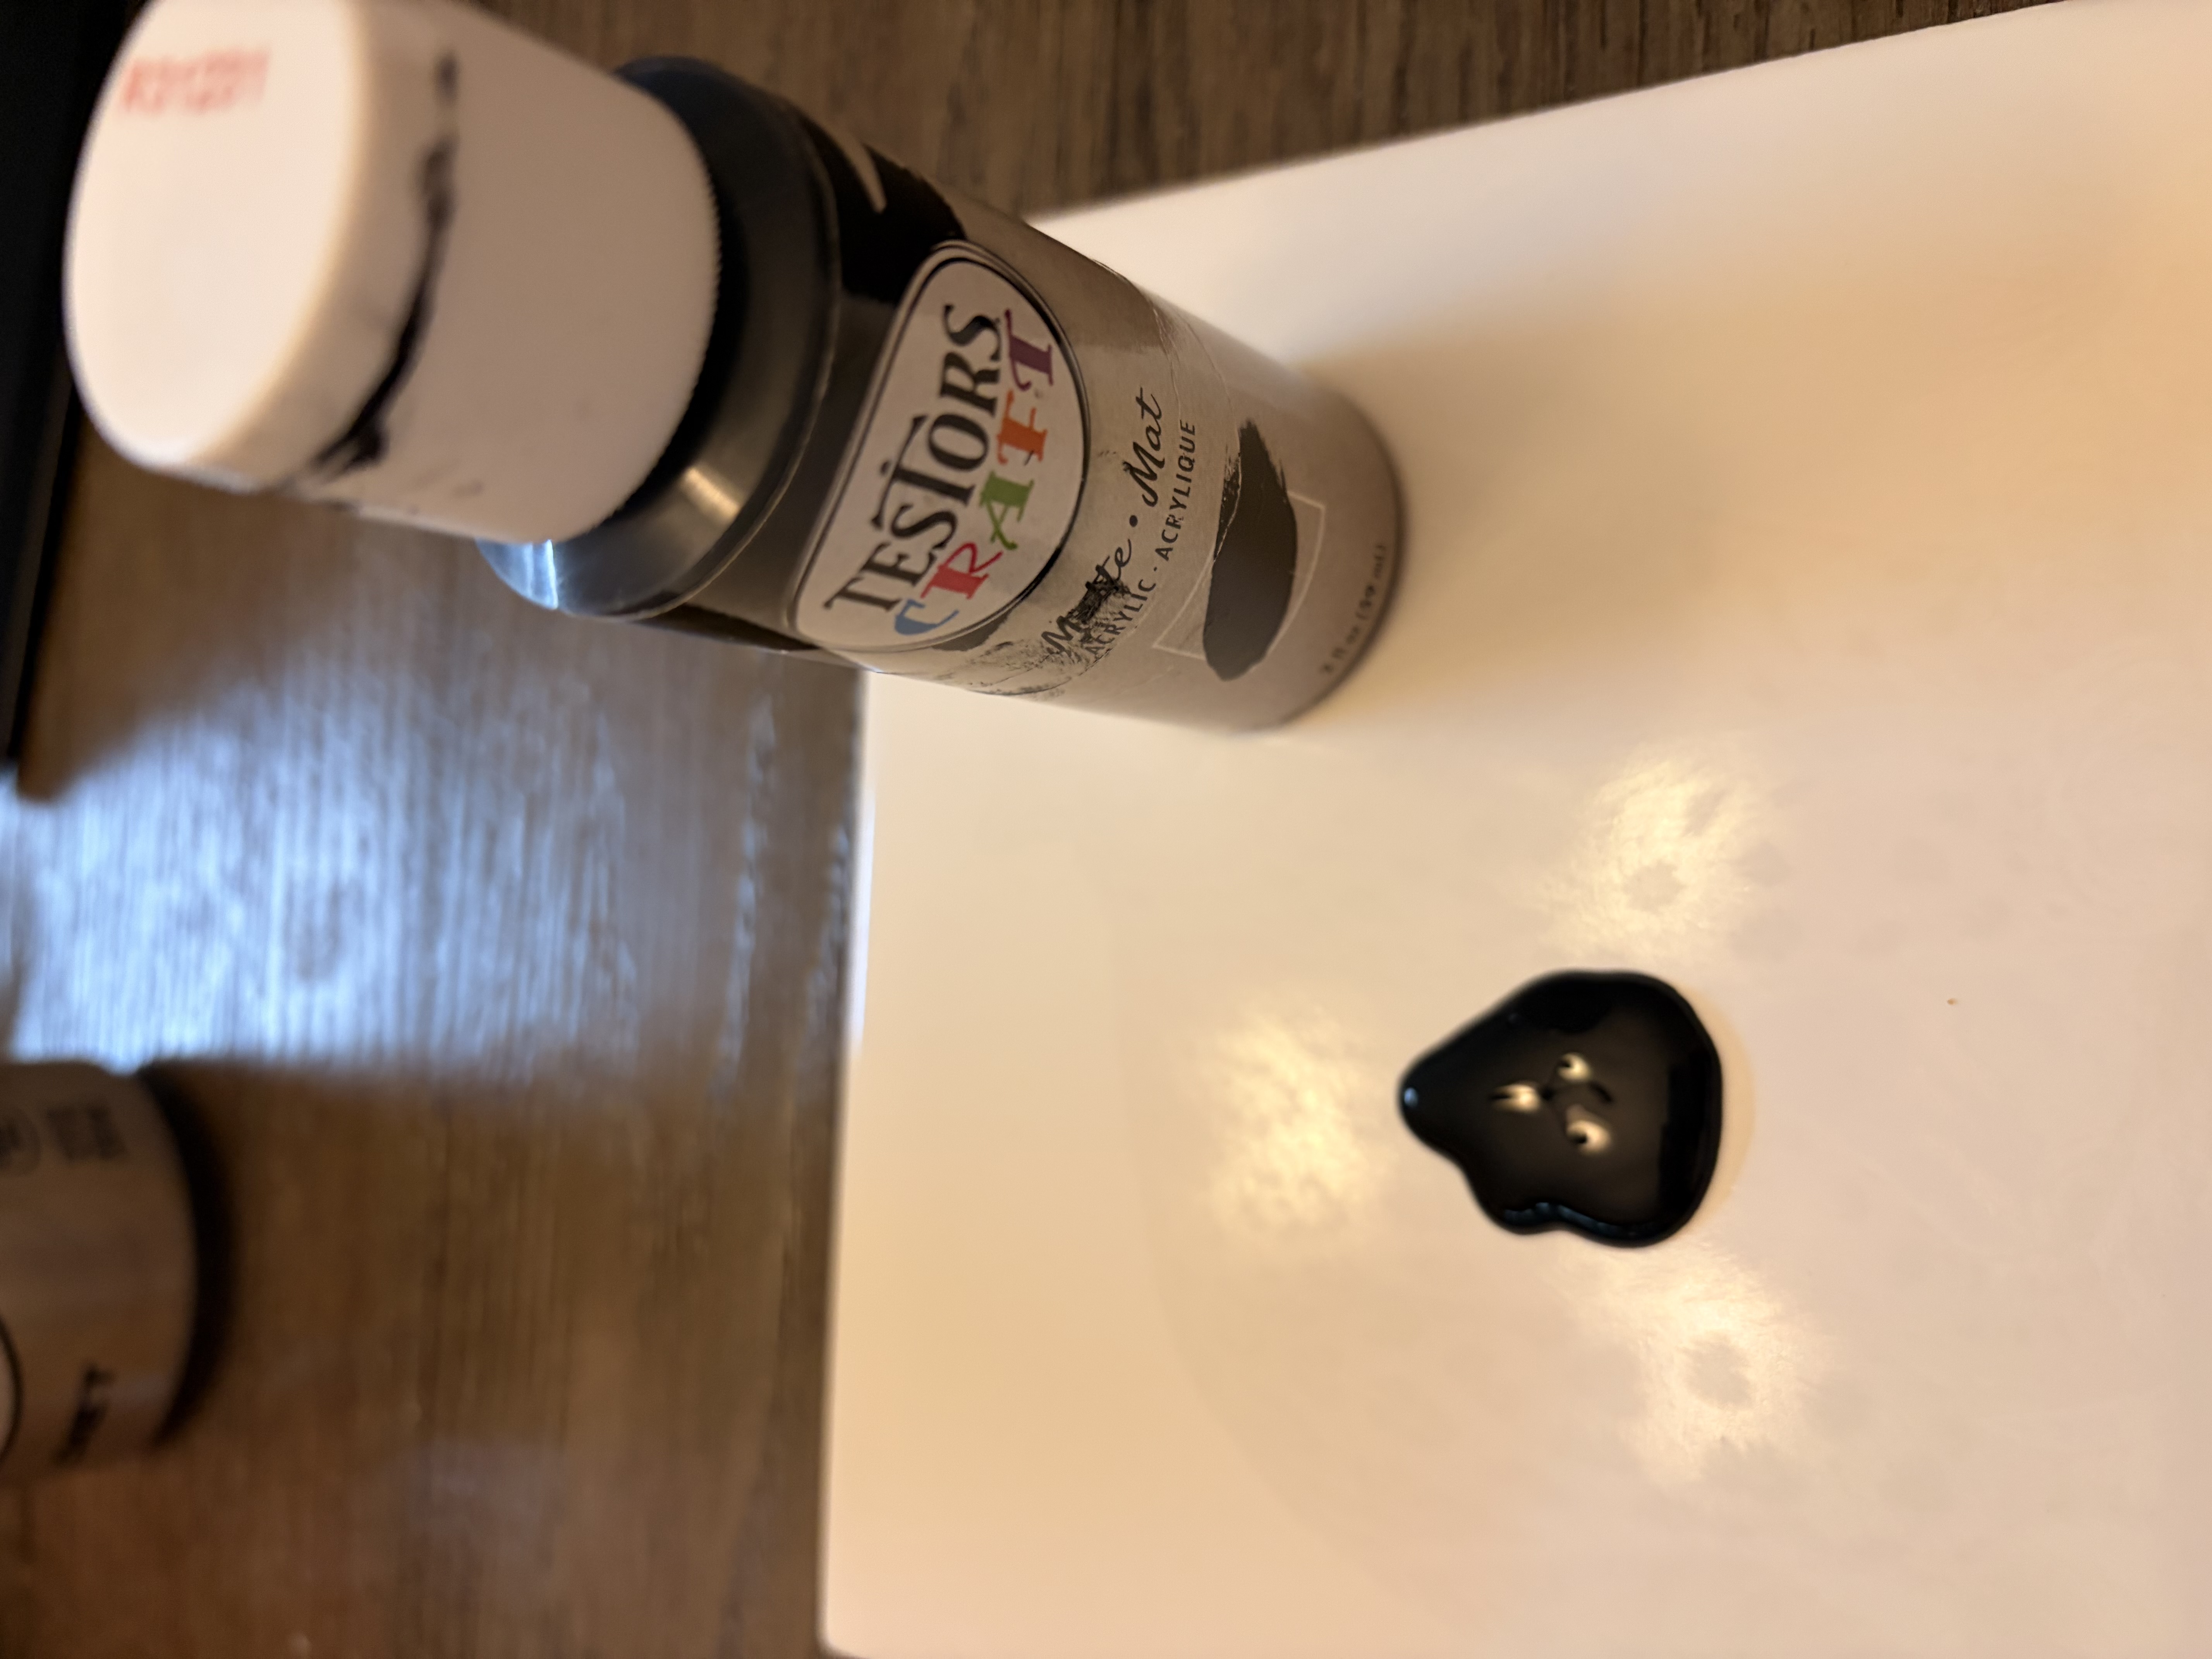
- Use a black acrylic paint to color the owl.
- Place a small amount of paint at the center of the tile.
- Rub the paint into the engraving on the tile. A finger works great!
- Let it sit for a few minutes, then use a squeegee to remove the excees paint.
- Once dry, use a lightly damp paper towel to remove left over paint.
- Polish and enjoy!
Comments
Remixes
License

This work contains AI-generated content.


You may also like
Two Owls Sitting in a Tree

2
18

$2.50
$2.50
Credits250
Laser Cut Winter Owl Wall Art with Snowy Forest Scene Shadow Box

2

Detailed pencil drawing of owl perched on tree and barn

15
89

Barn Owl Framed Wall Art with Forest Background

2
5

Square Ceramic Tile Featuring Detailed Lemur Illustration
0
2

Ceramic Tile Featuring Mother Elephant and Calf Illustration

0
9

Detailed Black and White Barn Owl Illustration Art Print

3
10

white bathroom tile engraved owls

2
27

Ceramic Tile Featuring a Sparrow Bird Reflecting in Water

7
104

Dinosaur on ceramic tile

52
206
painted ceramic tile
0
1

$4.97
$4.97
Credits497
Mysterious Owl

16

owl cutout
0
32

Sailor Moon Ceramic Tile

0
2

Ceramic Tile Featuring An Emu Draped In The Australian Flag
0
1

Tiger on painted ceramic tile
1
6

Engraving a winter scene on ceramic tile

2
9

Laser Cut Wooden Wall Art Nature Scene with Owl and Cabin

13
87