
![[Laser cut and engrave] Dollhouse Bed](https://image-res.atomm.com/resource/xtool/community/attachment/xtool-community/eeb56e75-70f5-4c2f-915c-6784213a648e?x-oss-process=image/resize,w_1200,h_900,limit_0/interlace,1/format,webp/auto-orient,1)
![[Laser cut and engrave] Dollhouse Bed](data:image/png;base64,iVBORw0KGgoAAAANSUhEUgAAAAoAAAAKCAYAAACNMs+9AAAAAXNSR0IArs4c6QAAABdJREFUKFNjZCASMBKpjmFUId6QIjp4AAppAAuXjCs4AAAAAElFTkSuQmCC)
![[Laser cut and engrave] Dollhouse Bed](https://image-res.atomm.com/resource/xtool/community/attachment/xtool-community/eeb56e75-70f5-4c2f-915c-6784213a648e?x-oss-process=image/resize,w_200,h_150,limit_0/interlace,1/format,webp/auto-orient,1)
![[Laser cut and engrave] Dollhouse Bed](https://image-res.atomm.com/resource/xtool/community/attachment/xtool-community/0cd552b8-bb1b-4610-ab7c-8e4b9966b6f9/20240703_095021.jpg?x-oss-process=image/resize,w_200,h_150,limit_0/interlace,1/format,webp/auto-orient,1)
![[Laser cut and engrave] Dollhouse Bed](https://image-res.atomm.com/resource/xtool/community/attachment/xtool-community/ff97d64b-a658-492a-8bbe-039396f442db/20240703_095102.jpg?x-oss-process=image/resize,w_200,h_150,limit_0/interlace,1/format,webp/auto-orient,1)
![[Laser cut and engrave] Dollhouse Bed](https://image-res.atomm.com/resource/xtool/community/attachment/xtool-community/9e13036f-8bbb-466d-8618-b28ffaa7859d/20240703_095002.jpg?x-oss-process=image/resize,w_200,h_150,limit_0/interlace,1/format,webp/auto-orient,1)
![[Laser cut and engrave] Dollhouse Bed](https://image-res.atomm.com/resource/xtool/community/attachment/xtool-community/a27d459c-878c-4c4f-961a-059587b53b40/20240703_095050.jpg?x-oss-process=image/resize,w_200,h_150,limit_0/interlace,1/format,webp/auto-orient,1)
Dollhouse Bed
 Instruction


Instruction
Step1: Adjustments and Cut Out

The “3” mm wood that I was using is actually 2.7mm thick. If yours has a different thickness then you will want to use the Vector Edit tools to make the tab openings in the headboard and footboard thinner or thicker to match your material.
If you want to change the design in the headboard now would be the time to do that, too.
Let's cut these out with 100 power 35 speed.
Step2: Sand and Paint or Stain


Test fit your parts to make sure they will fit together well.
Sand any obvious burn spots to make them look nice.
Use paint or stain on the parts while they are separated so you're sure to get into all the parts. I used a wipe on wood stain.
Step3: Assembly


Glue the headboard onto the bed. I used super glue but any wood friendly glue is good.
Glue the footboard onto the bed. It should just fit right into the slots since we test fit earlier.
Flip the bed over and glue the bed rails on to the bottom. I inset them a little bit for a more interesting look.
Arrange in your dollhouse!
Remixes



You may also like

Laser Cut Dollhouse Kit Mini Furniture Free Vector


Dollhouse


Dollhouse

Miniature rocking cradle dollhouse


'/%3e%3cdefs%3e%3clinearGradient%20id='paint0_linear_1433_15726'%20x1='12'%20y1='5.25'%20x2='12'%20y2='18.75'%20gradientUnits='userSpaceOnUse'%3e%3cstop%20stop-color='%23FFC654'/%3e%3cstop%20offset='1'%20stop-color='%23FF8D12'/%3e%3c/linearGradient%3e%3c/defs%3e%3c/svg%3e)
Rocking baby bed with mobile

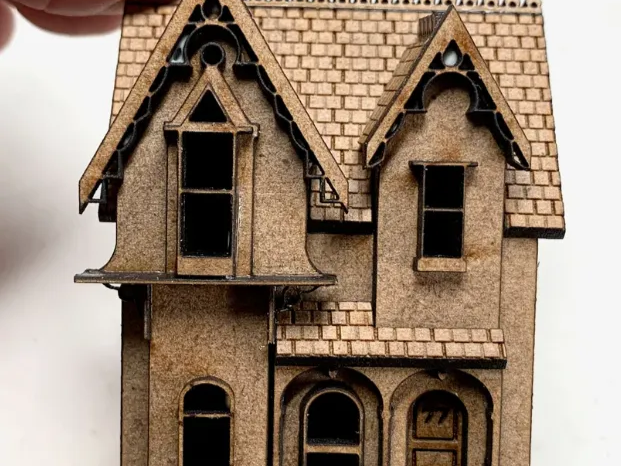
Mini dollhouse


Miniature Dollhouse Fireplace with Decorative Mantel and Ruler
.JPG?x-oss-process=image/resize,m_fill,w_240,h_240,limit_0/interlace,1/format,webp/auto-orient,1)

Laser Cut Wooden Dollhouse Furniture Set DXF File


Dollhouse Dining Chairs

Dollhouse Miniature Wooden Wrought Iron Bed


Technique for making usable hidden door/window hinges in laser cut wood


Laser Cut Dollhouse SVG File with Furniture – 3mm Wood Compatible


Miniature Rocking Chair


Doll House Mailbox


Gothic Buildings Blocks

Laser Cut Red Wooden Miniature Fox Bed with Slatted Base


Tiny Wooden Horse


Laser Cut Wooden Tank Toy Free Vector
