![[Laser cut and engrave] Laser Cut Strawberry Fridge Magnet Photo Frame SVG | Mother’s Day Gift | Love You Berry Much](https://storage-us.atomm.com/resource/xtool/community/attachment/xtool-community/fe54b894-759c-4ec8-92fd-7655510a092d.png?x-oss-process=image/resize,w_1200,h_900,limit_0/interlace,1/format,webp/auto-orient,1)
![[Laser cut and engrave] Laser Cut Strawberry Fridge Magnet Photo Frame SVG | Mother’s Day Gift | Love You Berry Much](data:image/png;base64,iVBORw0KGgoAAAANSUhEUgAAAAoAAAAKCAYAAACNMs+9AAAAAXNSR0IArs4c6QAAABdJREFUKFNjZCASMBKpjmFUId6QIjp4AAppAAuXjCs4AAAAAElFTkSuQmCC)
![[Laser cut and engrave] Laser Cut Strawberry Fridge Magnet Photo Frame SVG | Mother’s Day Gift | Love You Berry Much](https://storage-us.atomm.com/resource/xtool/community/attachment/xtool-community/fe54b894-759c-4ec8-92fd-7655510a092d.png?x-oss-process=image/resize,w_200,h_150,limit_0/interlace,1/format,webp/auto-orient,1)
![[Laser cut and engrave] Laser Cut Strawberry Fridge Magnet Photo Frame SVG | Mother’s Day Gift | Love You Berry Much](https://storage-us.atomm.com/resource/xtool/community/attachment/xtool-community/6f5d1949-0fb4-4c74-baa2-e7eeec5ef191.png?x-oss-process=image/resize,w_200,h_150,limit_0/interlace,1/format,webp/auto-orient,1)
Laser Cut Strawberry Fridge Magnet Photo Frame SVG | Mother’s Day Gift | Love You Berry Much
 Instruction
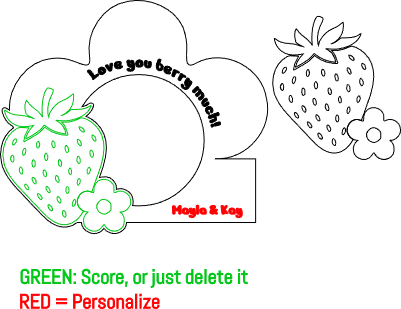


Information
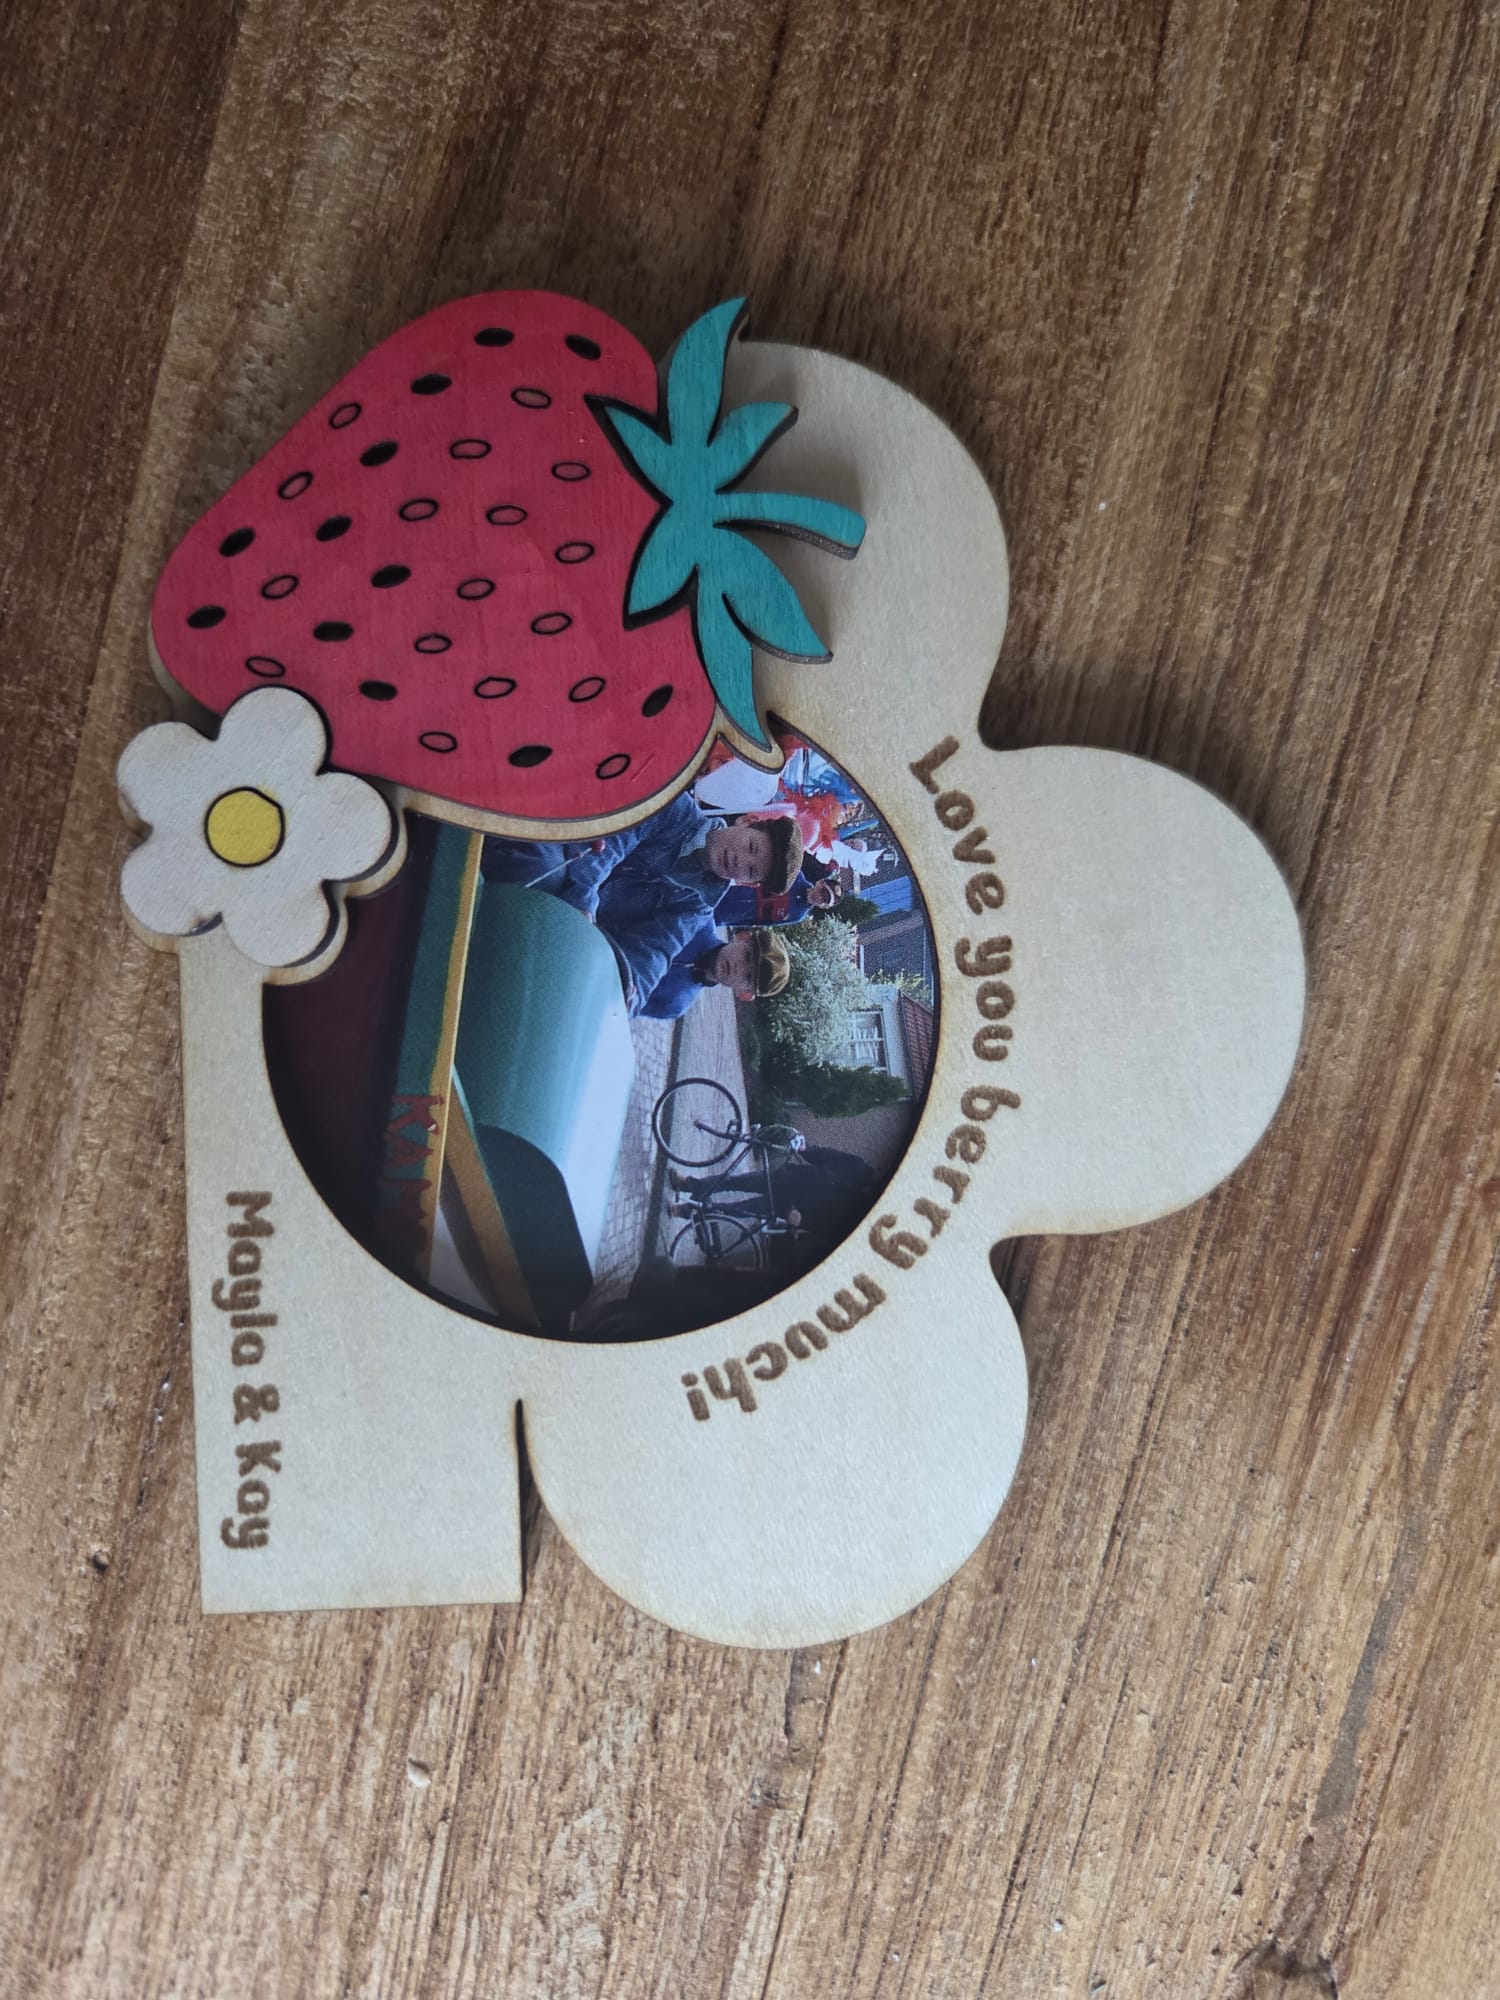
      Create a sweet and meaningful Mother’s Day keepsake with this strawberry photo frame magnet 🍓

This playful design combines a cute pun with a personal photo, making it a perfect handmade gift for mom.

✔ Photo frame and magnet in one
✔ Layered design with 3D elements
✔ Space for a photo (approx. 6 x  6 cm)
✔ Personalized with names

Paint, assemble, and add your favorite photo to create a unique and heartfelt piece 🌼

A lovely project to make for Mother’s Day or together with kids.

If you like this design, please leave a like, ❤️ thank you!
Instruction
Step1: Social
Social: https://nl.pinterest.com/pin/1149262398680434686
Reddit:
https://www.reddit.com/r/xToolOfficial/comments/1ssstld/laser_cut_strawberry_fridge_magnet_photo_frame/
Step2: Cut the file
Once u have downloaded this file;
- Turn on your laser machine
- Connect computer with the laser machine
- Put your wood on the honeycomb of the laser machine
- Open the file in Xtool Studio / Xtool creative space or any other you use
- Select designs and personalize text
- Modify parameters to cut, text is engrave
- Set material settings (3mm basswood or any other you are using)
- Select process
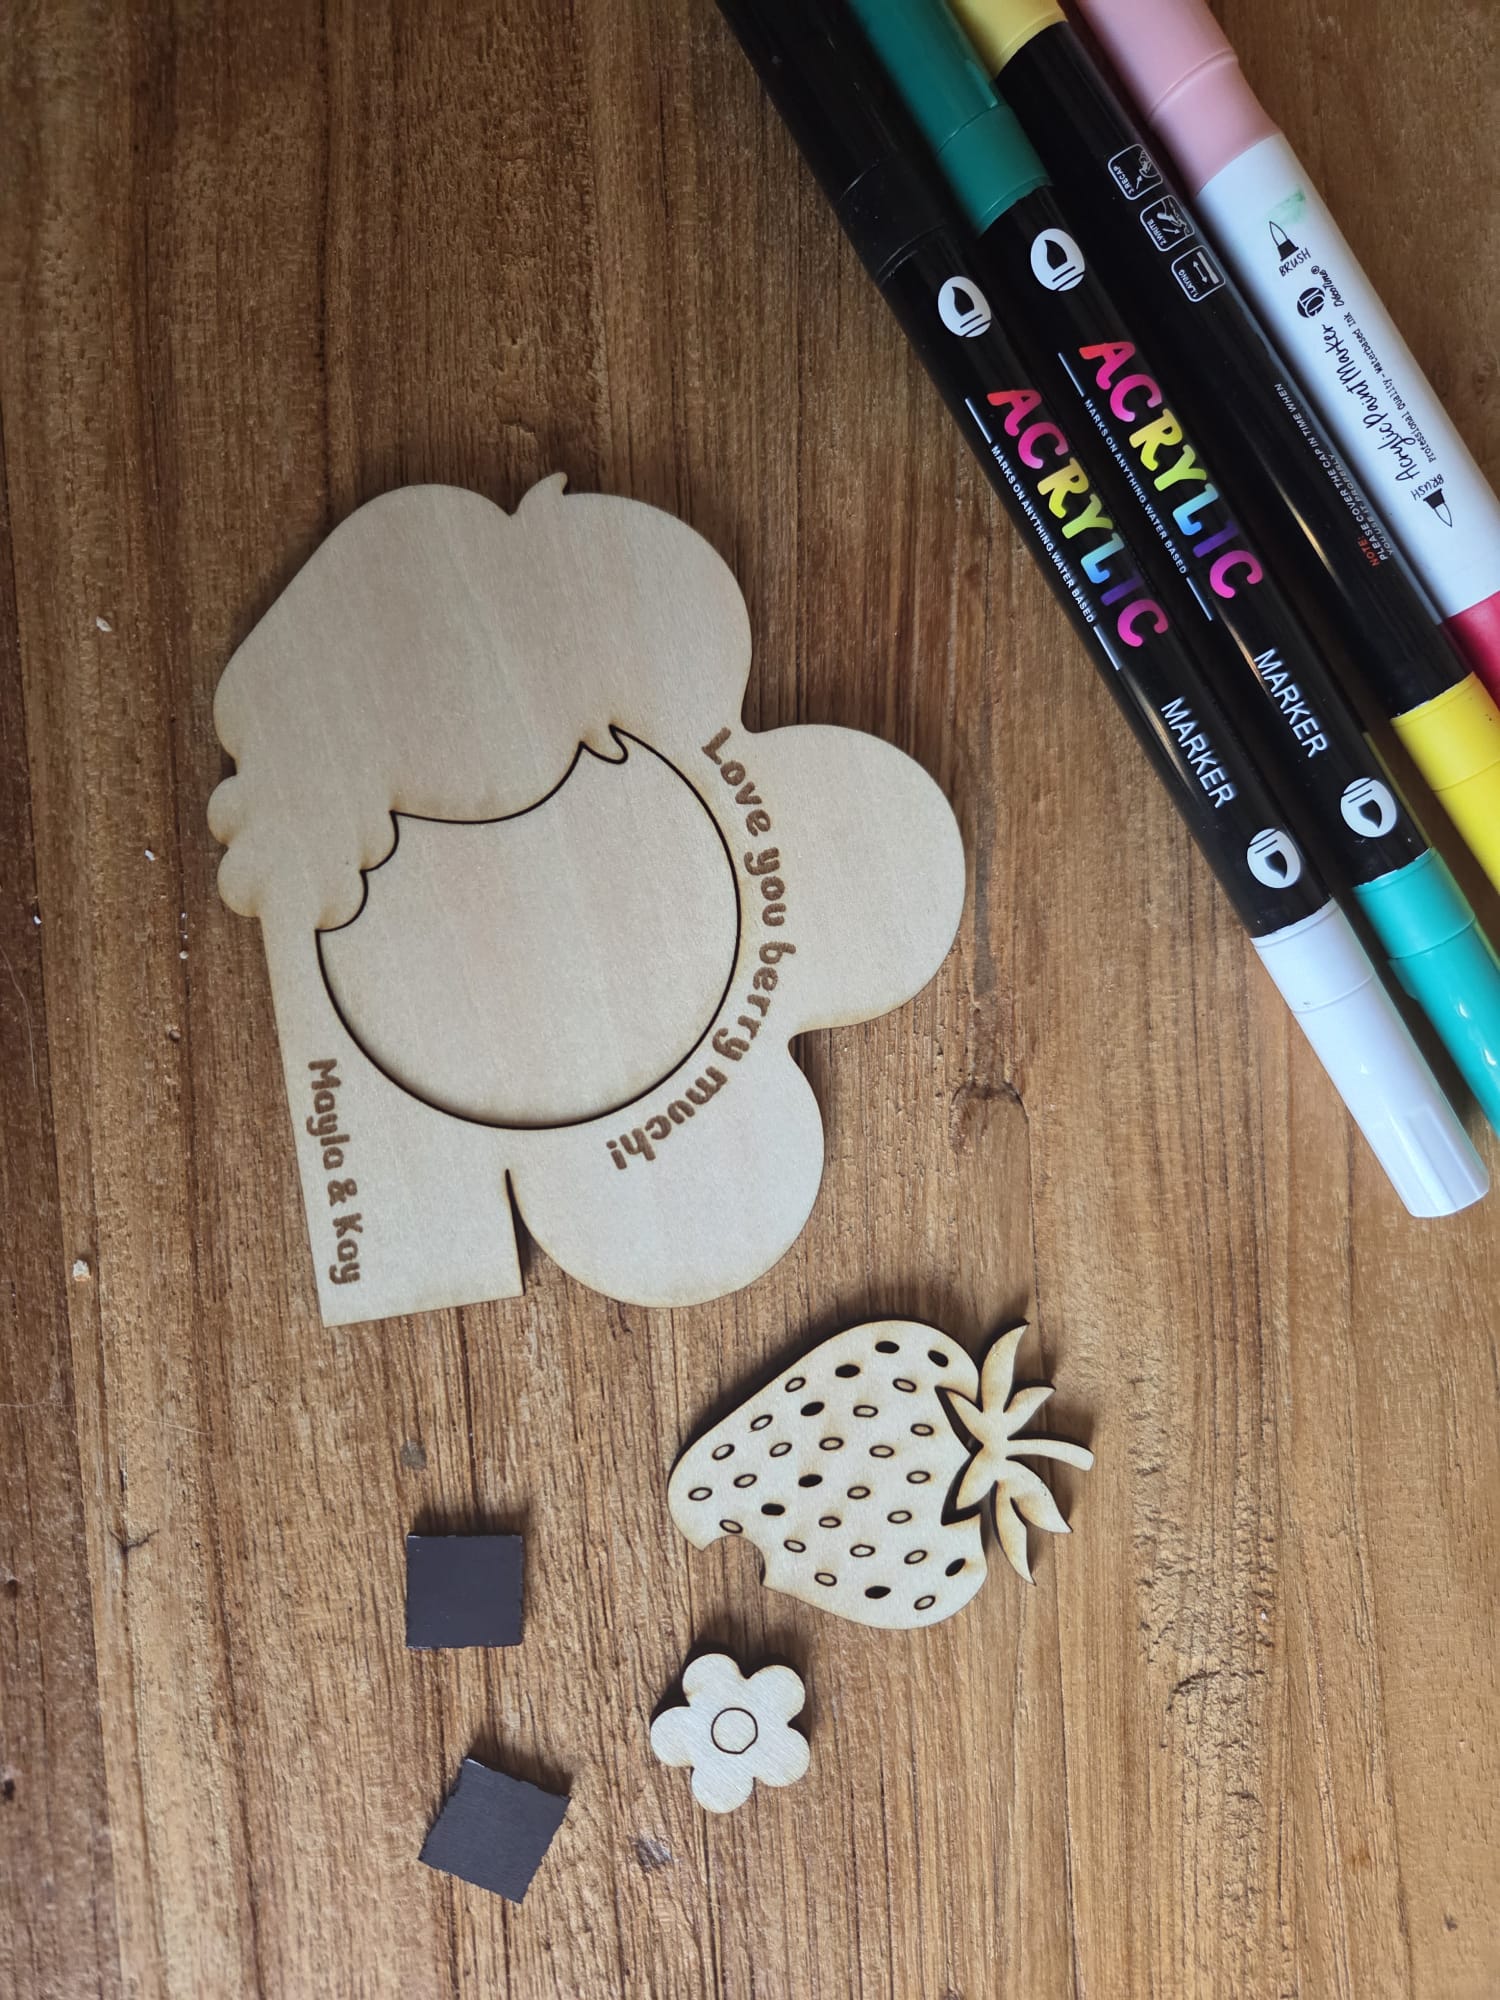
Step3: Materials
I like to use acrylic markers to ‘paint’ little pieces, but u can use whatever u like
- Paint / acrylic markers
- Small magnets
- Design u just cut
- Photo
- Tape
- Scissor
- Glue
Step4: Measure photo
Keep the inner to measure the photo. Make sure the photo is a little bit bigger, so it's easier to put in place
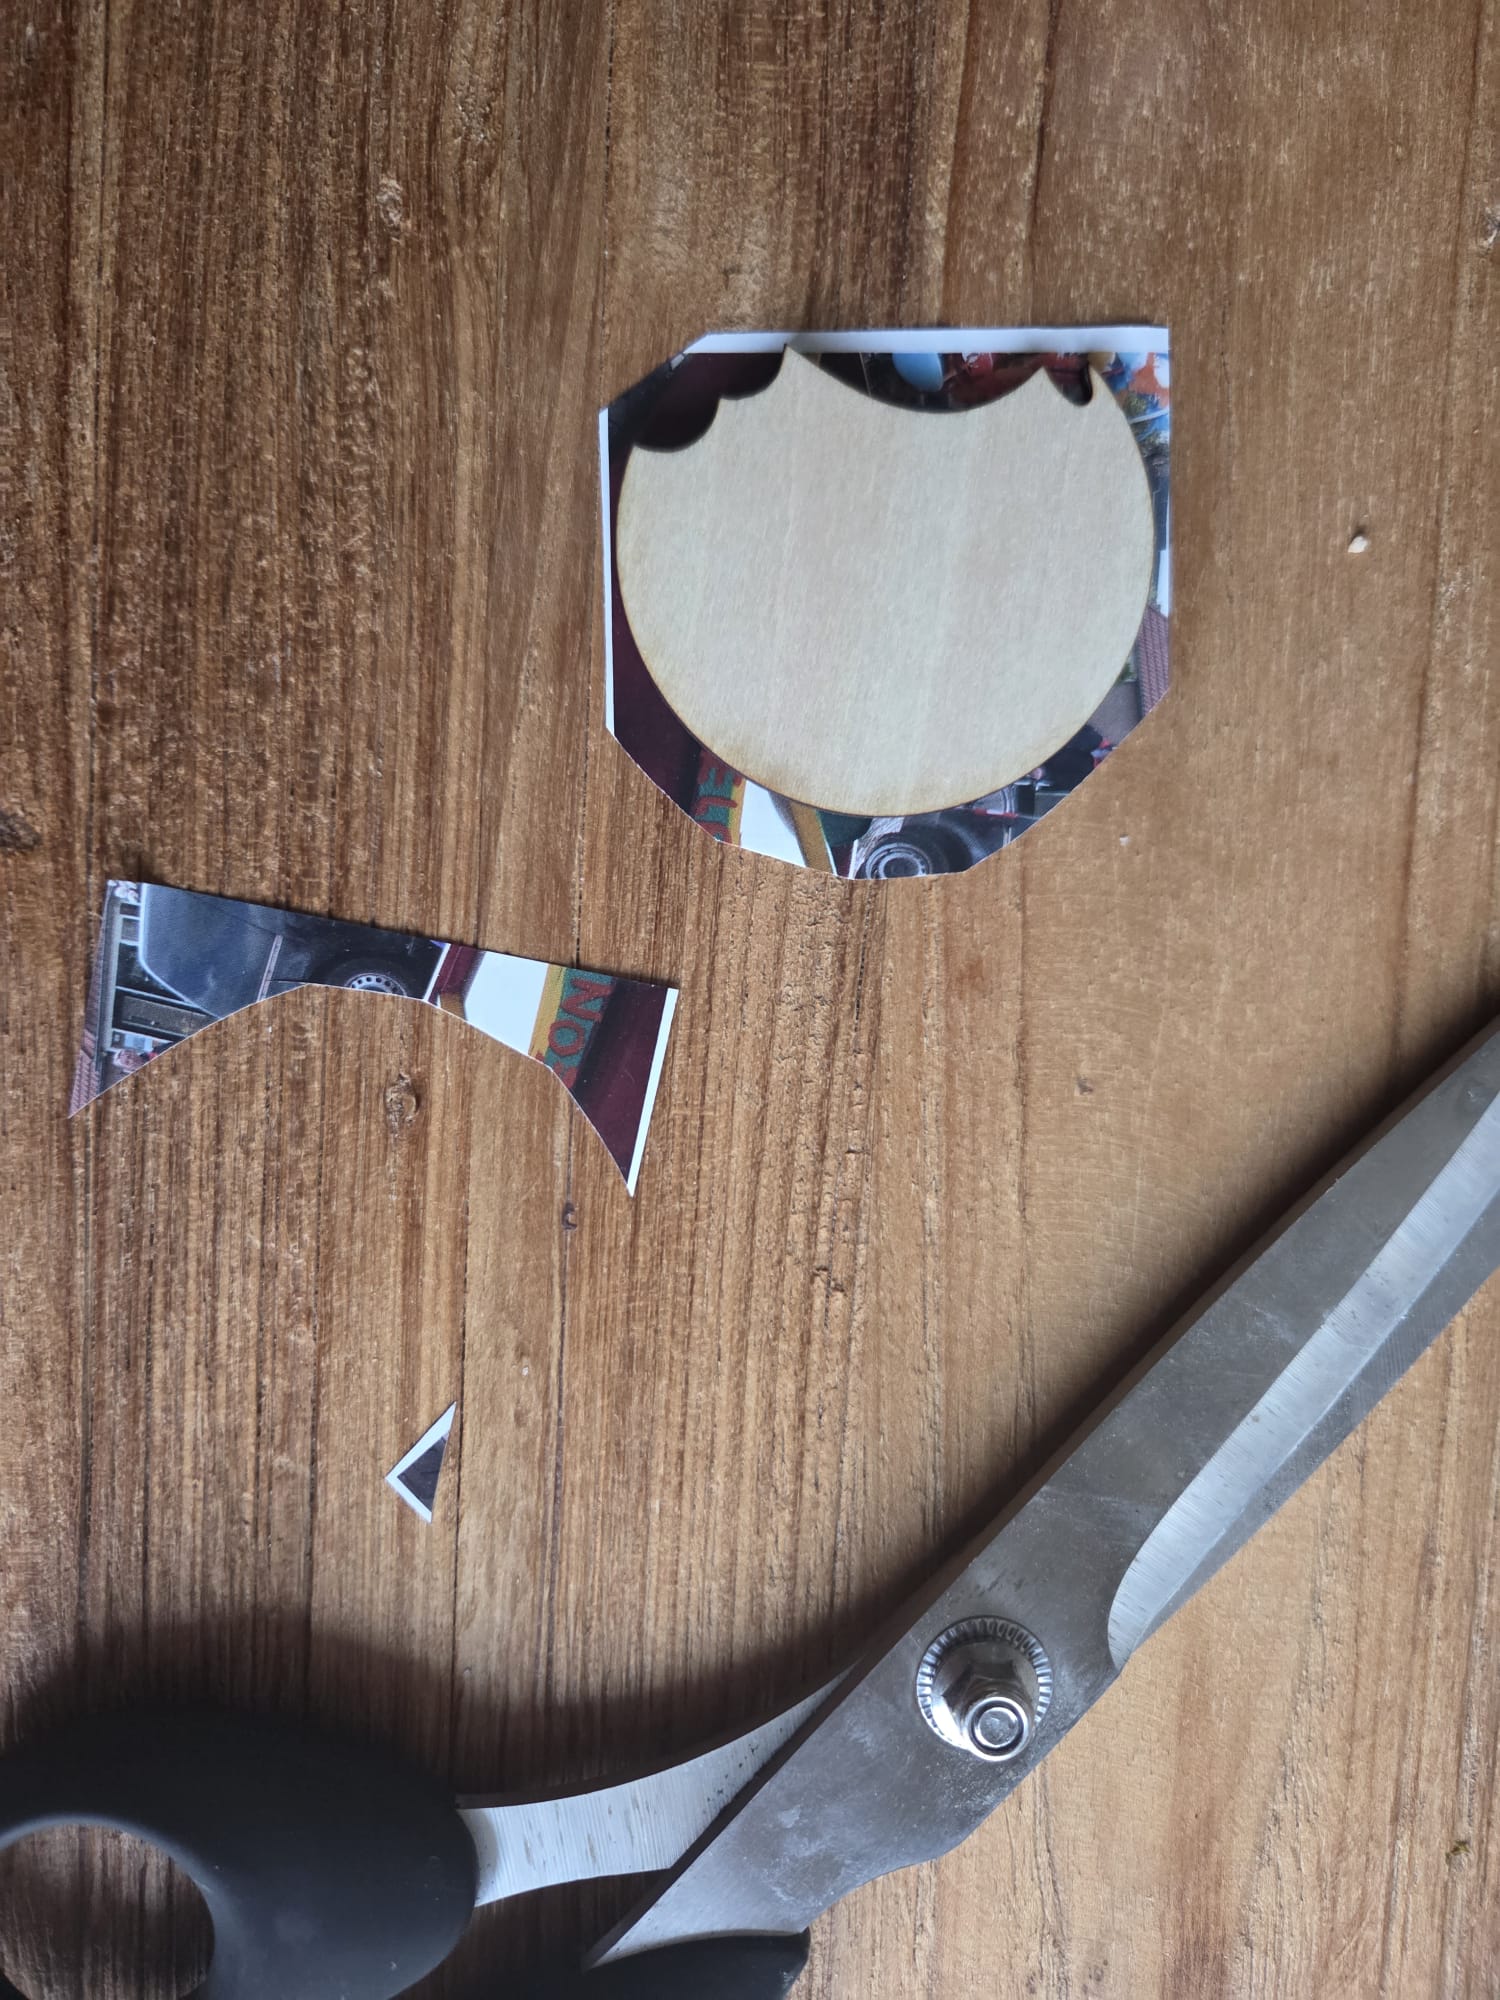
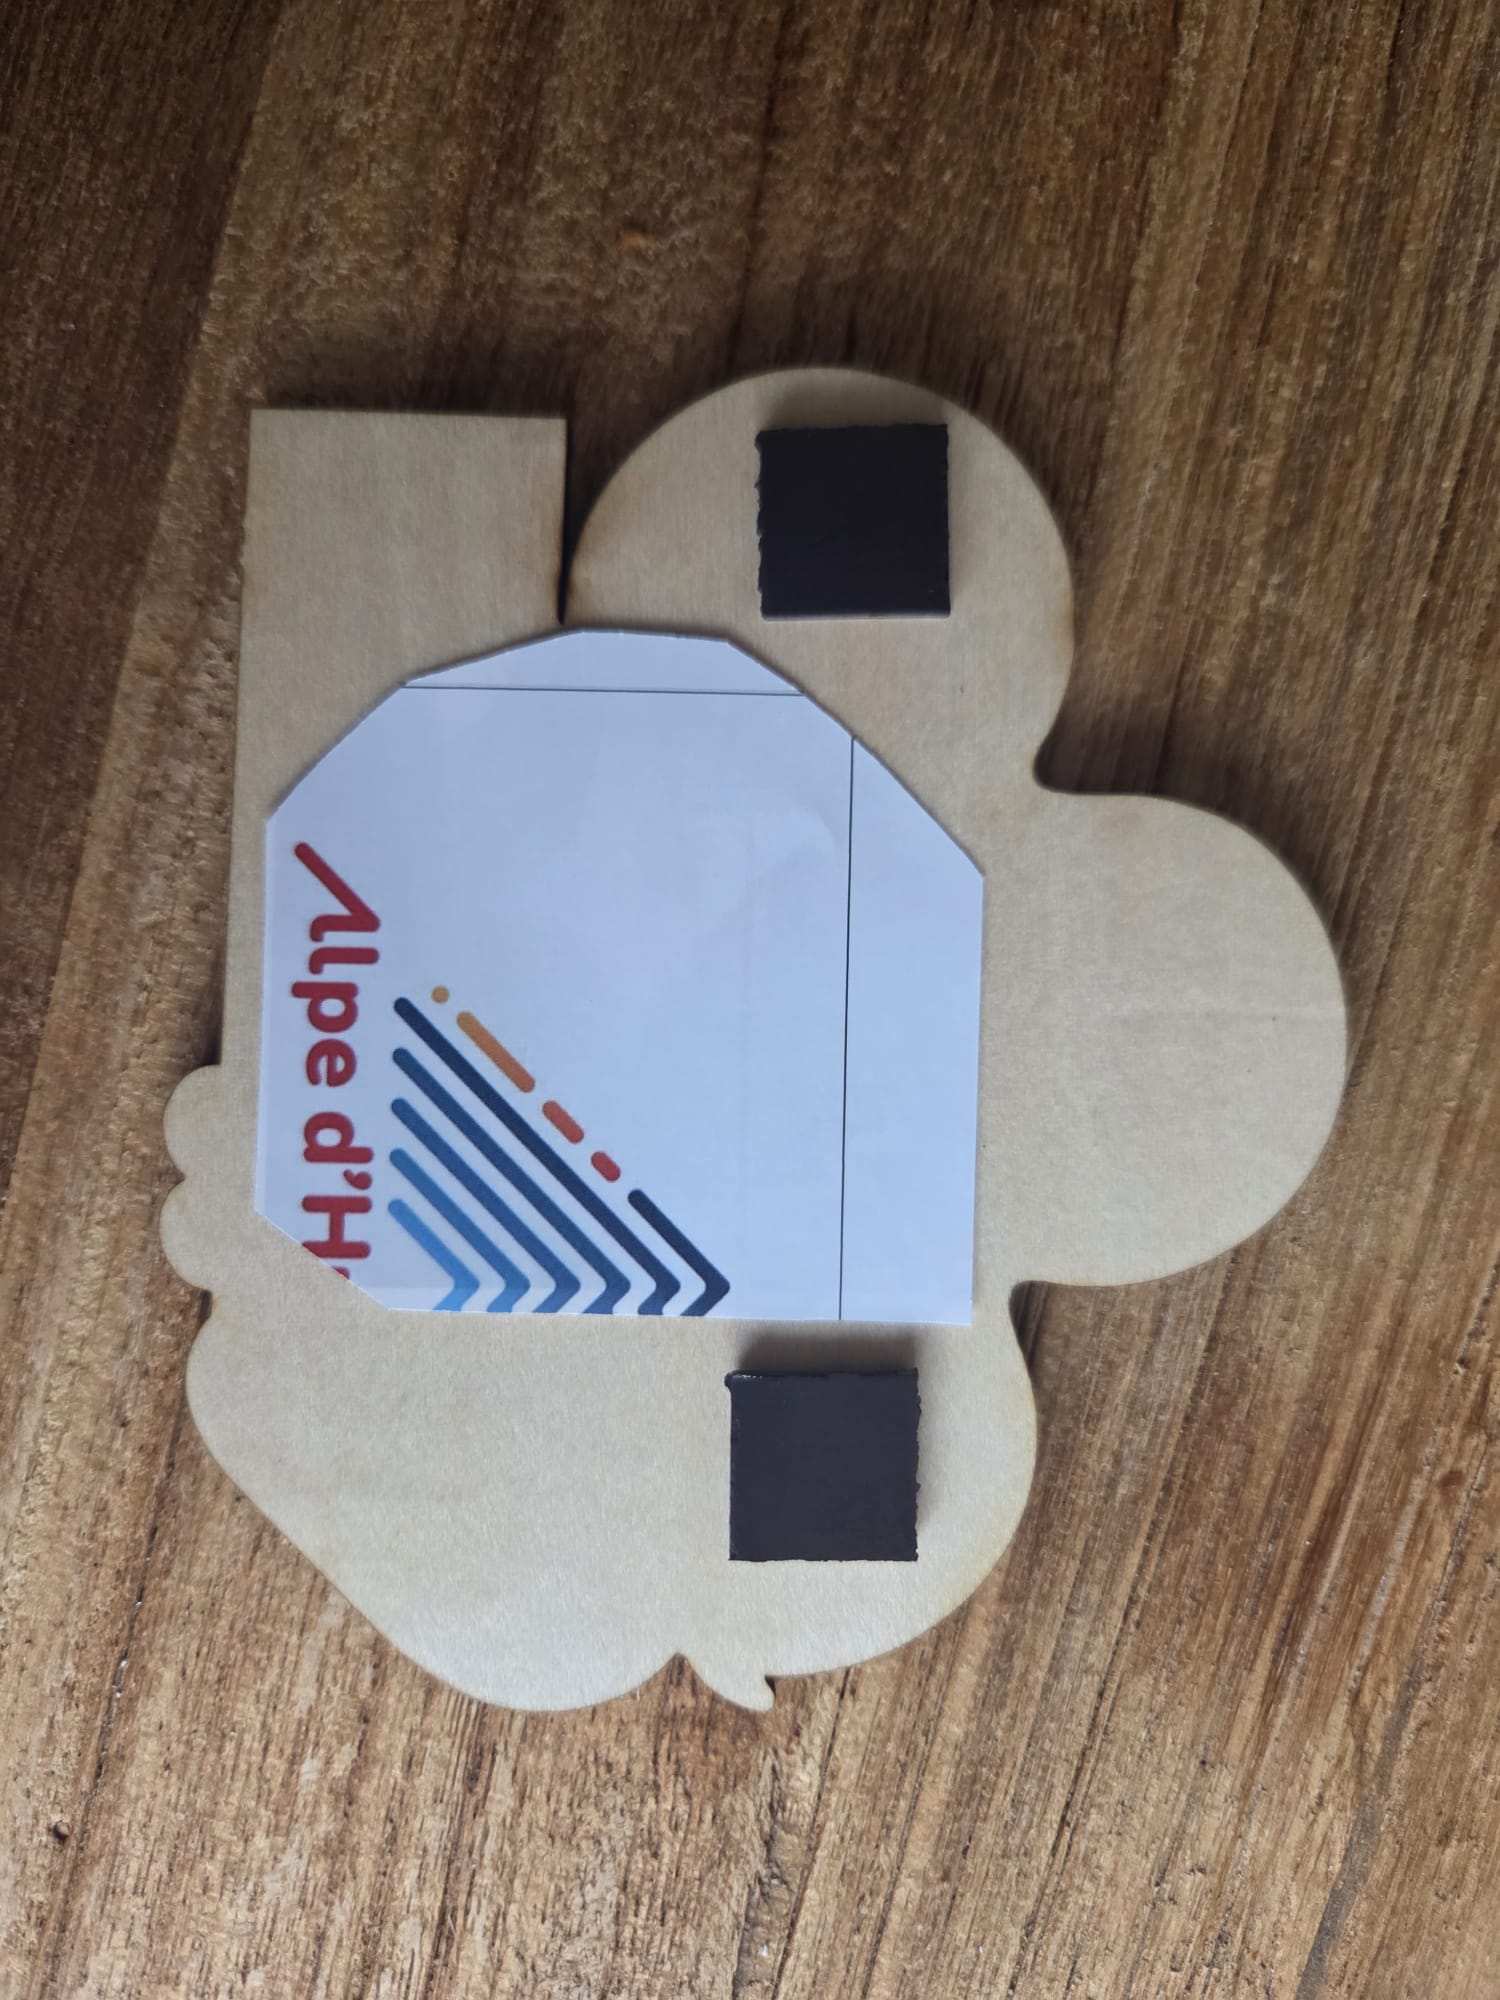
Step5: Place magnets
Place the photo and the magnets. You can put the magnets in multiple directions.
U can use tape to hold the photo in place. This way it's easy the change the photo if you want.
Step6: Last step
Paint it any way you like and glue the pieces in place to create your own unique design.
Now you have the cutest handmade keepsake to gift or enjoy every day to display on your fridge!