


































![[Laser cut and engrave] Circle Keychain Jig](https://image-res.xtool.com/resource/xtool/community/attachment/xtool-community/f31e54b8-addf-4b2b-b653-aa83d6f1a60d?x-oss-process=image/resize,w_1200,h_900,limit_0/interlace,1/format,webp/auto-orient,1)
![[Laser cut and engrave] Circle Keychain Jig](data:image/png;base64,iVBORw0KGgoAAAANSUhEUgAAAAoAAAAKCAYAAACNMs+9AAAAAXNSR0IArs4c6QAAABdJREFUKFNjZCASMBKpjmFUId6QIjp4AAppAAuXjCs4AAAAAElFTkSuQmCC)
![[Laser cut and engrave] Circle Keychain Jig](https://image-res.xtool.com/resource/xtool/community/attachment/xtool-community/f31e54b8-addf-4b2b-b653-aa83d6f1a60d?x-oss-process=image/resize,w_200,h_150,limit_0/interlace,1/format,webp/auto-orient,1)
![[Laser cut and engrave] Circle Keychain Jig](https://image-res.xtool.com/resource/xtool/community/attachment/xtool-community/dd3e63d5-d64a-465b-9913-df9410dac2ba/20240528_234313.jpg?x-oss-process=image/resize,w_200,h_150,limit_0/interlace,1/format,webp/auto-orient,1)
![[Laser cut and engrave] Circle Keychain Jig](https://image-res.xtool.com/resource/xtool/community/attachment/xtool-community/8d3e0251-5f16-4bfa-928c-0b04548794d9/20240528_181149.jpg?x-oss-process=image/resize,w_200,h_150,limit_0/interlace,1/format,webp/auto-orient,1)
![[Laser cut and engrave] Circle Keychain Jig](https://image-res.xtool.com/resource/xtool/community/attachment/xtool-community/0a2dd4d2-c1f6-49b6-a32b-4d8fc1ebfa81/20240528_181157.jpg?x-oss-process=image/resize,w_200,h_150,limit_0/interlace,1/format,webp/auto-orient,1)
![[Laser cut and engrave] Circle Keychain Jig](https://image-res.xtool.com/resource/xtool/community/attachment/xtool-community/6ce2f388-a99a-4972-a59e-c42bff39a278/20240528_234321.jpg?x-oss-process=image/resize,w_200,h_150,limit_0/interlace,1/format,webp/auto-orient,1)
Circle Keychain Jig
 Instruction


Information
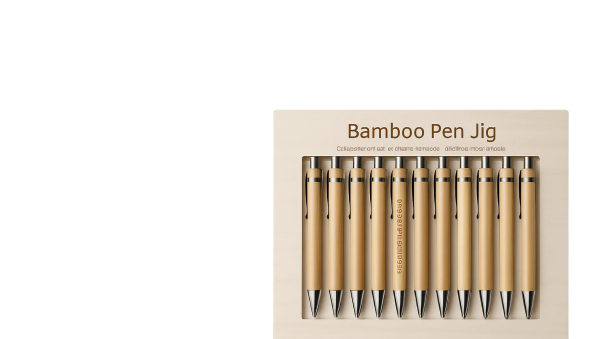
      There are a lot of jigs made here, but I also feel like there is room for improvement. Here is my take on a circle keychain jig. If you like these, please let me know.

56/312
Instruction
Step1: Design


This project is one of the few that I can't share every detail about because it takes me a long time to make. Here's how I do it: I start by creating the keychain shape and then make multiple canvases with jig holes. The first layer is the top of the jig, the second layer holds the keychain with holes in the bottom for easy movement, numbers for counting, and a hole for laying flat. The last layer is just for putting in the design, as it's only the wooden part.
Step2: Material

For this, you want to use basswood.
Step3: Laser time

Okay, it's time to laser your jig. For this, you'll need two pieces of wood. Make sure that they are aligned, as you will be gluing these together. These settings are for a 40-watt laser, and don't forget your laser safety glasses.
Step4: Assembly

Good news assembly is super easy. All you need to do is glue the two pieces together.
Step5: How to use my jigs


Each of my jigs has multiple layers, with each layer serving a specific purpose. You need to cut the first two layers, labeled 'CUT,' and then use the last layer to align your designs. If you have any questions about how to use this jig, please leave a comment. If you have any other jig ideas that you'd like me to create, please leave a comment with your requests.
Step6: You're Done

Good news, you're done with your task as I mentioned earlier. Please comment if you have any questions or need any help.