
Report
![[Laser cut and engrave] Wooden tooth bank with cute mouse decoration](https://image-res.atomm.com/resource/xart/result/12720/f39657d6-7326-420a-b14b-ff1d980328a6.png?x-oss-process=image/resize,m_fill,w_1280,h_960,limit_0/interlace,1/format,webp/auto-orient,1)
![[Laser cut and engrave] Wooden tooth bank with cute mouse decoration](data:image/png;base64,iVBORw0KGgoAAAANSUhEUgAAAAoAAAAKCAYAAACNMs+9AAAAAXNSR0IArs4c6QAAABdJREFUKFNjZCASMBKpjmFUId6QIjp4AAppAAuXjCs4AAAAAElFTkSuQmCC)
![[Laser cut and engrave] Wooden tooth bank with cute mouse decoration](https://image-res.atomm.com/resource/xart/result/12720/f39657d6-7326-420a-b14b-ff1d980328a6.png?x-oss-process=image/resize,m_fill,w_160,h_120,limit_0/interlace,1/format,webp/auto-orient,1)
![[Laser cut and engrave] Wooden tooth bank with cute mouse decoration](https://image-res.atomm.com/resource/xtool/community/attachment/xtool-community/e6dbc573-29e9-4873-abbf-d33faa5a4824?x-oss-process=image/resize,m_fill,w_160,h_120,limit_0/interlace,1/format,webp/auto-orient,1)
![[Laser cut and engrave] Wooden tooth bank with cute mouse decoration](https://image-res.atomm.com/resource/xtool/community/attachment/xtool-community/4efa4128-f662-4f58-bc10-368f3864fa55?x-oss-process=image/resize,m_fill,w_160,h_120,limit_0/interlace,1/format,webp/auto-orient,1)
perez mouse tooth bank
 Instruction
raton11_backup
.lbrn2
Application scenario
Laser processing
Machine & module

xTool D1
5WMaterial used

1/8"(3mm) Basswood Plywood

97
1778
Information
a bank where the little ones in the house can deposit their baby teeth and receive a reward from the mouse
Instruction
1
Step1: generating image and editing

Preview

Preview
- We use an AI application to generate our image, usually the images are not perfect so we must clean it and adapt it for the use we will give it.
- We apply contrast and exposure filters, eliminate the background and excess anatomical pieces.
2
Step2: base and upper piece of box

Preview
- To create the base of the project we make a large horizontal rectangle
- Inside a rectangle we create a smaller and perfectly square one (red color)
- On each face of that red square we are going to place two small rectangles, making sure that they are centered and that their thickness corresponds to that of our wood, in this case 3mm
- We can now eliminate the red square seen in the image, since this was only a guide and we are going to duplicate the rectangles that we placed inside. since they will serve as a fit for the parts of the box at the base and also to shape the upper piece of the box simply creating two squares but this time in the internal angle as can be seen in the image: green rectangles (unwelded pieces)
blue rectangle: (unified top piece)
3
Step3: side pieces

Preview
- For the rest of the pieces we will differentiate two types, since they must fit together so they cannot be identical, the front and back are slightly larger than the sides and in compensation for that distance the sides will have a protruding tab, while the front and back will have a cavity guaranteeing that they fit together, all these fits and tabs will have the same dimension of the small rectangles that we created in the previous step (see blue rectangle)
- Once the structure is created, we can add the designs we want to each face to personalize the design
4
Step4: cutting and engraving

Preview

Preview

Preview
Once cut and engraved, all the pieces should fit together, but if they are slightly loose, use glue. The only pieces that are necessarily glued are the two squares with smooth edges, the small one is glued on the inside of the large one, right in the center since it serves the function of adjusting the lid
Comments
Remixes
License

This work contains AI-generated content.


You may also like

Milk tooth box

22
133
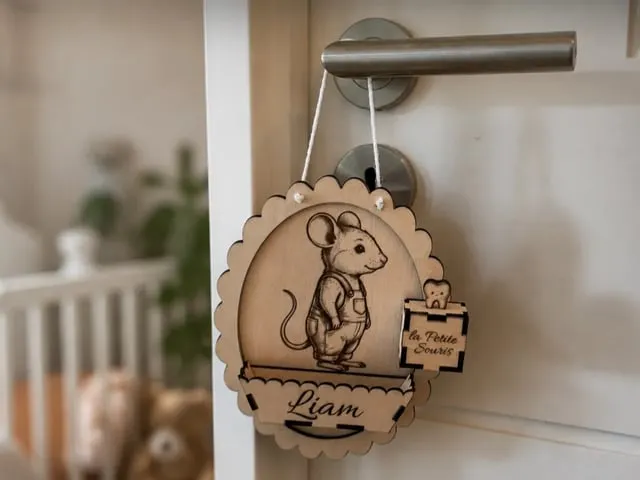
Personalized door sign with little mouse pattern for tooth nursery

2
10


Mushroom House for the Little Mouse with Tooth Box

40
86

$2.20
$2.20
Credits220
3D End of school year money holders bundle. Cash holder stand laser cut files. Cute kids animal money stand. Children affirmations svg

1

Personalized Door Sign for Little Mouse with Tooth Box
9
37

Caja con forma de zorro

5
15

Cute Wooden Mouse Keychain

3
32

Box with lion design
6
9

Wooden box with unicorn design
4
9

Caja con forma de conejo
3
10

FREE 3D Color-Your-Own Wooden Standees – 9 Fantasy & Sci-Fi DIY Crafts for Kids

13
30

Sleepy Forest - Keychains

9
31

mickey mousse 3mm basewood

19
90

Box with kawaii cat design 3mm
13
34

Funko POP Stitch 1044

19
112
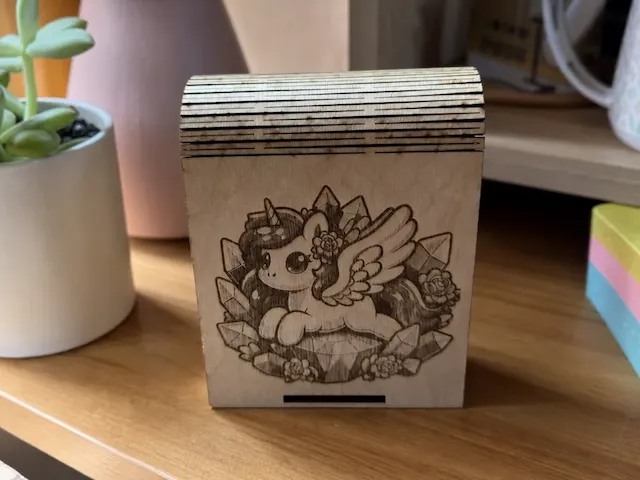
Little Girl Jewelry Box

1
7

Laser Cut Wooden Halloween Mouse Character Ornaments Set

8
52

Small wooden box for baby teeth with mouse design. **#craftthebirthdaycontest**

2
24