
舉報
![[Laser cut and engrave] Tracing paper multilayer Flower V1](https://image-res.atomm.com/resource/xtool/community/attachment/xtool-community/c14b945d-7143-4a6c-9b78-61692154a20a?x-oss-process=image/resize,w_1200,h_900,limit_0/interlace,1/format,webp/auto-orient,1)
![[Laser cut and engrave] Tracing paper multilayer Flower V1](data:image/png;base64,iVBORw0KGgoAAAANSUhEUgAAAAoAAAAKCAYAAACNMs+9AAAAAXNSR0IArs4c6QAAABdJREFUKFNjZCASMBKpjmFUId6QIjp4AAppAAuXjCs4AAAAAElFTkSuQmCC)
![[Laser cut and engrave] Tracing paper multilayer Flower V1](https://image-res.atomm.com/resource/xtool/community/attachment/xtool-community/c14b945d-7143-4a6c-9b78-61692154a20a?x-oss-process=image/resize,w_200,h_150,limit_0/interlace,1/format,webp/auto-orient,1)
![[Laser cut and engrave] Tracing paper multilayer Flower V1](https://image-res.atomm.com/resource/xtool/community/attachment/xtool-community/1763f80a-120a-4571-974f-00e26e16d41c.jpeg?x-oss-process=image/resize,w_200,h_150,limit_0/interlace,1/format,webp/auto-orient,1)
![[Laser cut and engrave] Tracing paper multilayer Flower V1](https://image-res.atomm.com/resource/xtool/community/attachment/xtool-community/3636d537-6154-46ba-95c7-2f6065117a18.jpeg?x-oss-process=image/resize,w_200,h_150,limit_0/interlace,1/format,webp/auto-orient,1)
描圖紙多層 Flower V1
 教程
教程
Flowerwitheyelet30.01.25V1
.xcs
顯示剩餘(1項)
應用場景
激光加工 (15min)
機器與模組

xTool S1
40W兼容的 xTool 機器
上新
M2
10W, 20WF1 Ultra
20WM1
5W, 10WD1
5W, 10W, 20WD1 Pro
5W, 10W, 20W, 40WP2
55WF1
10WS1
10W, 20WM1 Ultra
10W, 20WP2S
55W使用的材料

3mm椴木膠合板

硫酸紙

262
2862
教程
1
步驟1: 剪掉

預覽
剪兩塊
2
步驟2: 上色(可選)

預覽

預覽
如果需要,可以為兩塊上色
3
步驟3: 用描圖紙製作範本。

預覽

預覽
拿一朵完成的花作為範本,用鉛筆描繪輪廓。
4
步驟4: 把紙黏上去

預覽
把描圖紙黏在花朵未上色的一側。
5
步驟5: 把花黏在一起

預覽
將兩朵花膠合在一起,確保它們齊平。
評論
二創



您可能還喜歡

蕾絲紙雕刻藝術牡丹

10
74

紙雕蝴蝶

26
130

復活節快樂——手繪木製花卉裝飾

5
25

捲花與葉子

72
352

聖週十字架多層裝飾

65
308

帶圖片的花朵生長

32
104

{第二週} 兩層黃鬱金香花朵

124
356

花束

24
105

$0.89
$0.89
积分89
描圖紙多層 Flower V4
8

堆疊花卉裝飾

50
151

花攤

28
103

雷射切割木製裝飾花卉風車

1
6

多層木製復活節裝飾,配有兔子和蛋籃裝飾

23
158

蒸汽龐克金屬齒輪花朵裝飾雕塑組

3
14

多層萬聖節棺材
43
142

三層復活節裝飾品,帶有兔子與花朵
9
77

心形木製裝飾與花盆
15
33
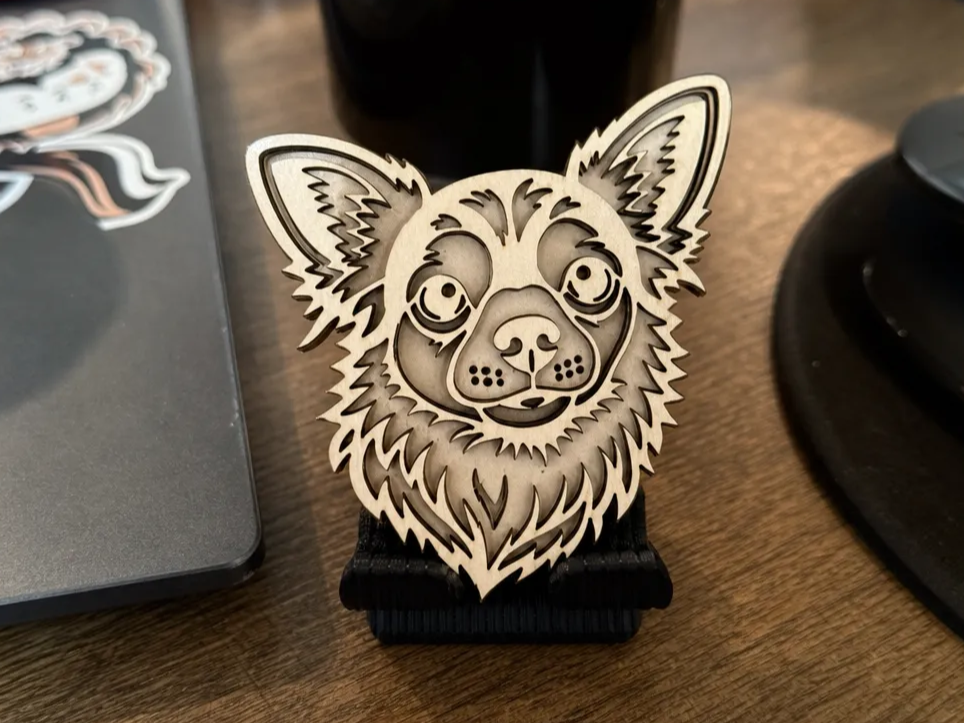
吉娃娃多層

1
2