
![[Laser cut and engrave,Inkjet printing] Happy Birthday Heart Photo Frame Greeting Card](https://storage-public.atomm.com/xtool/community/attachment/xtool-community/2fa26d24-244b-4461-af08-290d19527bb1.jpg?x-oss-process=image/resize,m_fill,w_1280,h_960,limit_0/interlace,1/format,webp/auto-orient,1)
![[Laser cut and engrave,Inkjet printing] Happy Birthday Heart Photo Frame Greeting Card](data:image/png;base64,iVBORw0KGgoAAAANSUhEUgAAAAoAAAAKCAYAAACNMs+9AAAAAXNSR0IArs4c6QAAABdJREFUKFNjZCASMBKpjmFUId6QIjp4AAppAAuXjCs4AAAAAElFTkSuQmCC)
![[Laser cut and engrave,Inkjet printing] Happy Birthday Heart Photo Frame Greeting Card](https://storage-public.atomm.com/xtool/community/attachment/xtool-community/2fa26d24-244b-4461-af08-290d19527bb1.jpg?x-oss-process=image/resize,w_200,h_150,limit_0/interlace,1/format,webp/auto-orient,1)
![[Laser cut and engrave,Inkjet printing] Happy Birthday Heart Photo Frame Greeting Card](https://storage-public.atomm.com/xtool/community/attachment/xtool-community/78466f4e-5daf-43ed-9b77-97f07fff4c51.jpg?x-oss-process=image/resize,w_200,h_150,limit_0/interlace,1/format,webp/auto-orient,1)
![[Laser cut and engrave,Inkjet printing] Happy Birthday Heart Photo Frame Greeting Card](https://storage-public.atomm.com/xtool/community/attachment/xtool-community/77b28d8a-5079-4ae2-bf30-1618db438887.jpg?x-oss-process=image/resize,w_200,h_150,limit_0/interlace,1/format,webp/auto-orient,1)
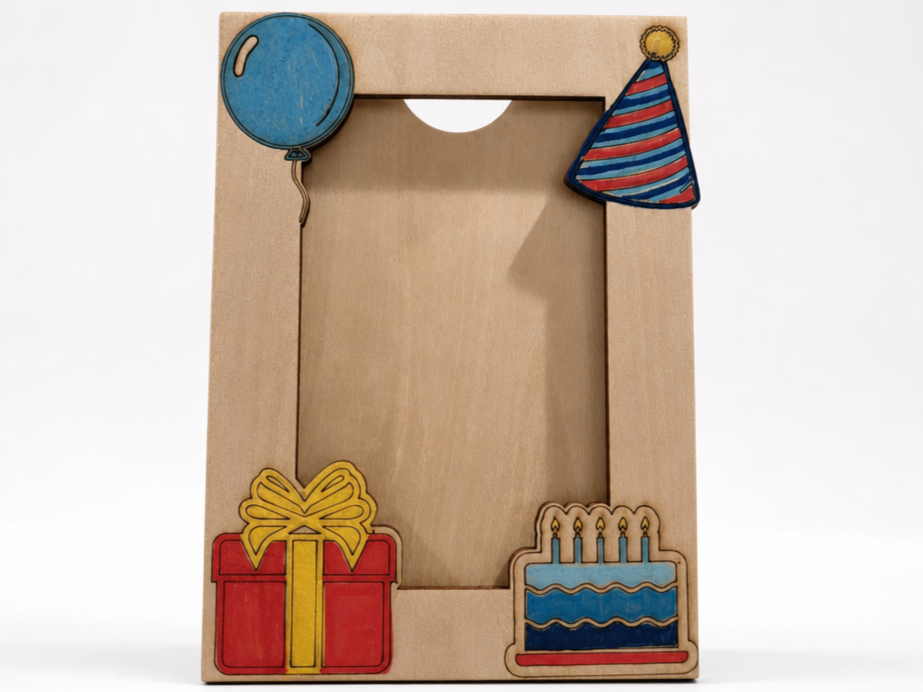
Vse najboljše s srčnim okvirjem za fotografije voščilnica
 Navodilo


Informacije
Želela sem ustvariti edinstveno voščilnico za mamin 75. rojstni dan. Nekaj, kar bi uživala in cenila. Uporabil sem predlogo za prepogibanje, ki sem jo našel na Atomu, da sem lahko ustvaril potrebne reze za prepogibanje. Nato sem ustvaril nekaj posebnega iz 1/8" lipe. Uporabil sem srce za sliko, ki sem jo ustvaril z družino (tiskane slike družine ne prikazujem zaradi anonimnosti). Dodal sem magnete, da kartica ostane zaprta. Za končno voščilnico, ki sem jo podarila mami, sem uporabila papirnati vložek, da sem dodala nekaj barve za srce. Vse to sem ustvaril na svojem Xtoolu M2.
Navodilo
Korak1: Izberite svoje možnosti

Step 1 turn on engraving and cutting layers. Do not turn on inside engraving layer.
Step 2 go to process settings …. And make sure the parameter is set to process by layer.

Step 3 process the engraving and cut
Engraving set to 40 power, 180 speed, 1 pass and 100 lines
Cut set to 100 power, 4 speed, 1 pass, Constant power
Step 4a: flip card to expose the inside for internal engraving or color printing.
Step 4 b: I have the M2 so I chose to attach a white background and print the internal words.
Step 5a: If you have an M2 color print an image on the heart and glue heart in place so that it lines up with the heart cut out.
Step 5b: If you have laser only, either create an engraved image or decorate the card however you wish.
Step 6: attach magnets to keep the card closed. I bought these on Amazon for pretty cheap. Make sure you have the two sides of the magnet that connect otherwise they will fight each other and the card will not stay closed.
Predelave



Morda vam bo všeč tudi

Okvir za fotografije psa za 9. rojstni dan z odtisom tačke

Vse najboljše z lesenim okvirjem za slike 4x6


Vse najboljše za rojstni dan s foto okvirjem za mafine


Plastna slikarska foto umetnost | 3 Razstava fotografij | Lasersko rezana datoteka


Fotografija s okvirjem srca


Ljubezenski okvir za fotografije s srčnimi poudarki


Srečen materinski dan – okvir v obliki srca z dečkom, ki drži vrtnico


Navpični trojni okvir v obliki srca


Personaliziran okvir v obliki srca z imenom Braylon Anwyll


Okvir za fotografije s polnim srcem


Leseni srčni okrogli okvir za fotografije za valentinovo Okvir za fotografije Okvir za ljubezensko predanost


Lasersko izrezan rojstnodnevni okvir


Okvir za fotografije Paw Dog


'/%3e%3cdefs%3e%3clinearGradient%20id='paint0_linear_1433_15726'%20x1='12'%20y1='5.25'%20x2='12'%20y2='18.75'%20gradientUnits='userSpaceOnUse'%3e%3cstop%20stop-color='%23FFC654'/%3e%3cstop%20offset='1'%20stop-color='%23FF8D12'/%3e%3c/linearGradient%3e%3c/defs%3e%3c/svg%3e)
Valentinov zložljiv okvir za fotografije z izstopajočim srčkom


Okvir za fotografije ob obletnici s srčki in raco


Ljubezenski okvir za fotografije s srčnimi oblikami in okrasitvijo tačk za ljubljenčke

Lasersko izrezan lesen okvir za fotografije z okraskom v obliki srca


Vesela dekoracija za valentinovo z okvirjem za fotografije Ljubim te
