
Ornaments aren't just for December. A sun catcher in a window, a graduation keepsake, a paw-print tag on a gift — a small hanging decoration marks a moment, whatever the season. And the question "how do you make an ornament?" really comes down to one choice: what material do you want to work in?
The short answer: pick your material and the method follows —
- Laser crafting — acrylic, wood, or metal; the detail and personalization route.
- Wood by hand — rustic slices and scroll-saw shapes.
- Acrylic — color and light.
- Clay — hand-shaped and kid-friendly.
- Felt — soft, sewn, cozy.
- Paper — fastest and free.
Here's how to make an ornament from each, with steps, a comparison, and ten real designs to start from.

Method 1: How to Make Ornaments with Laser Crafting (Acrylic, Wood, or Metal)
The laser route covers three materials with one workflow — engraved names, layered scenes, and detail no scissors can match. One design file becomes one keepsake or fifty market-ready pieces, which is why it's the method makers who sell start with.
What You Need
- A laser cutter (any diode or CO2 machine)
- Material: 3 mm basswood or birch plywood, 3 mm clear or colored acrylic, or anodized metal blanks
- A design — generate one free with the Atomm ornament generator or pick a ready-made ornament template
- Ribbon or twine
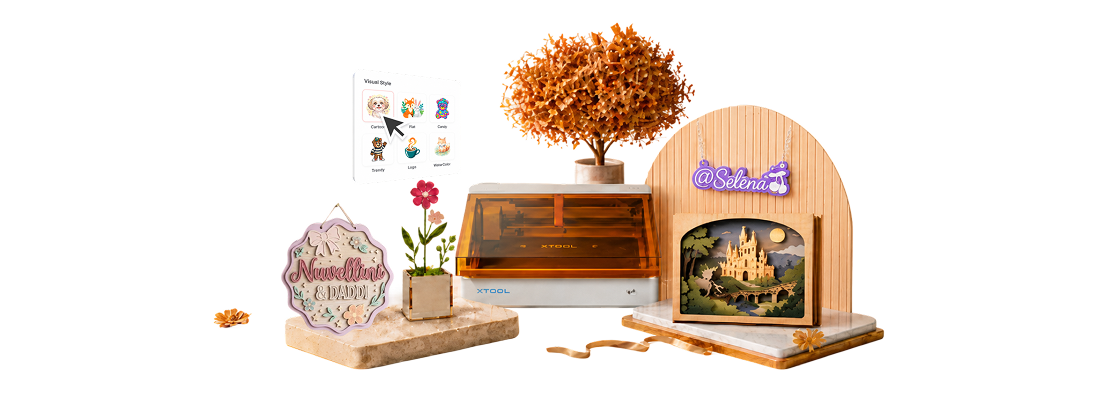
If you're shopping for a machine for exactly this kind of project, the xTool M2 is the current do-it-all starter: an enclosed Class 1 diode laser (10W or 20W) that also swaps in a CMYK inkjet head, so it prints a full-color design and cuts it out in one session — dual cameras handle placement and air assist is built in. Color ornaments come off the bed finished — print the design, cut the shape, hang it.
Steps to Make an Ornament with a Laser

Following xTool's own plywood processing guide:
- Pick or design the ornament, including a 3–5 mm hanging hole near the top — it cuts with the outline.
- Choose your material. Plywood gives the heirloom look, acrylic adds color and light play, and an anodized metal blank makes a tag-style ornament that a diode laser engraves crisply (bare metal is a different game).
- Set two operations: engrave the interior detail (names, dates, patterns) first, then cut the outer shape — metal blanks skip the cut and engrave only.
- Run the job on a clean honeycomb bed with the material preset for your exact sheet.
- Finish: sand wood edges or peel acrylic film, add optional paint or stain, then thread the ribbon.
- Level up with layers — cut the design from two or three wood tones and stack them for real depth — the same trick behind the best Christmas ornament designs.
Tip: Personalization is what makes an ornament a keepsake — the free name gift generator does name cutouts in seconds. A name and a date turn a nice decoration into the one that gets unwrapped carefully every year — and personalized ornaments are consistent bestsellers for makers who sell.
Method 2: How to Make a Wooden Ornament
No machine? Wood still delivers the heirloom look with hand tools — birch slices and thin plywood are cheap, forgiving, and beautiful with nothing more than paint and sandpaper.
What You Need
- Pre-cut birch wood slices, or 3 mm basswood plywood
- A scroll saw, coping saw, or sturdy craft knife
- A drill (3–5 mm bit) for the hanging hole; sandpaper
- Acrylic paint, wood stain, or a wood-burning pen; ribbon or twine
Steps to Make a Wooden Ornament
- Start from a wood slice — pre-cut birch rounds need no cutting at all — or trace a paper template onto thin ply.
- Cut the shape with a scroll or coping saw, staying just outside the line, then sand the edges smooth.
- Drill the hanging hole near the top before you decorate, clamping the piece so it can't spin.
- Decorate: paint or stain the surface, hand-letter a name with a paint pen, or burn the design in with a wood-burning pen for the classic pyrography look.
- Seal with clear matte spray and thread the ribbon — a plain white snowflake on a bare birch slice is rustic perfection.
Method 3: How to Make an Acrylic Ornament
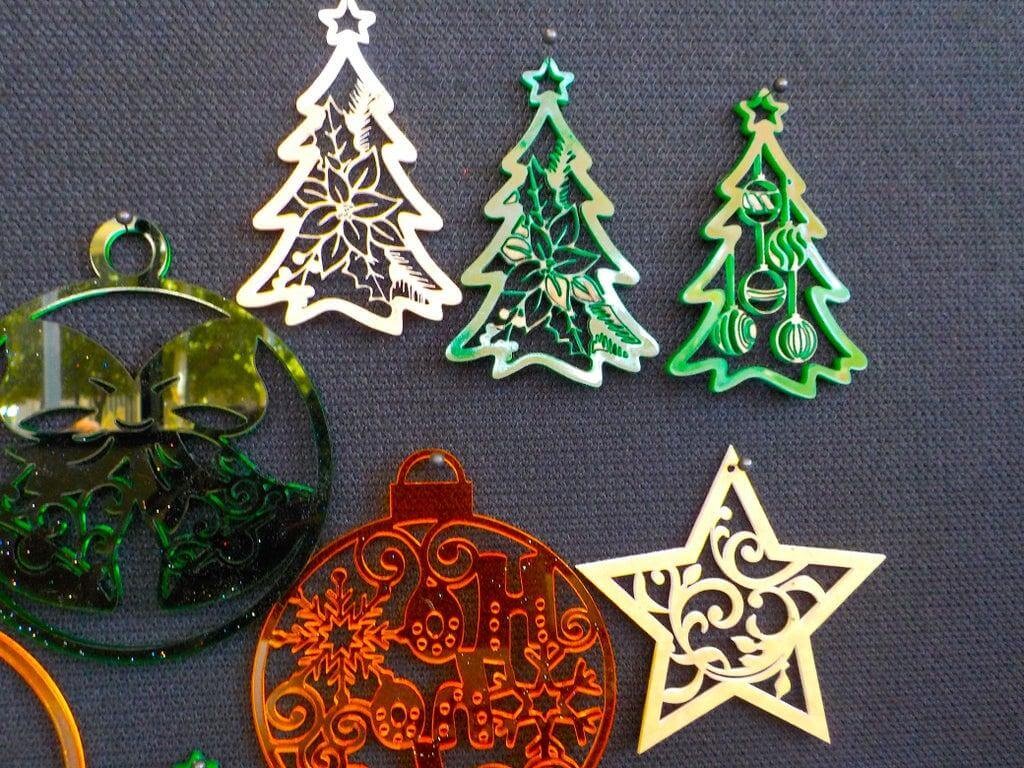
Acrylic brings what wood can't: transparency, glossy color, and light play. (Cutting it cleanly is its own small science.) Think sun catchers, stained-glass looks, and modern minimalist shapes.
What You Need
- A laser cutter, or pre-cut acrylic blanks and adhesive vinyl
- 3 mm clear or colored acrylic
- Optional: acrylic paints or colored film for inlay effects
Steps to Make an Acrylic Ornament
Following xTool's acrylic processing guide:
- Choose clear acrylic for sun catchers and engraved looks, or colored/mirrored acrylic for bold shapes.
- Engrave the detail first — on clear acrylic the frosted engraving glows against the transparency.
- Cut the outline and hanging hole, then peel the protective film.
- Add color: paint the engraved side, layer colored acrylic pieces, or back the design with colored film.
- Hang it where light hits — a window beats a tree for clear acrylic pieces.
Method 4: How to Make a Clay Ornament
Clay is the hands-in-it material — no machines, kid-friendly, and every piece is one of a kind. Air-dry clay and oven-bake polymer clay both work; classic salt dough does too — the exact recipe and bake times are worth a look before you start.
What You Need
- Air-dry clay, polymer clay, or a salt dough batch (2 parts flour, 1 part salt, ¾ part water)
- A rolling pin, cookie cutters, and a drinking straw for the hole
- Stamps, lace, or leaves for texture; acrylic paint and sealer
Steps to Make a Clay Ornament
- Roll the clay about ¼ inch thick and cut shapes with cookie cutters.
- Press in texture now — stamps, lace, botanicals, or a child's handprint.
- Punch the hanging hole with a straw before it dries or bakes.
- Dry or bake per the clay's instructions (air-dry clays need a few days; polymer bakes in minutes; salt dough bakes at 200°F for 1–2 hours).
- Paint, then seal both sides so moisture can't soften the piece over the years.
Method 5: How to Make a Felt Ornament
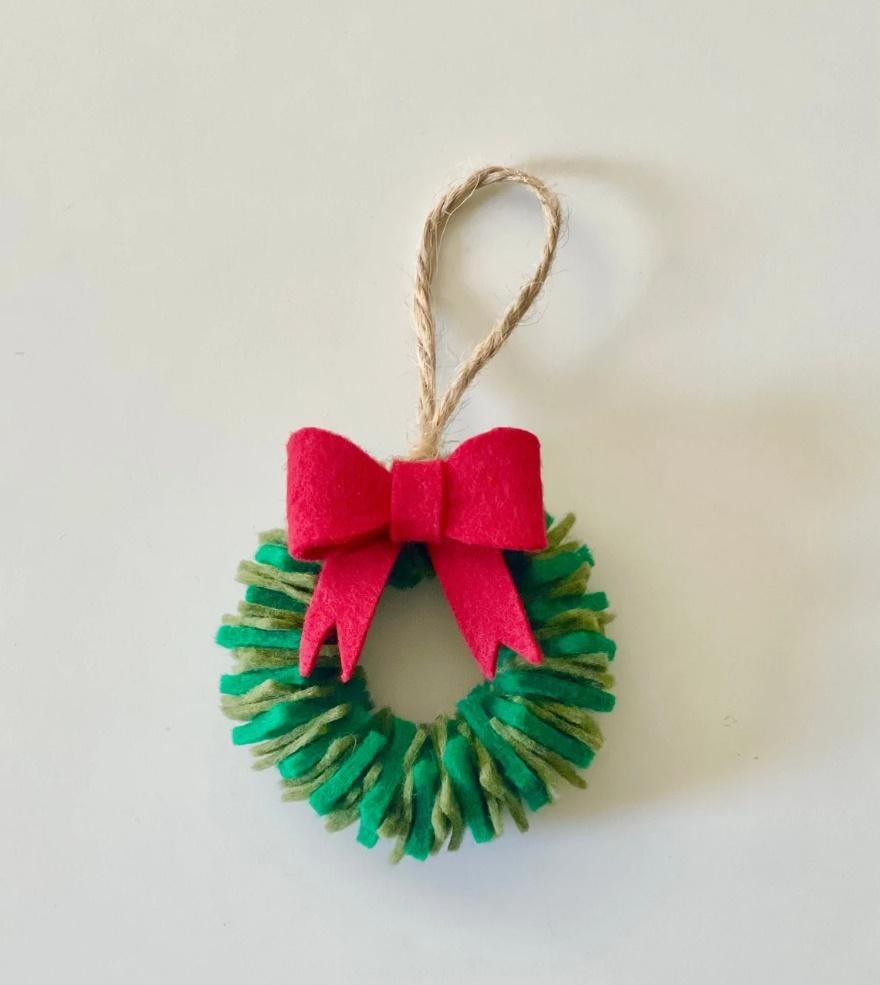
Felt ornaments are soft, bright, and forgiving — no raw edges to hem, so even first-time stitchers get clean results. Perfect for cozy garlands and kids' trees.
What You Need
- Craft felt sheets in a few colors
- Embroidery floss and a needle (or fabric glue for a no-sew version)
- Polyfill stuffing, scissors, and a paper template
Steps to Make a Felt Ornament
- Cut two matching shapes from a paper template — stars, hearts, animals, mittens.
- Decorate the front panel first: stitch or glue on smaller felt details, beads, or embroidery.
- Sew the panels together with a simple blanket stitch (or glue the edges), leaving a small gap.
- Stuff lightly with polyfill, then close the gap.
- Sew a ribbon loop into the top seam.
Method 6: How to Make a Paper Ornament
Paper is the five-minute method — free materials, zero cleanup risk, and surprisingly beautiful results.
What You Need
- Cardstock, scrapbook paper, or even old book pages
- Scissors, glue, and string
Steps to Make a Paper Ornament
- Accordion stars: fold two strips into fans, glue them back-to-back into a star, punch and thread.
- 3D baubles: cut 8–12 identical circles, fold each in half, and glue the halves in sequence into a sphere.
- Quilled shapes: roll thin strips into coils and arrange them inside a paper outline.
- Hang with thread — paper ornaments weigh nothing, so even tape holds them.
How do the ornament materials compare?
| Material | Time | Cost | Kid-friendly | Durability | Best for |
|---|---|---|---|---|---|
| Laser (wood, acrylic, metal) | 30–60 min | $1–3 | With supervision | Decades | Keepsakes, personalization, selling |
| Wood (hand tools) | 1–2 hours | $1–3 | With supervision | Decades | Rustic slices, one-off shapes |
| Acrylic | 30–60 min | $1–3 | With supervision | Decades | Sun catchers, modern looks |
| Clay | 2–3 hours | ~$1 | ✅ | Years, if sealed | Handprints, texture |
| Felt | 1–2 hours | $ | ✅ | Years | Soft, cozy, garlands |
| Paper | 10–30 min | pennies | ✅✅ | A season | Quick decor, classrooms |
10 Ornament Ideas for Every Occasion
An ornament can mark any occasion — not just December. These ten community designs cover birthdays, weddings, Halloween, and more, and every one is a real file you can open and make for free.
1. Milestone Birthday Ornaments
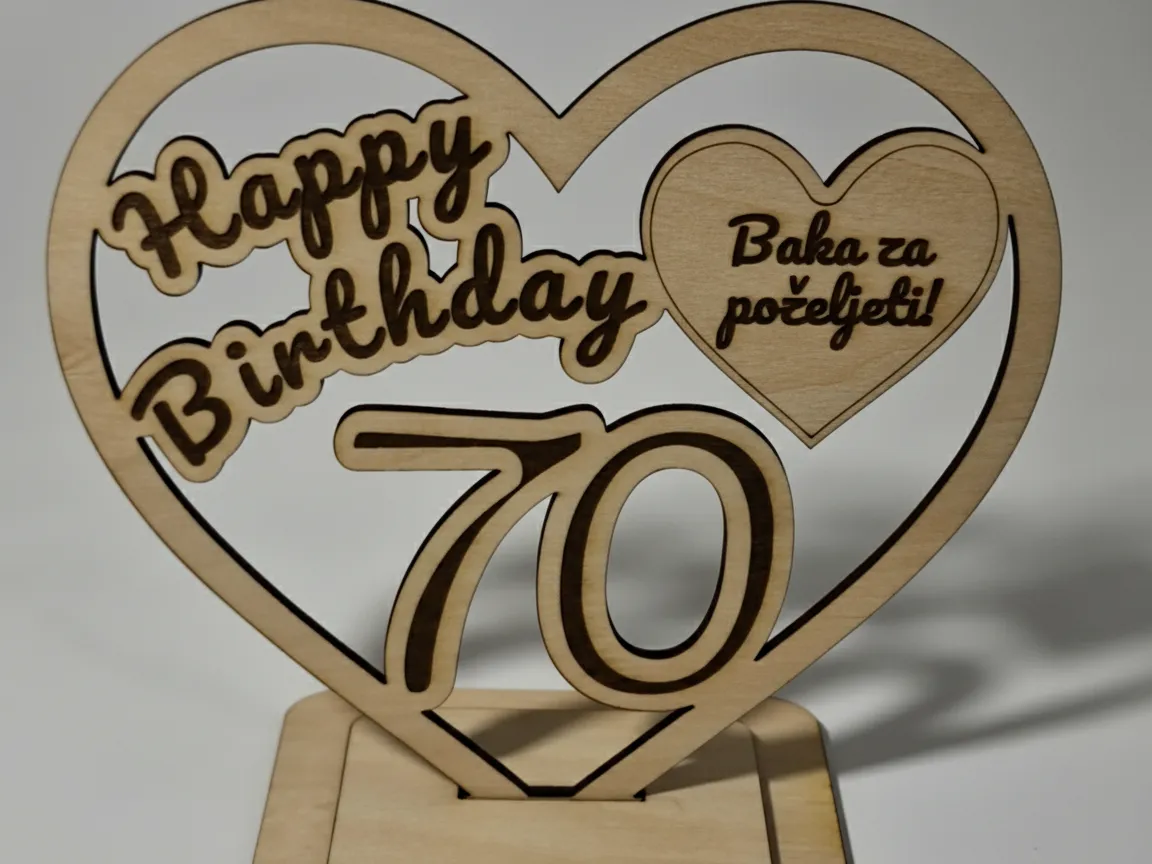
A milestone birthday deserves more than a card. A layered heart with the age and a message becomes a table centerpiece during the party and a keepsake after. Swap the number in the file and the same design covers every birthday from 1 to 100.
2. Easter Bunny Ornaments
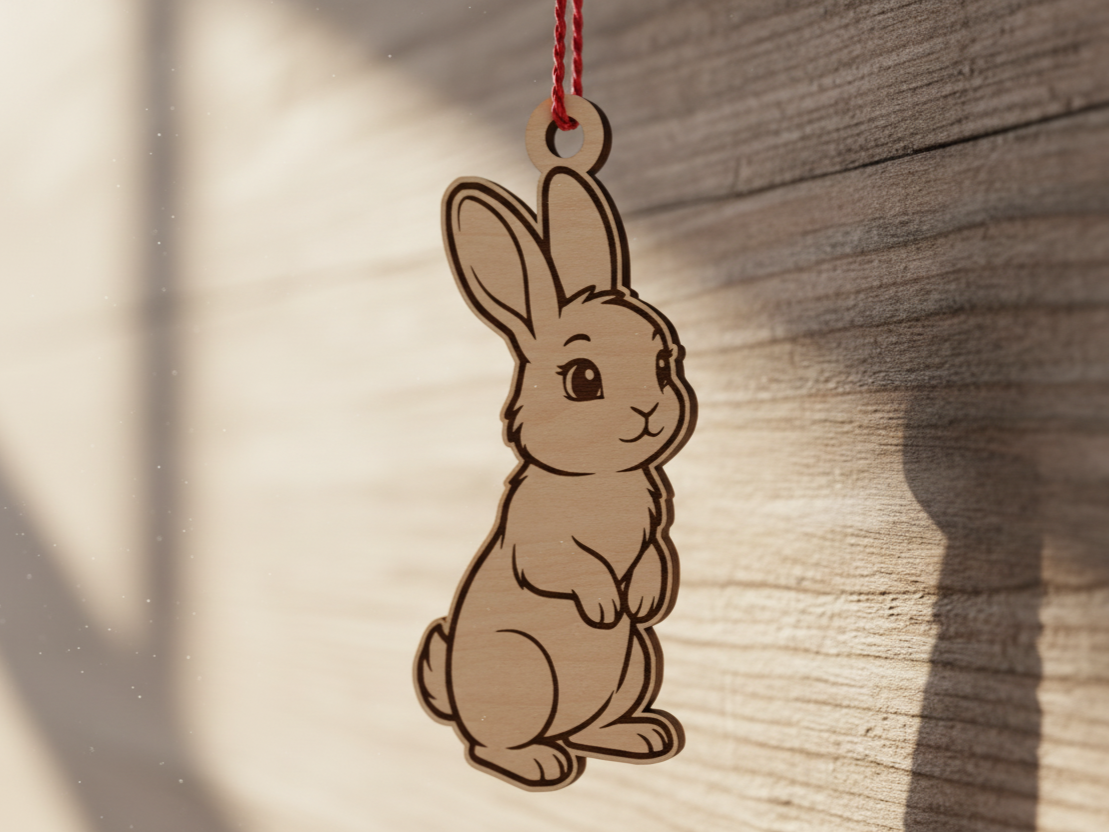
Spring ornaments deserve a branch too — an Easter tree of bunnies, chicks, and eggs is a European tradition worth stealing. This standing bunny cuts from one small piece of ply and hangs from a simple ribbon. Batch a family of them for an Easter centerpiece.
3. Fairy Sun Catchers
A sun catcher is an ornament for a window instead of a tree — and it works all year. This fairy-on-the-moon design pairs an intricate cut frame with a translucent panel that glows in daylight. One of the most magical things a laser can make for a kid's room.
4. Mother's Day Hearts

A small engraved heart says it better than a big printed mug. Florals around the border, a message in the middle, and a ribbon through the top — five minutes of machine time for the gift that stays on display. Works for grandmas, teachers, and anyone who needs reminding.
5. Halloween Charms
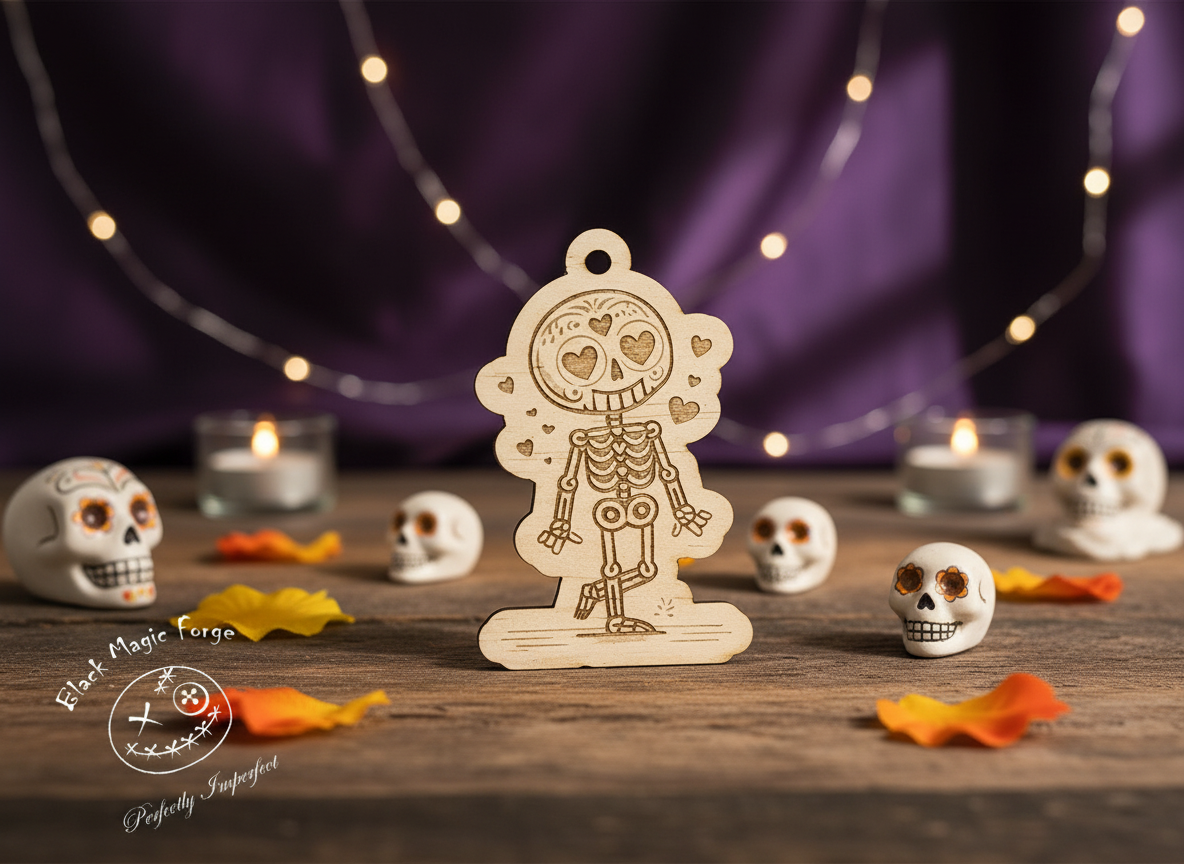
Halloween ornaments split the difference between spooky and adorable — this grinning skeleton manages both. Hang a set from a branch as a 'Halloween tree,' clip them to treat bags, or scatter them across the mantel. Cute-but-skellie is a vibe worth batching.
6. Graduation Keepsakes
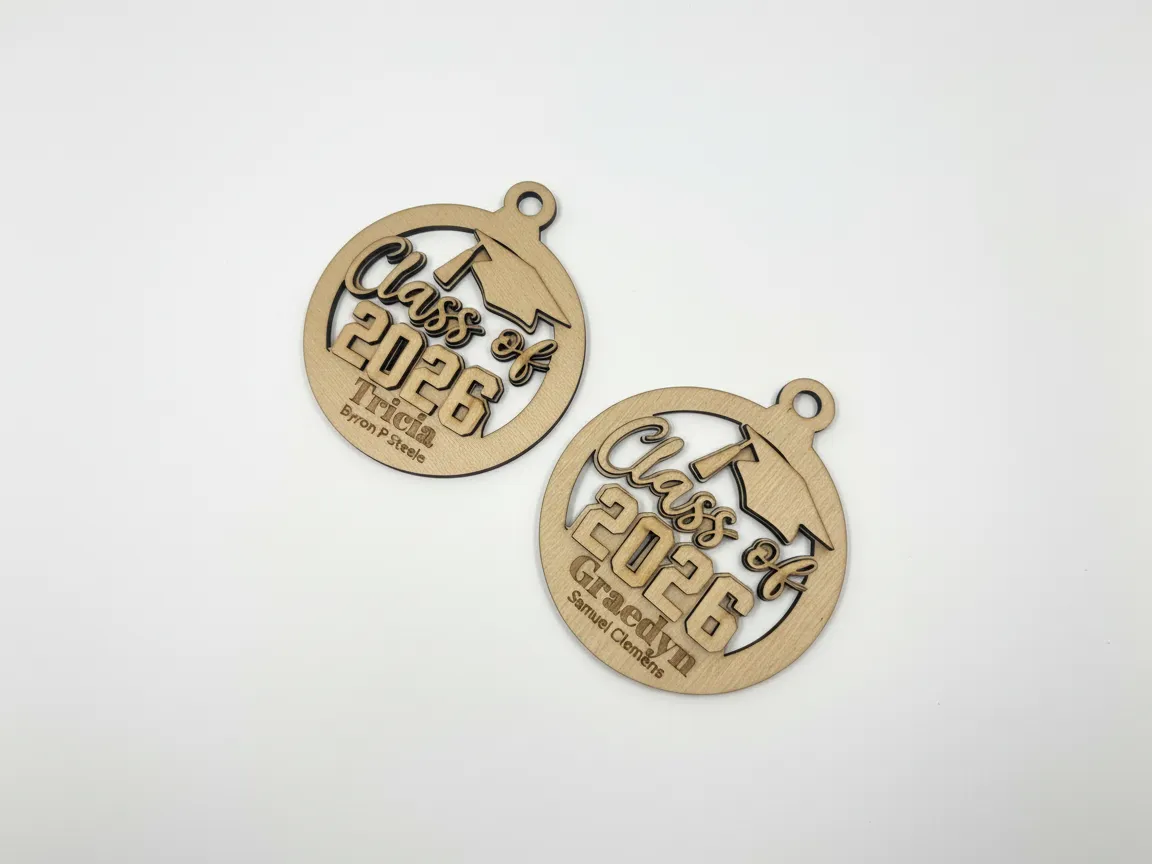
A Class-of ornament with the grad's name and year is the keepsake that survives the party. Cut a pair — one for the graduate, one for the parents — from a single sheet. Update the year in the file and this design works every single spring.
7. Wedding Ring Ornaments
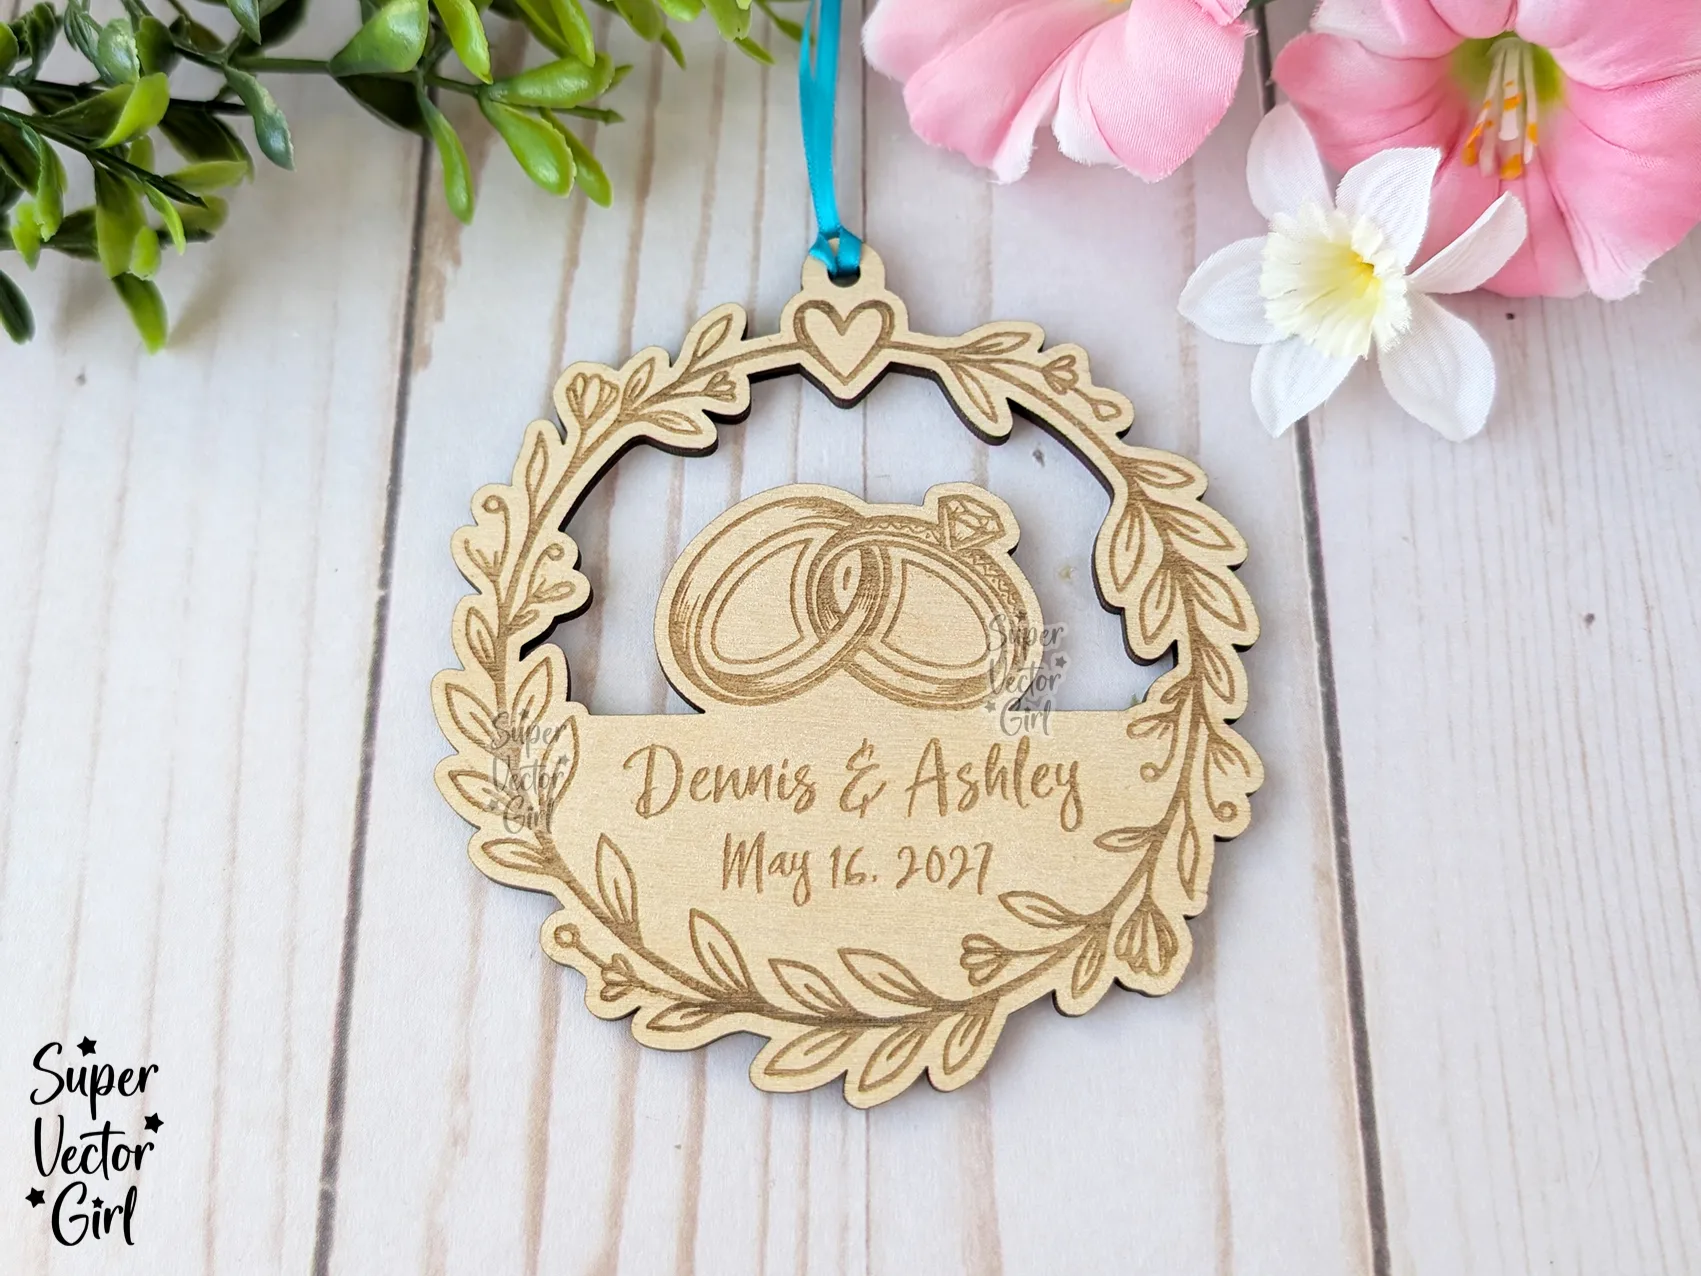
A wreath of engraved leaves around two rings, the couple's names, and the date — wedding ornaments double as favors, gift toppers, and first-anniversary keepsakes. Make one for the couple and minis for the wedding party.
8. Layered Butterfly Ornaments
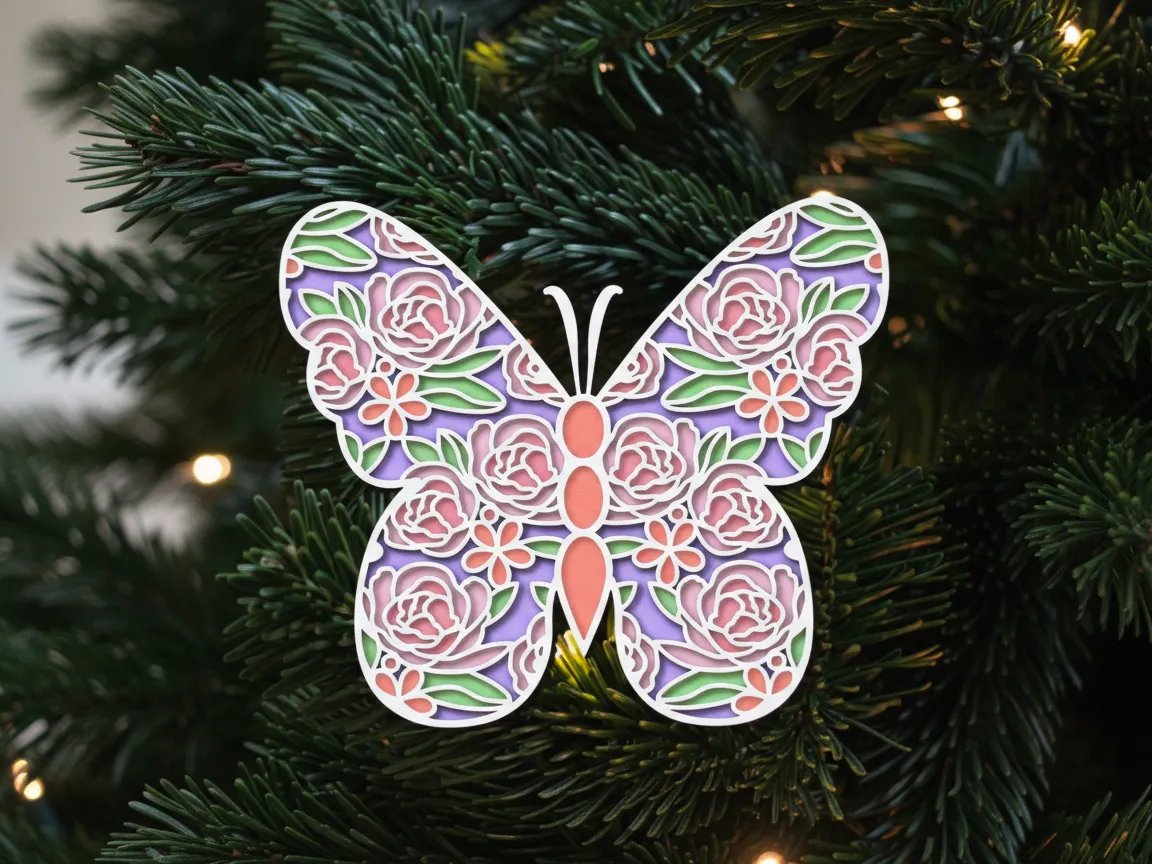
Stacked layers with a painted floral inlay make this butterfly read like folk art. Cut each layer separately, paint before assembly, and glue up — the depth is what sells it. Butterflies work for spring decor, nursery walls, and memorial keepsakes alike.
9. Pet Paw-Print Tags
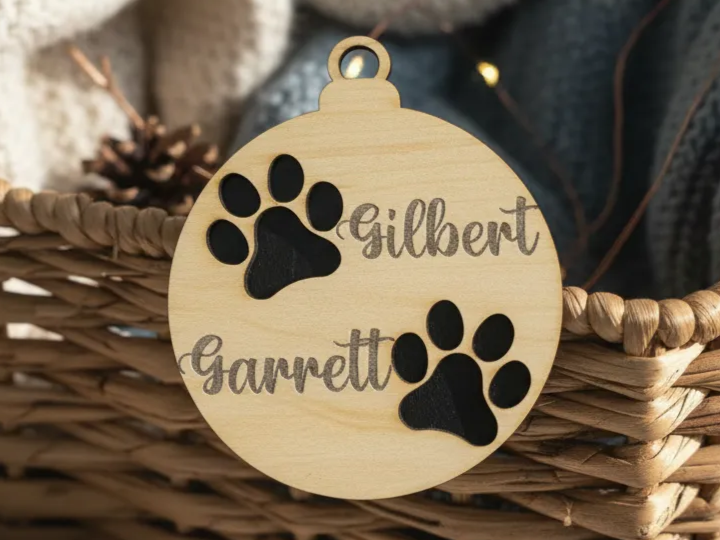
Pets are family, and they get ornaments too. Paw prints plus names on a simple round — hang it, clip it to a stocking, or tie it to a gift for the dog-sitter. Add a new ring for each pet and the design grows with the pack.
10. Engraved Basket Scenes
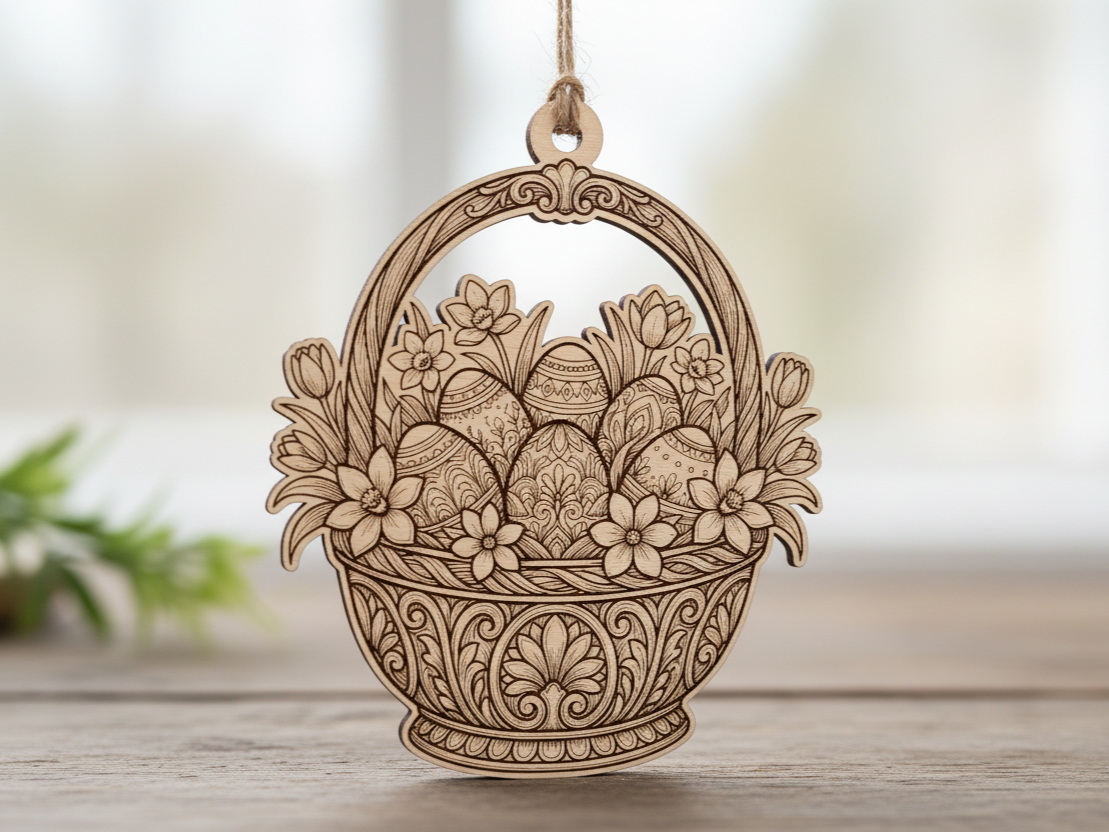
Fine engraving can carry an entire scene — this egg basket packs shading, florals, and texture into one small hanging piece. Scene ornaments show off what your machine can do and make beautiful seasonal sets: one scene per holiday, collected year by year.
The bottom line
Pick the route that fits the moment: a laser for personalized keepsakes in wood, acrylic, or metal, hand-cut wood for rustic one-offs, acrylic for color and light, clay for little hands and handprints, felt for cozy, and paper for right-now. Whatever you choose, build the hanging hole in from the start, and put a name and date on anything you want to survive the decades.
Frequently Asked Questions
What's the easiest ornament to make at home?
A paper accordion star or a beaded pipe-cleaner shape — ten minutes, materials you already own, and no drying time. If you want something that lasts, air-dry clay with a cookie cutter is nearly as easy.
How do you make ornaments that last for years?
Choose a durable material (wood, acrylic, or sealed clay), always make the hanging hole part of the construction — never an afterthought — and store ornaments wrapped in tissue somewhere cool and dry. Sealed clay and finished wood genuinely last decades.
How do you make a personalized ornament?
Engraving is the cleanest route: a laser adds names, dates, and even photos to wood or acrylic in minutes. No laser? Paint pens on clay or stitched initials on felt personalize just as sincerely — or start from a free ornament template and customize it.
What can I make ornaments for besides Christmas?
Everything: Easter baskets and bunnies, Halloween charms, graduation keepsakes, wedding favors, Mother's Day hearts, pet tags, sun catchers for any window, and baby's-first-anything milestones. An ornament is just a small decoration with a story and a string.
Can I sell handmade ornaments?
Yes — personalized and occasion-specific ornaments sell year-round, not just in December. Laser-cut designs scale best since one file yields identical pieces; clay and felt pieces trade volume for a handmade premium.
