
![[Laser cut and engrave] Dad the Farmer](https://image-res.atomm.com/resource/xtool/community/attachment/xtool-community/c308b4b3-e8e3-4e05-af38-2398a2526b47.jpg?x-oss-process=image/resize,w_1200,h_900,limit_0/interlace,1/format,webp/auto-orient,1)
![[Laser cut and engrave] Dad the Farmer](data:image/png;base64,iVBORw0KGgoAAAANSUhEUgAAAAoAAAAKCAYAAACNMs+9AAAAAXNSR0IArs4c6QAAABdJREFUKFNjZCASMBKpjmFUId6QIjp4AAppAAuXjCs4AAAAAElFTkSuQmCC)
![[Laser cut and engrave] Dad the Farmer](https://image-res.atomm.com/resource/xtool/community/attachment/xtool-community/c308b4b3-e8e3-4e05-af38-2398a2526b47.jpg?x-oss-process=image/resize,w_200,h_150,limit_0/interlace,1/format,webp/auto-orient,1)
![[Laser cut and engrave] Dad the Farmer](https://image-res.atomm.com/resource/xtool/community/attachment/xtool-community/a3d66a87-eb2f-44cb-bee2-c376c434e67e.jpg?x-oss-process=image/resize,w_200,h_150,limit_0/interlace,1/format,webp/auto-orient,1)
Dad the Farmer
 Instruction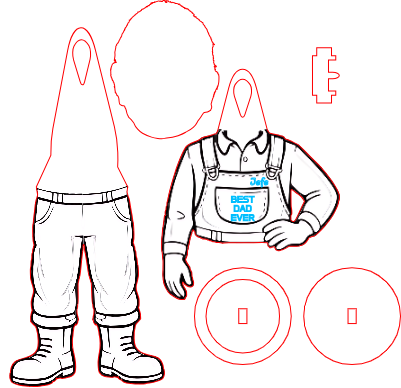


Information
      My dad served in the military, had a blue collar job his entire life, raised four kids and stayed married for over 60 years!!  What he really wanted to be was a Farmer.  This wiggling refrigerator magnet will remind him of how he would look as a farmer EVERY TIME he opens/closes the fridge...lol.

https://www.instagram.com/p/DZBFjtOMdwn/
Instruction
Step1: Magnet Assembly

3 pieces for the magnet assembly. Use the three lower round parts (2 wooden circles and magnet). Place the ring on the wooden circle and place the magnet inside the ring. Glue and let dry. (You can attach the “bridge” or wait until it dries.)
Step2: Order of assembly

Attach the "bridge" piece inside the slot of the magnet, this piece allows the body parts to ‘wiggle’ then and let dry. Place the legs in first then the upper body in the slots on the bridge. You will have one round piece with a slot that gets attached to the back of your “head,” carefully glue without getting any on the other pieces.
Be sure to align the head right at the neck area to give it a more natural look.
Step3: Place on the fridge and watch/listen to the smiles and laughter.


There you have it. Simple and fun to make. You will note that I did not include my father's photo in the file but I did leave a size reference for your head shot. You can make it a bit larger like a bobblehead to give it a comical look.
Remixes



You may also like

Father and Son Hero Wood Plaque wit customizable name.

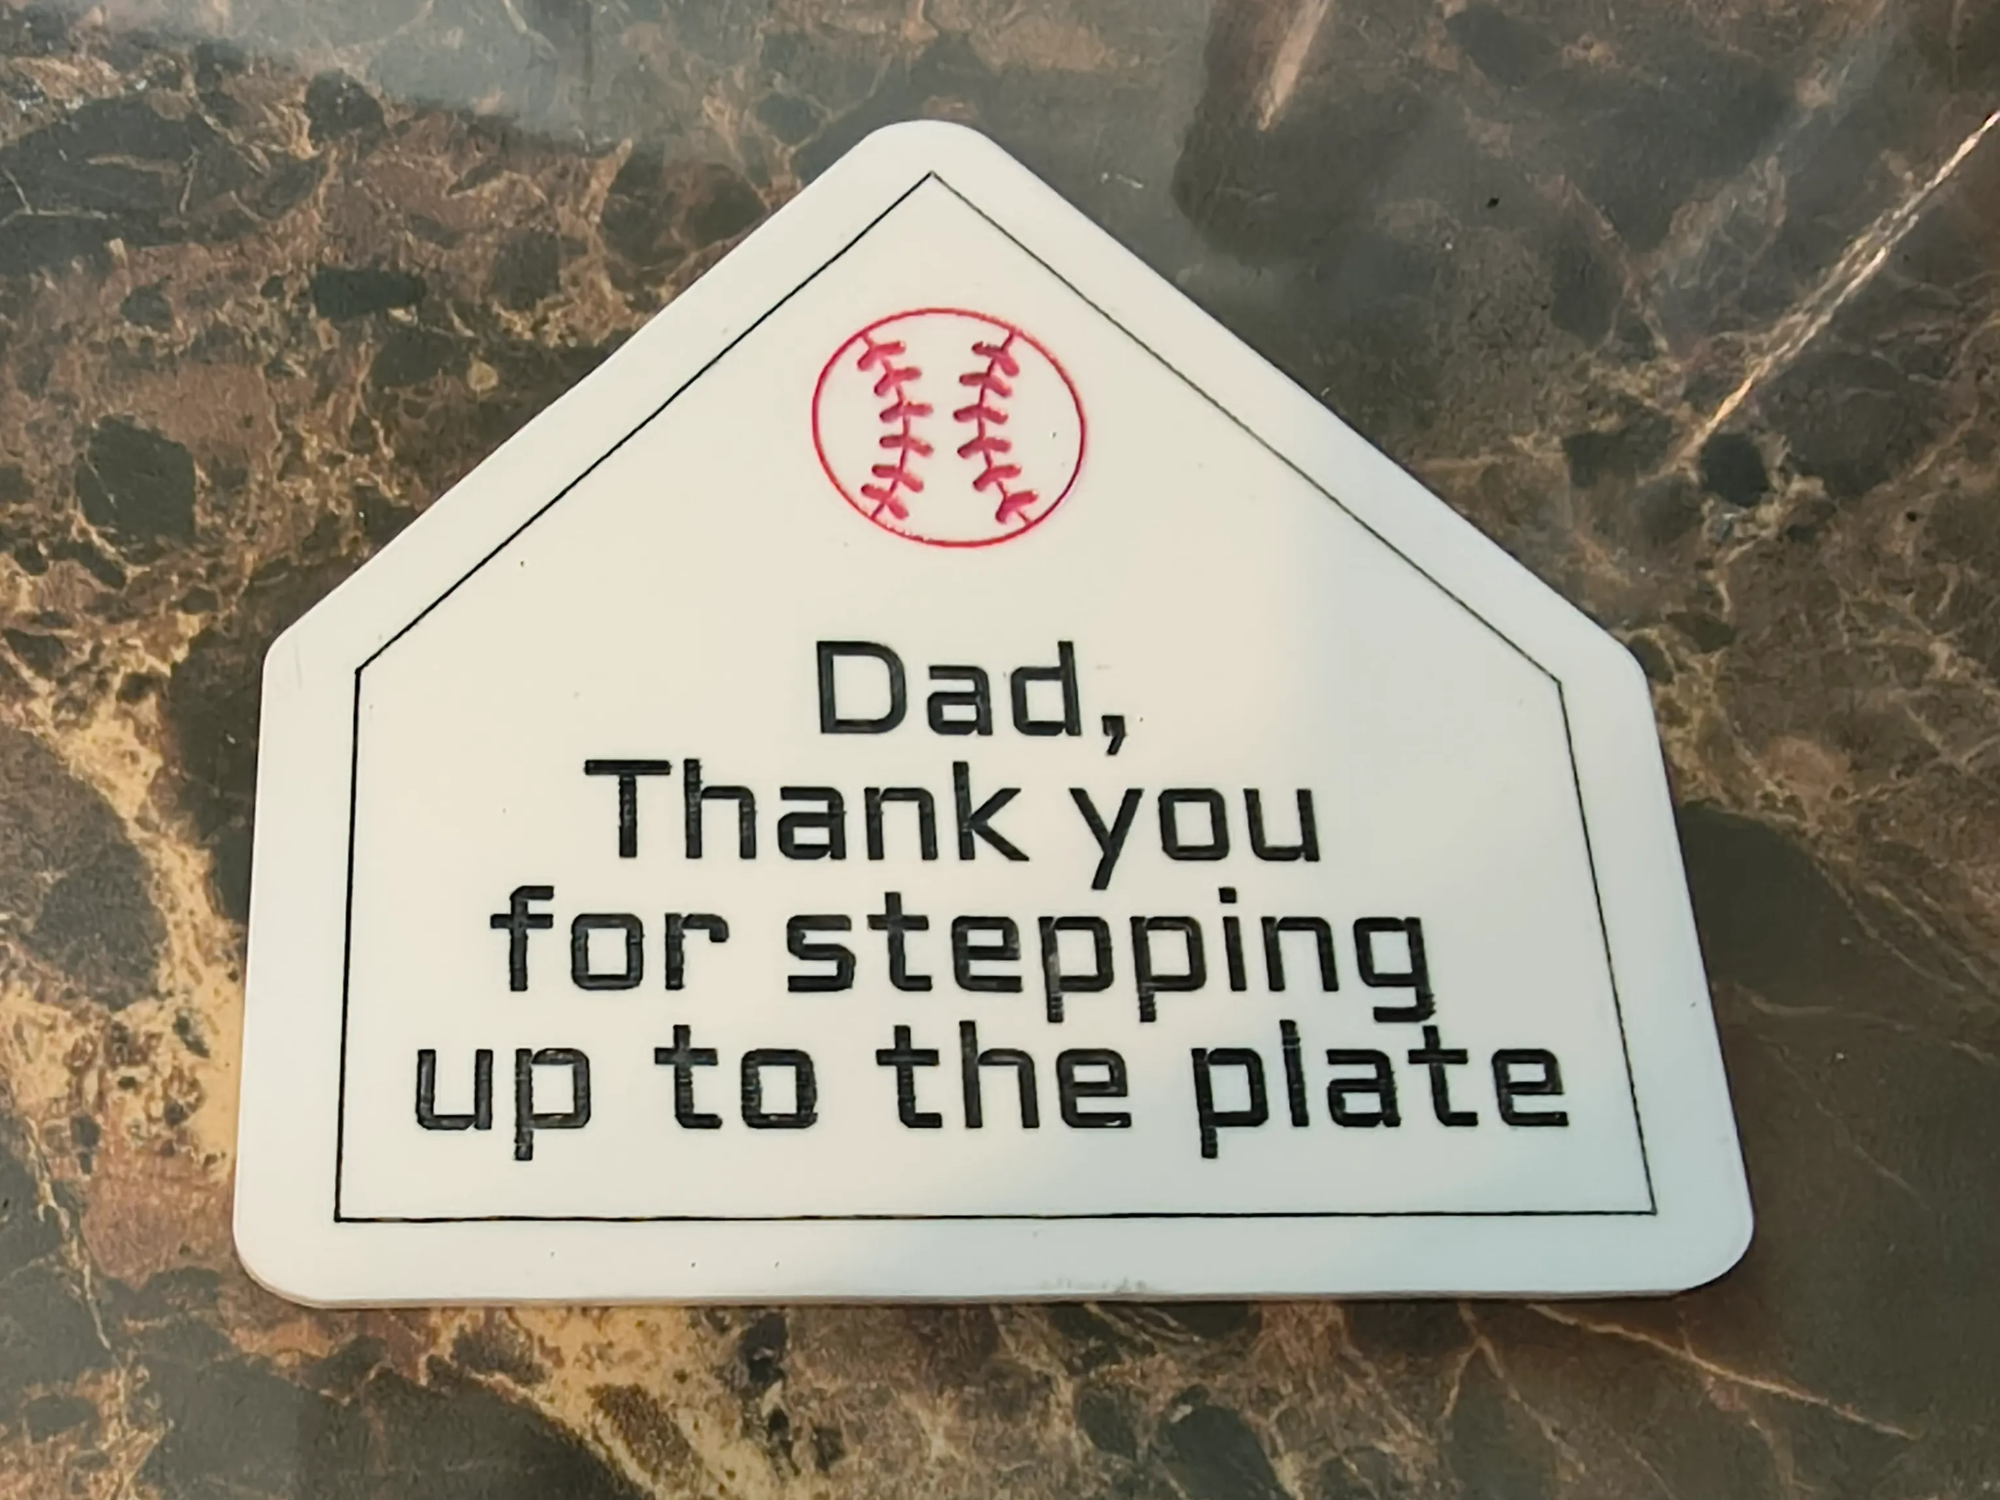
Baseball Home Plate Sign for Dad with Stepping Up to the Plate Quote


You Were There... — A Timeless Tribute to Dad


Father's Day Cross - A Good Dad Leads His Family By Faith


Log Cabin


Happy Father's Day Wooden Relief Plaque Featuring a Father and Child


Dad The Adventure Leader Wood Sign for Father's Day


Floral Scissors and Crescent Moon Wall Art


You're the best DAD I ever SAW!


3D Personalized Garage Sign


DAD Layered Wood Sign with Father and Child Silhouette Art


Father's Day motorcycle sign


Wall Score Marker for Wooden French Billiards **#2026fathersdaycontest**


Wall plaque with tree of life and message for dad


Father's Day greeting for Pet Dads


fathers day tile for karate dads


To The Best Dad In The World Wooden Plaque

"Daddy's Surprise"
