Report
![[Laser cut and engrave] Beach sign](https://image-res.atomm.com/resource/xtool/community/attachment/xtool-community/3b3fd79b-5d47-4d27-bdec-1eddafd4c248?x-oss-process=image/resize,m_fill,w_1280,h_960,limit_0/interlace,1/format,webp/auto-orient,1)
![[Laser cut and engrave] Beach sign](data:image/png;base64,iVBORw0KGgoAAAANSUhEUgAAAAoAAAAKCAYAAACNMs+9AAAAAXNSR0IArs4c6QAAABdJREFUKFNjZCASMBKpjmFUId6QIjp4AAppAAuXjCs4AAAAAElFTkSuQmCC)
![[Laser cut and engrave] Beach sign](https://image-res.atomm.com/resource/xtool/community/attachment/xtool-community/3b3fd79b-5d47-4d27-bdec-1eddafd4c248?x-oss-process=image/resize,m_fill,w_160,h_120,limit_0/interlace,1/format,webp/auto-orient,1)
![[Laser cut and engrave] Beach sign](https://image-res.atomm.com/resource/xtool/community/attachment/xtool-community/76887458-040f-4c04-bef2-e250d50dd7f0/20240719_141322.jpg?x-oss-process=image/resize,m_fill,w_160,h_120,limit_0/interlace,1/format,webp/auto-orient,1)
![[Laser cut and engrave] Beach sign](https://image-res.atomm.com/resource/xtool/community/attachment/xtool-community/31a10912-00ca-488a-b16e-e9d72733394c/20240719_141402.jpg?x-oss-process=image/resize,m_fill,w_160,h_120,limit_0/interlace,1/format,webp/auto-orient,1)
![[Laser cut and engrave] Beach sign](https://image-res.atomm.com/resource/xtool/community/attachment/xtool-community/bdb3d5bb-c919-41b4-9c1c-90bf4cf40f95/20240719_141351.jpg?x-oss-process=image/resize,m_fill,w_160,h_120,limit_0/interlace,1/format,webp/auto-orient,1)
Beach sign
 Instruction
beach sing
.xcs
Application scenario
Laser (20min)
Machine & module

xTool M1
10WCompatible xTool Machine
P3
F2
F2 Ultra UV
F2 Ultra(Single)
F2 Ultra
F1 Ultra
F1
F1 Lite
S1
P2S
P2
M1 Ultra
D1 Pro 2.0
D1 Pro
D1
Laserbox
M2
Material used

1/8"(3mm) Basswood Plywood

19
2053
Information
i like the summer with its maritime themes :)
Instruction
1
Step1: fish and arrow

Preview

Preview

Preview

Preview
first we add the fish
and create an outline with 1mm for cutting
remove any excess from the outline
2
Step2: arrow adjust

Preview

Preview

Preview

Preview
with the arrow we extend the length with edit node
then we add the other shape
to be found under basic shapes
for the shape we add further anchor points to customize it
3
Step3: lines

Preview

Preview

Preview

Preview
then we get a pattern like this
we rotate it by 90
make it bigger and set it to score
with edit node we can cut the edges with the scissors
4
Step4: holes

Preview
if you want to hang it up, add 2 more holes
5
Step5: painting and glue

Preview

Preview
when painting i thinned the acrylic paint with water, so that it was not opaque
paint everything and then glue it together
Comments
Remixes



You may also like

Colorful fish decoration for children

0
10

Lasergravierter Holzanker

8
85

Set of Wooden Seashell Wall Art Pieces

13
97

Wooden Nautical Sea Creature Hanging Ornaments

4
14

Dangling earrings in the shape of a shell

1
11

Laser Cut Wooden Seahorse, Cow, Swan and Turtle templates

0
28

Comb

12
50

Sea turtle
4
20
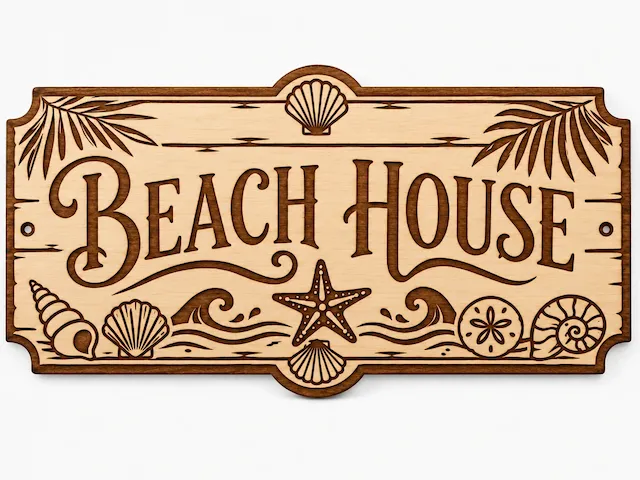
Beach House Wooden Sign | Rustic Coastal Door Plaque, Laser Cut & Engraved Wall Decor with Seashells, Starfish & Ocean Vibes

1
19

$7.98
$7.98
Credits798
Bundle
Ocean Tiered Tray, Summer Laser Files, Ocean Signs
.PNG?x-oss-process=image/resize,m_fill,w_80,h_80,limit_0/interlace,1/format,webp/auto-orient,1)
27

Welcome Summer Wood coaster

18
29

Coastal Seahorse One-Line Engraving

2
18

Lighthouse & shells Summerdeko
17
58

$1.70
$1.70
Credits170
Ocean Frame Lasercut Decoration SVG

2

Ornament – Underwater Scene with Seahorse and Sea Motifs (3 Layers)

13
38

Place card

3
19

$2.49
$2.49
$8.30
Credits249
Beach Life Turtle Round Sign

52

Shark Shaped Wooden Coasters
4
23