
![[Laser cut and engrave] Welcome Flower Wall Art](https://image-res.atomm.com/resource/xtool/community/attachment/xtool-community/a4c15217-21dd-442e-b618-1e7a3eb4b9c2?x-oss-process=image/resize,w_1200,h_900,limit_0/interlace,1/format,webp/auto-orient,1)
![[Laser cut and engrave] Welcome Flower Wall Art](data:image/png;base64,iVBORw0KGgoAAAANSUhEUgAAAAoAAAAKCAYAAACNMs+9AAAAAXNSR0IArs4c6QAAABdJREFUKFNjZCASMBKpjmFUId6QIjp4AAppAAuXjCs4AAAAAElFTkSuQmCC)
![[Laser cut and engrave] Welcome Flower Wall Art](https://image-res.atomm.com/resource/xtool/community/attachment/xtool-community/a4c15217-21dd-442e-b618-1e7a3eb4b9c2?x-oss-process=image/resize,w_200,h_150,limit_0/interlace,1/format,webp/auto-orient,1)
![[Laser cut and engrave] Welcome Flower Wall Art](https://image-res.atomm.com/resource/xtool/community/attachment/xtool-community/25f8174e-32d2-4eb1-9f96-acc23bd09785/IMG_7806.jpeg?x-oss-process=image/resize,w_200,h_150,limit_0/interlace,1/format,webp/auto-orient,1)
Welcome Flower Wall Art
 Instruction


Information
Instruction
Step1: Design

For this Design I used assets from Freepik: Hand gezeichnete dekorative mit Blumenelemente | Kostenlose Vektor (freepik.com)
Please know that you can't use them for selling products as main focus of design. So this Wall Art is only for personal use.
For the end result it's made within Adobe Illustrator and usage of Shaper Tool. This way you create all parts seperatly and then selecting all and create the shapes you want. This way I also created the Score lines for easier placement in assembly
Step2: Settings

Green = Engrave
Violet = Score (Help for alignment in assembly)
Red = Cut
Step3: Assembling


- Color if wanted
- Add glue to pieces and glue to background layer
No big deal, just glueing pieces.
Step4: Final Art


This is the final piece and I think ist very cute and a fun door hanger.
For mine there is a mistake but thats fixed inside the XCS file.
Have fun creating it! ~Anzy
Remixes



You may also like

Large Wall Flower Decor


Welcome to Grandma & Grandpa's Farmhouse Wall Sign Laser Files. A Farmhouse Style Family Wall Art.


Sunflower Welcome sign on MDF 6mm


Wooden dog head wall art


Home Sign


3D Welcome sign. Home decor laser cut file. Home quote svg. Boho layered wall hanger. Welcome home. Round sign


Flower wall decor


Laser Cut Wooden Wall Art Sign With Abril Text and Floral Design


Floral wall art decor


Macrame Wall Art

Chicken Welcome Sign SVG | Farmhouse Wall Decor Laser Cut File | Rooster Welcome Sign SVG | Farm Animal Wall Art | CNC SVG

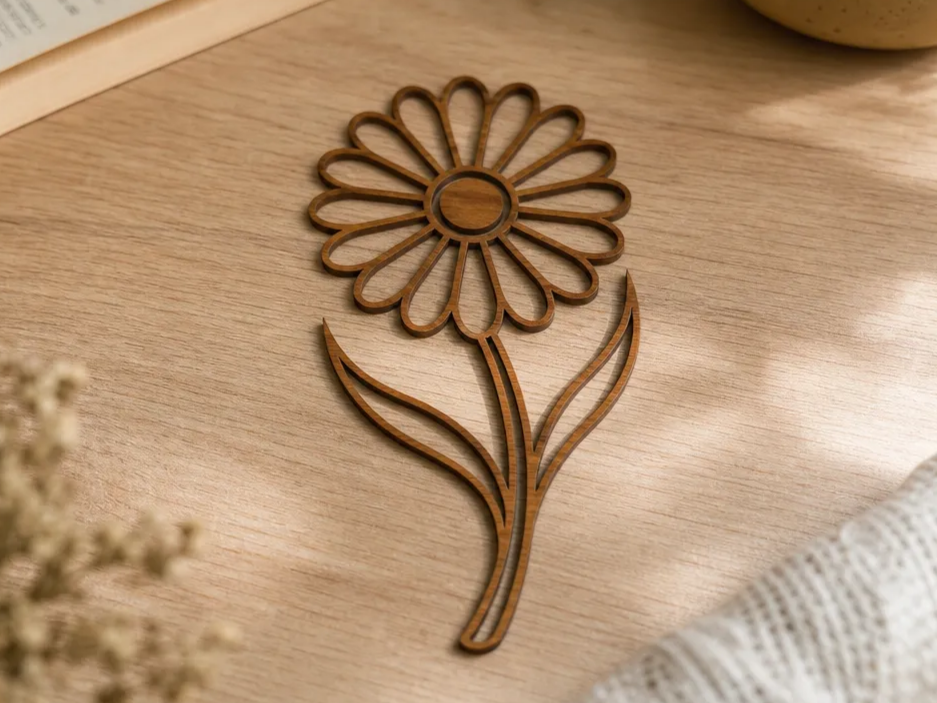
Daisy Flower Wall Art Cutout


Motocross Number and Wall Art


Tree silhouette wall art

Floral Decoration for Shelf or Wall


'/%3e%3cdefs%3e%3clinearGradient%20id='paint0_linear_1433_15675'%20x1='12'%20y1='3.25'%20x2='16.6891'%20y2='20.75'%20gradientUnits='userSpaceOnUse'%3e%3cstop%20stop-color='%23FF5D80'/%3e%3cstop%20offset='1'%20stop-color='%23FF0035'/%3e%3c/linearGradient%3e%3c/defs%3e%3c/svg%3e)
3D Interchangeable home sign laser cut. Wooden rustic wall decor. Seasonal welcome sign. 1 Design

Pink Flower with Depth Wall Art

Welcome Wall Sign with Ornate Scrollwork Border
