
Store-bought ornaments fill a tree, but handmade ones tell its story — the lopsided salt-dough star from a first Christmas, the photo ball from a big year, the engraved wooden name tag that comes out every December. Making ornaments is also one of the easiest crafts there is: most methods need supplies you already have.
The short answer: you can make Christmas ornaments five ways —
- Salt dough — the flour-and-salt classic.
- Clear fillable balls — swirl paint or glitter inside.
- Cinnamon applesauce dough — they scent the whole tree.
- Laser-cut wood or acrylic — heirloom-grade and endlessly personal.
- Quick paper or bead crafts — for little hands.
Here's how to do each, step by step.
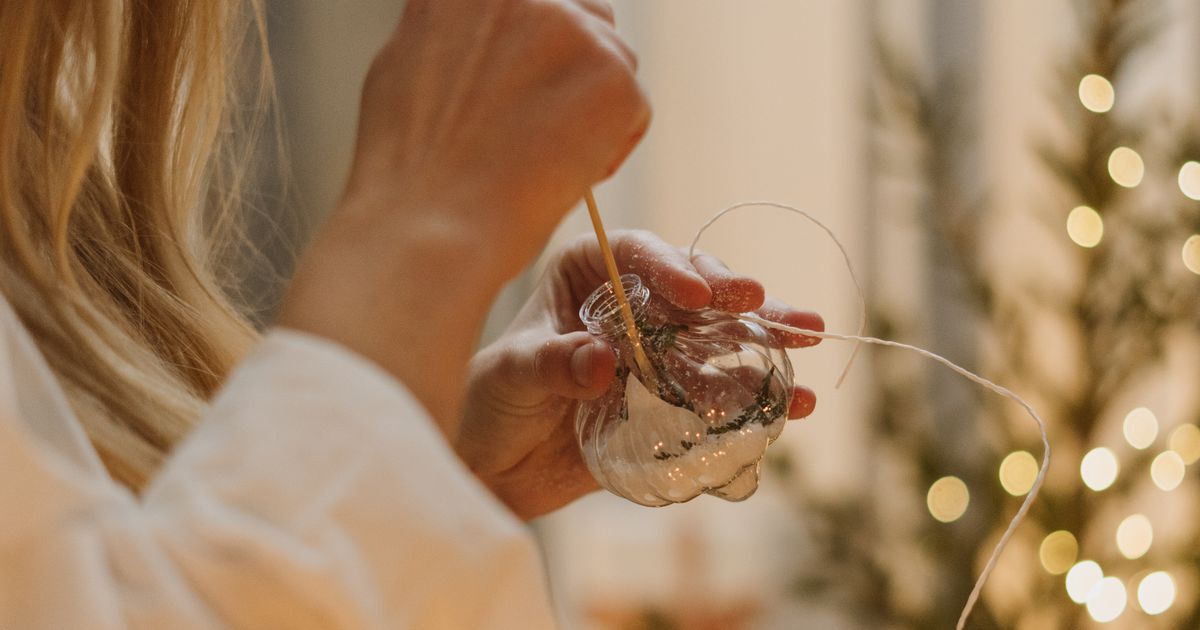
Method 1: How to Make Salt Dough Christmas Ornaments
The classic for a reason: three pantry ingredients, cookie cutters, and an afternoon. Sealed properly, salt dough ornaments last for decades — which is why so many families still hang ones made a generation ago.
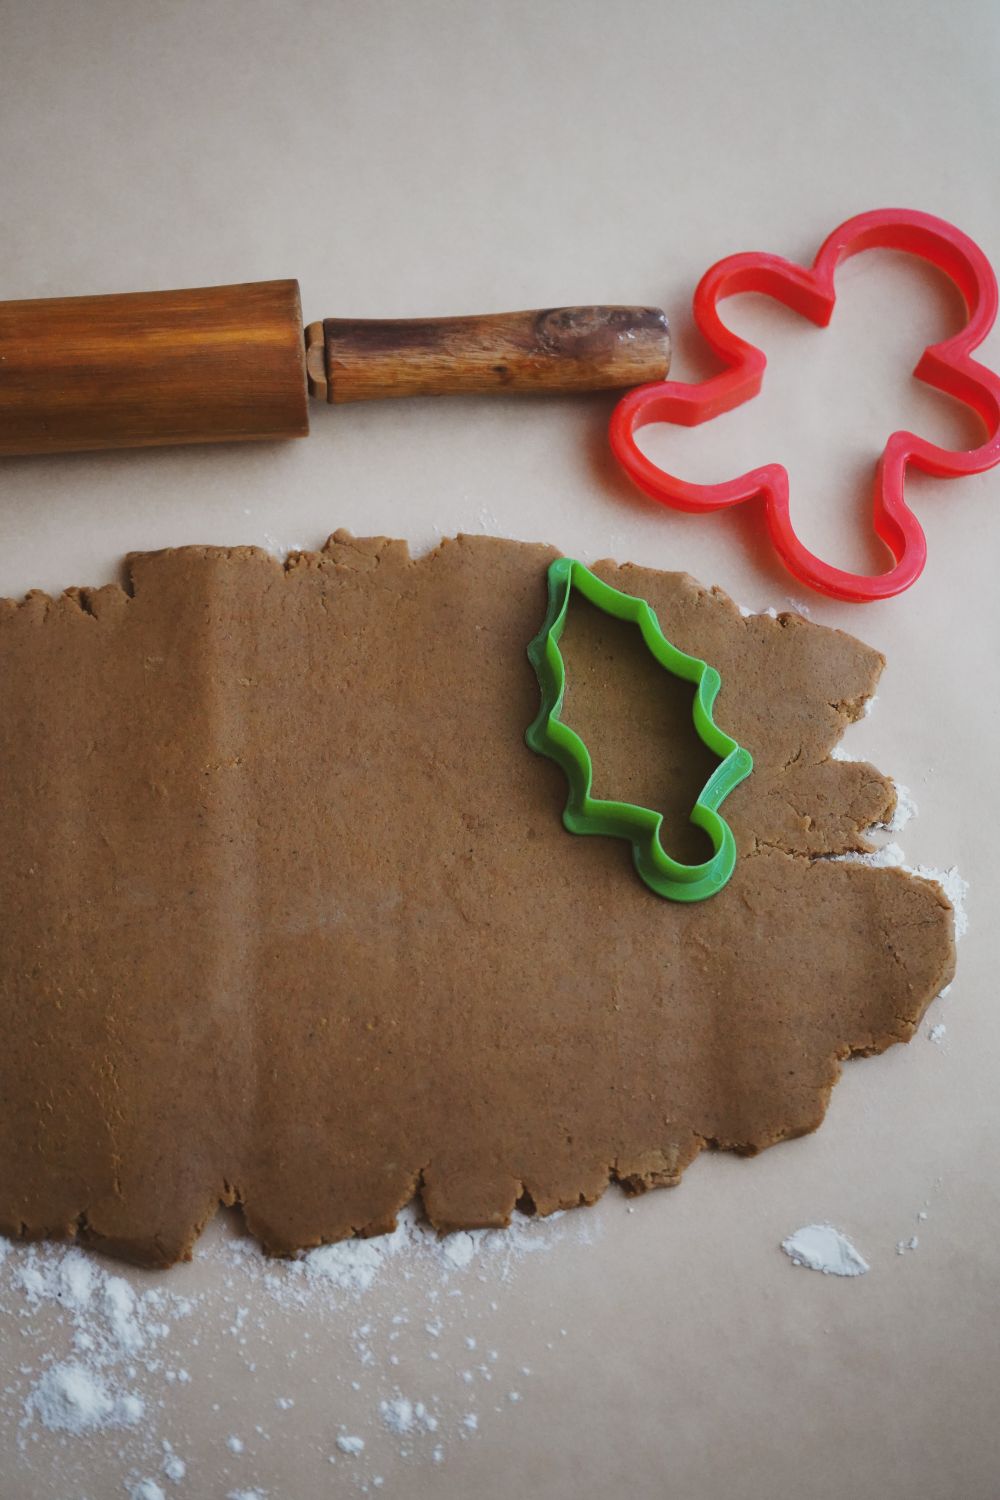
What You Need
- 2 parts all-purpose flour, 1 part table salt, about ¾ part warm water (e.g. 4 cups flour, 1 cup salt, 1½ cups water)
- A rolling pin and cookie cutters
- A drinking straw (for the hanging hole), baking sheet and parchment
- Acrylic paints and a sealer (Mod Podge or clear spray)
Steps to Make Salt Dough Ornaments
- Mix the dough. Whisk the flour and salt, then add warm water gradually and knead until smooth — add a spoonful more water at a time if it's crumbly.
- Roll it ⅛–¼ inch thick. Thinner dries flatter and is less likely to puff or crack.
- Cut your shapes with cookie cutters and punch a hanging hole near the top with a drinking straw — before baking, never after.
- Bake low and slow: 200°F (93°C) for 1–2 hours, flipping halfway, until hard and evenly light on both sides. (Hotter ovens puff and brown the dough.) Or air-dry flat for 2–4 days, turning regularly.
- Cool, paint, and seal both sides. Salt dough absorbs moisture, so an unsealed ornament softens over the years — Mod Podge or a clear acrylic spray keeps it hard.
Tip: Salt dough is the keepsake method — press a child's hand or a pet's paw into a rolled circle before baking, punch the hole, and you've made the ornament everyone tears up over in twenty years. (Want bake times, troubleshooting, and sealing details? There's a dedicated salt-dough walkthrough.)
Method 2: How to Make Clear Fillable Ball Ornaments

Clear plastic or glass ball ornaments are blank canvases you fill from the inside — no artistic skill required, and every one comes out different.
What You Need
- Clear fillable ball ornaments (plastic is shatterproof and kid-safe)
- Acrylic paint, or fine glitter plus a clear coat (Polycrylic or thinned glue)
- Small photos, fake snow, or tiny trinkets for scene fills
Steps to Fill a Clear Ornament
- Paint swirl: pop off the metal cap, pour in about a tablespoon of acrylic paint (one to three colors), and rotate the ball slowly at an angle so the paint coats the inside. Drain it upside-down over a cup and let it dry uncapped for a day or two.
- Glitter: swirl a little clear coat inside, pour out the excess, funnel in fine glitter, cap the opening with your thumb, and shake until coated.
- Photo: cut the photo into a circle the same diameter as the ball, roll it loosely, slide it through the neck, and unfurl it inside with a pencil.
- Tiny scenes: fake snow and a miniature tree, cranberries and greenery, or pom-poms for a kids' version.
- Re-seat the cap and thread a ribbon.
Method 3: How to Make Cinnamon Applesauce Ornaments
These smell like Christmas itself — a stiff dough of cinnamon and applesauce that dries rock-hard and scents the tree for weeks. One warning up front: they look like cookies but they're decorative only.
What You Need
- About 1 cup ground cinnamon per ¾–1 cup applesauce (buy the cheap bulk cinnamon — nobody's eating it)
- Optional: 1–2 tablespoons white glue for extra durability
- A rolling pin, plastic wrap, cookie cutters, and a straw
Steps to Make Cinnamon Ornaments
- Mix cinnamon and applesauce into a stiff, non-sticky ball, adjusting the ratio as needed.
- Roll ¼ inch thick between two sheets of plastic wrap — no flour needed, no sticking.
- Cut shapes and punch a straw hole near the top of each.
- Dry at 200°F for about 2½ hours, flipping once — or air-dry for a day or two, turning occasionally.
- Cool and hang. They're intentionally left unpainted — the deep cinnamon brown is the look. If the scent fades next year, refresh it with a drop of cinnamon oil.
Method 4: How to Make Laser-Cut Wood or Acrylic Ornaments
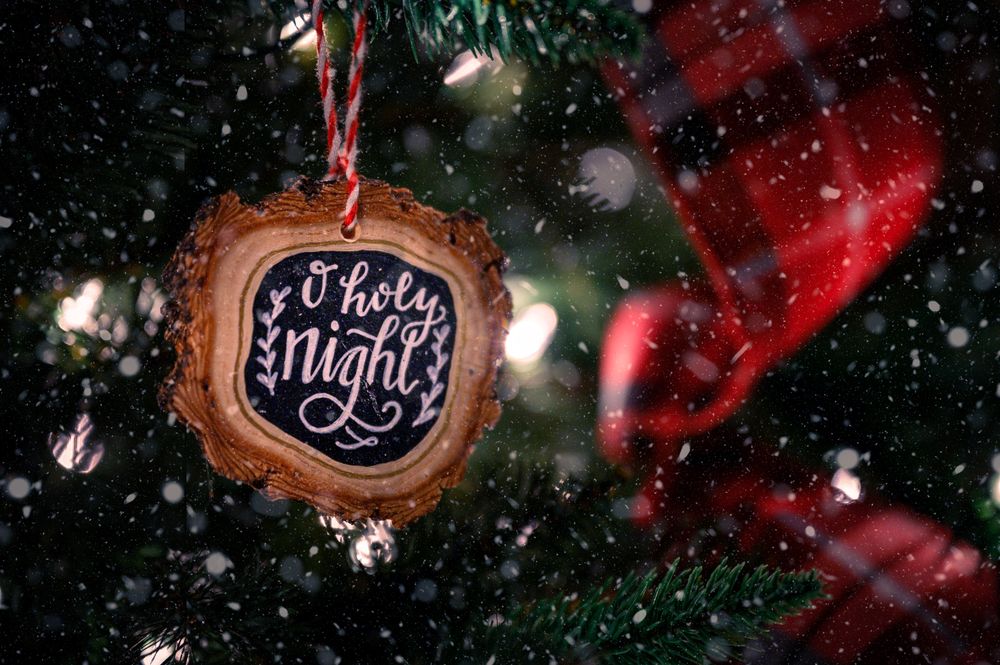
This is the heirloom method: engraved names and dates, layered colors, photo-engraved keepsakes, and snowflakes with detail no scissors could cut. Once the file is set, you can make one — or fifty identical ones for gifts and craft fairs.
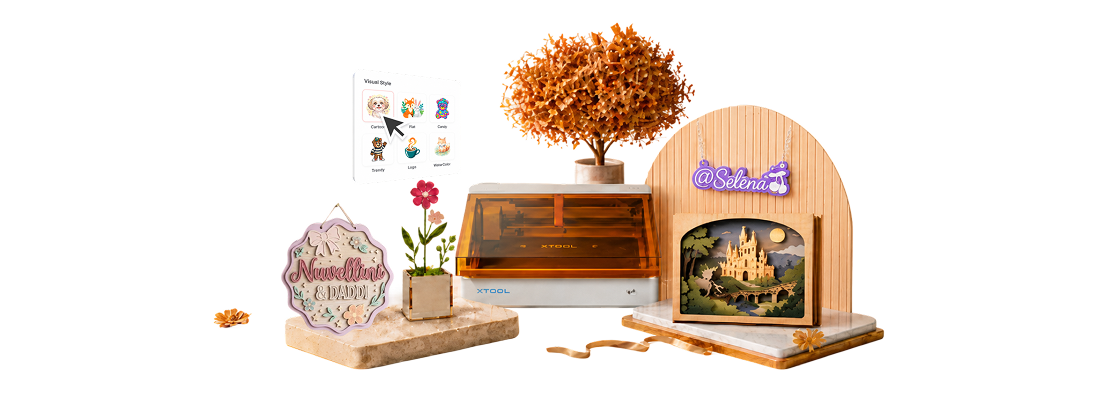
If you're shopping for a machine for exactly this kind of project, the xTool M2 is the current do-it-all starter: an enclosed Class 1 diode laser (10W or 20W) that also swaps in a CMYK inkjet head, so it prints a full-color design and cuts it out in one session — dual cameras handle placement and air assist is built in. For ornaments, that means colored designs straight off the machine — no painting session afterward.
What You Need
- A laser cutter (any diode or CO2 machine handles this)
- 3 mm basswood plywood for a warm engraved look, or 3 mm clear/colored acrylic for a glossy modern one
- A design — start instantly with the Atomm Christmas ornament generator or a ready-made ornament template
- Ribbon or twine for hanging
Steps to Laser Cut a Christmas Ornament
The workflow below follows xTool's own plywood processing guide:
- Pick or design your ornament. Generate one in seconds with the ornament generator, or design your own — xTool Studio's tools even let you drop a family photo inside a bauble outline for a photo-engraved keepsake.
- Include a 3–5 mm ribbon hole in the design near the top — it gets cut with the outline, never drilled after.
- Set two operations: engrave the interior details or photo first, then cut the outer outline and hole. Load the material preset for 3 mm basswood ply or acrylic.
- Run the job on a clean honeycomb bed to keep the back free of scorch.
- Finish: lightly sand wood edges, or peel the film from acrylic. Add ribbon.
- Go dimensional: cut the same design from two or three wood tones or acrylic colors and stack the layers — the layered look is the signature laser ornament no other method can match. For a whole tree's worth of inspiration, browse these personalized ornament ideas.
Tip: Engrave the name and year on the back of every ornament you make. It costs thirty seconds of machine time and turns a decoration into a keepsake — and personalized ornaments are consistently among the best-selling laser projects.
Method 5: Quick Paper and Bead Ornaments for Kids
Little hands need ornaments too — these two take minutes and survive enthusiastic help.

- Folded paper stars: accordion-fold two strips of festive paper, glue them back-to-back into a star, punch a hole, and thread ribbon.
- Beaded candy canes: string red and white pony beads onto a pipe cleaner in an alternating pattern, fold the ends over the last beads, and bend the top into a hook. It doubles as fine-motor practice for preschoolers.
How do the ornament methods compare?
| Method | Time | Cost | Kid-friendly | Durability |
|---|---|---|---|---|
| Salt dough | 2–3 hours | ~$1 | ✅ | Decades, if sealed |
| Fillable balls | 30 min + drying | $ | ✅ | Years |
| Cinnamon dough | 3 hours | $ | ✅ | Years (scent fades, refreshable) |
| Laser-cut wood/acrylic | 30–60 min | $1–3 each | With supervision | Decades |
| Paper & beads | 10–20 min | pennies | ✅✅ | A season or two |
10 Christmas Ornament Examples to Try
Handmade doesn't have to mean simple. These ten community favorites show how far a Christmas ornament can go — from layered gnomes to personalized name baubles — and every one is a real design you can open and make for free.
1. Gnome Ornaments
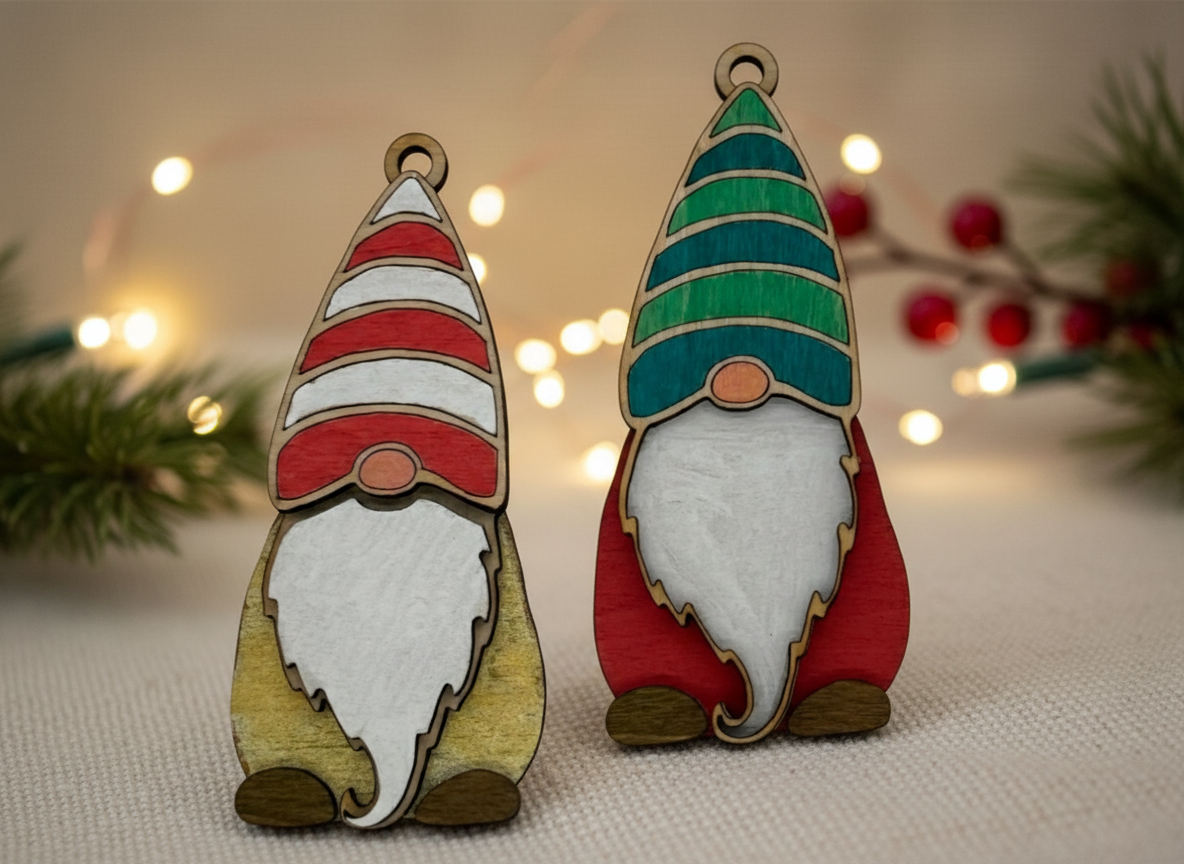
Layered gnomes are the community's most-loved Christmas ornament — stacked wood pieces give the hats and beards real depth, and a little paint brings them alive. Cut all the layers in one job and glue them up in minutes. They look hand-carved, but the laser does the hard part.
2. Family Tree Baubles
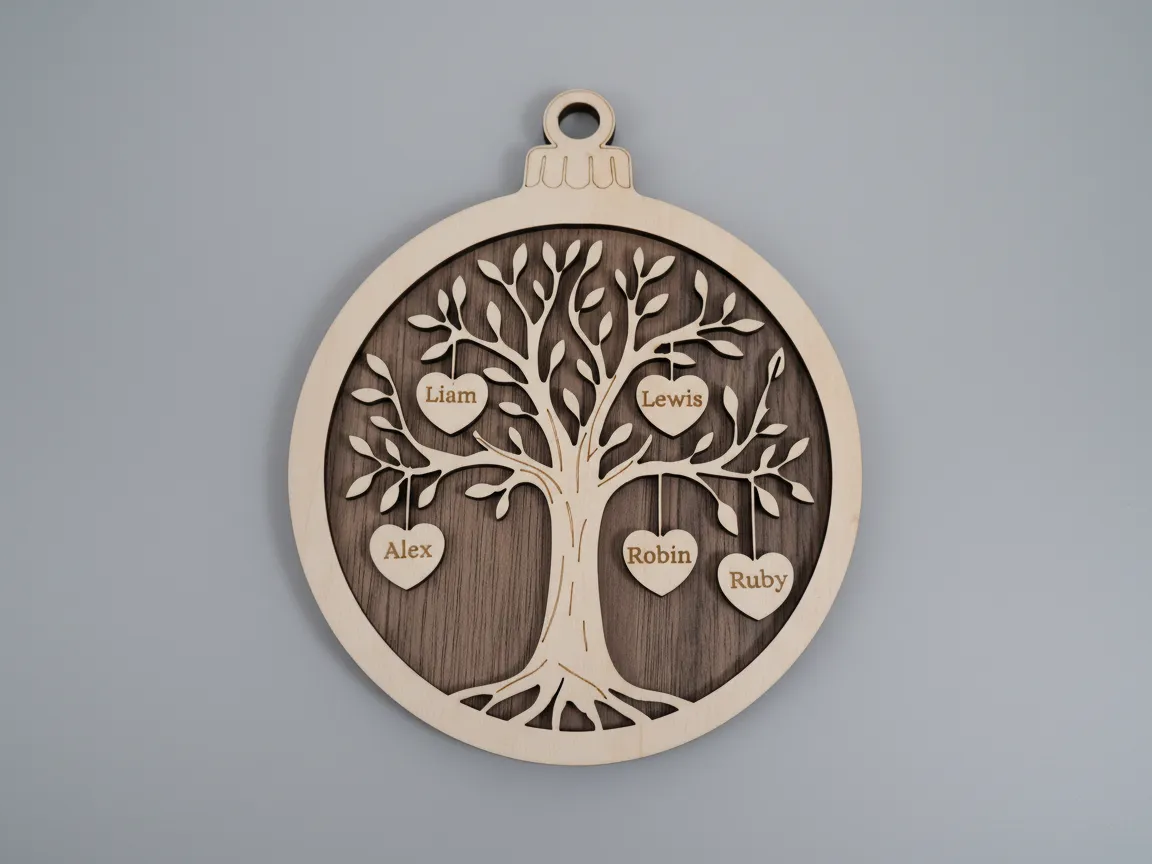
A family tree bauble carries a heart for every name — and grows with the family, since you can cut a new one each year. The layered tree silhouette against a contrasting back disc reads beautifully on the branch. One of the most meaningful personalized ornaments you can make.
3. Sheet-Music Angel Ornaments
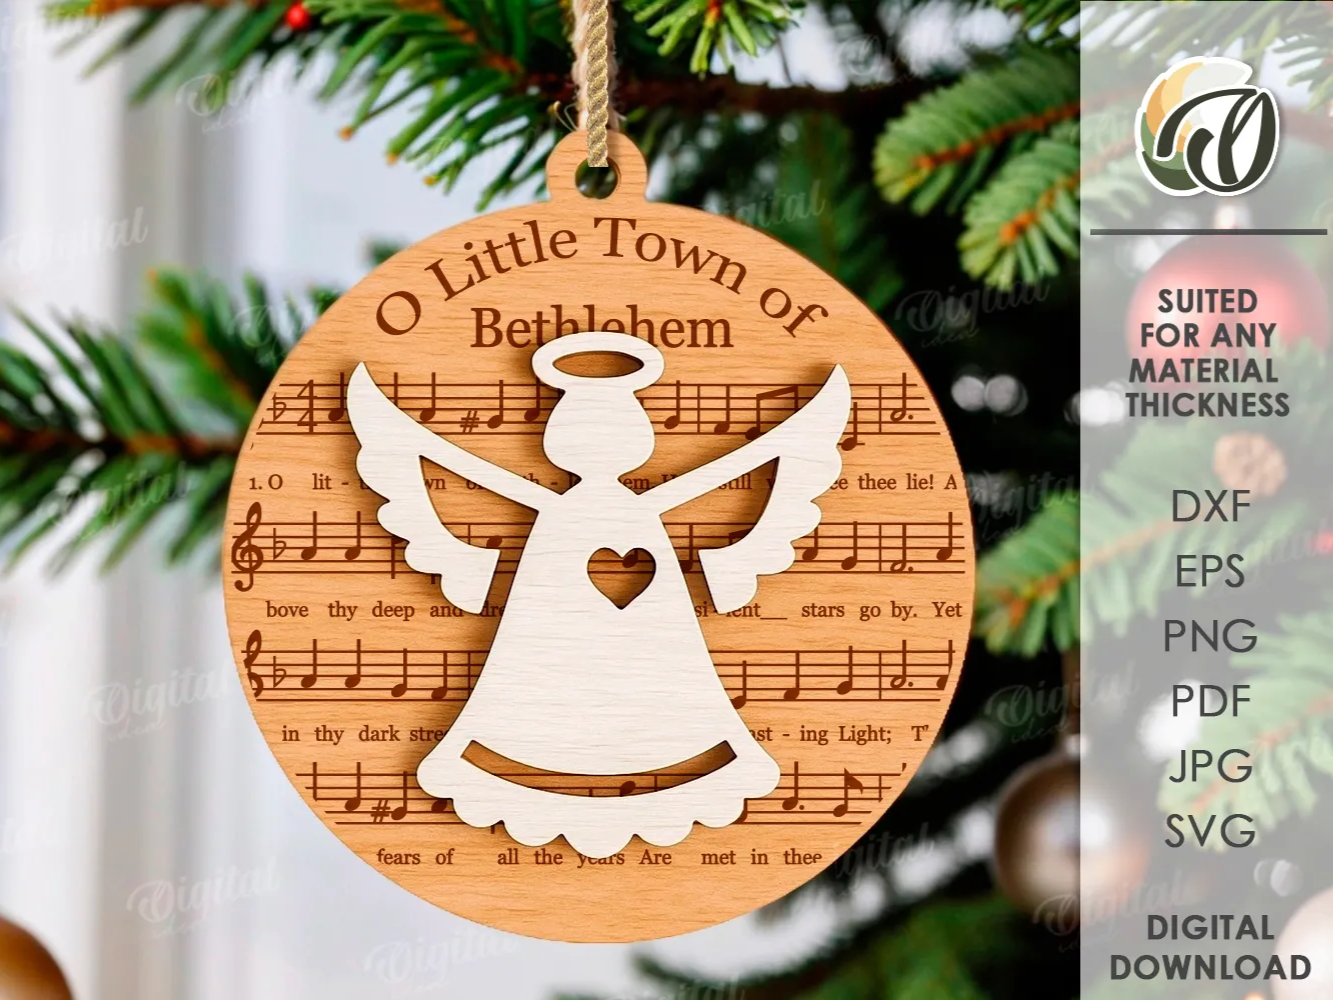
Engraving real sheet music — O Little Town of Bethlehem, Silent Night — as a background layer turns a simple angel silhouette into something gallery-worthy. The music engraves in minutes and the layers stack with a dab of glue. A favorite for choir members and music teachers.
4. Swirling Snowflake Ornaments
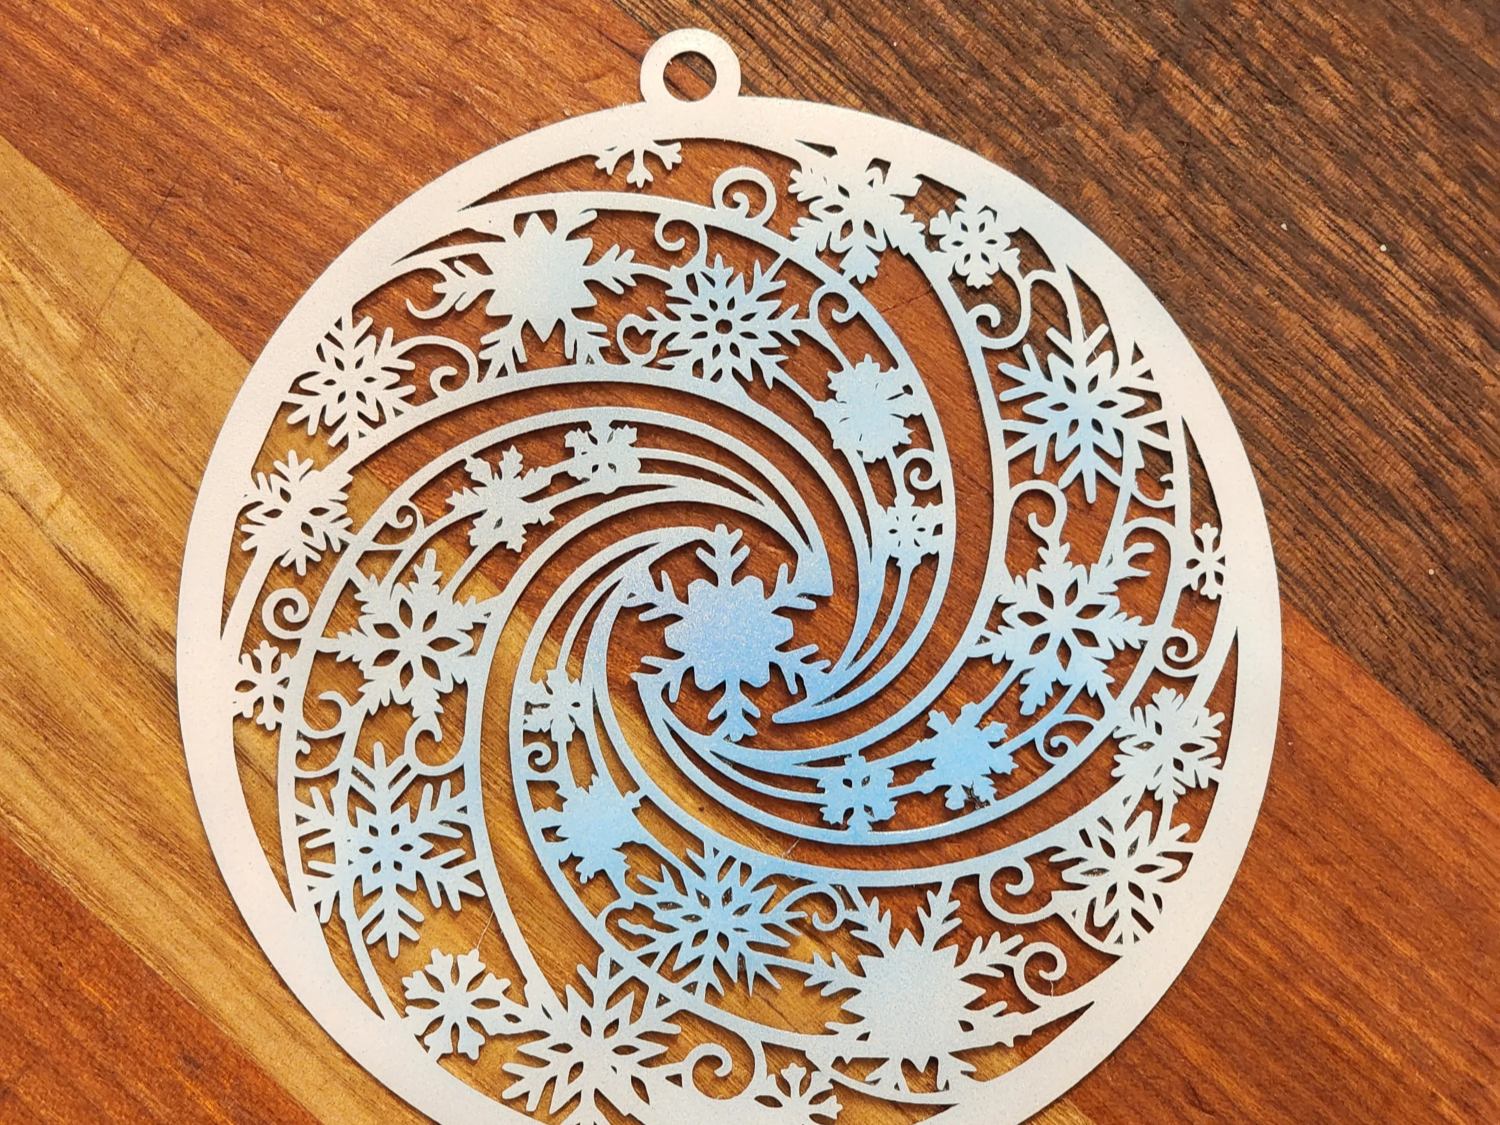
This swirl-pattern snowflake shows why lasers own the snowflake category: dozens of delicate cutouts that would snap under any scissors or blade. Cut it in white-painted ply or icy acrylic, and the pattern catches the tree lights from every angle.
5. Nativity Scene Ornaments
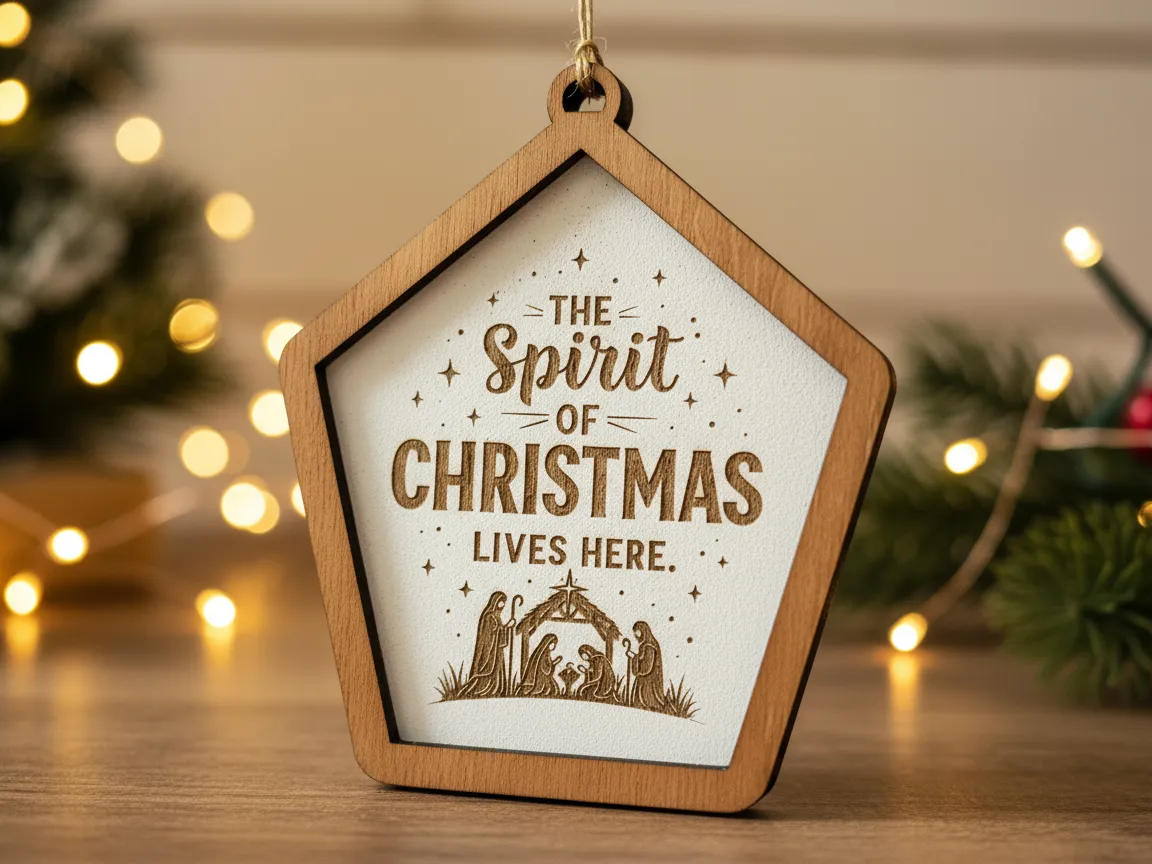
A framed nativity silhouette with an engraved message makes a keepsake that feels like a miniature diorama. The pentagon 'house' frame adds to the story. Layer a dark silhouette over a light engraved back panel for maximum contrast.
6. Mini Ornament Bundles
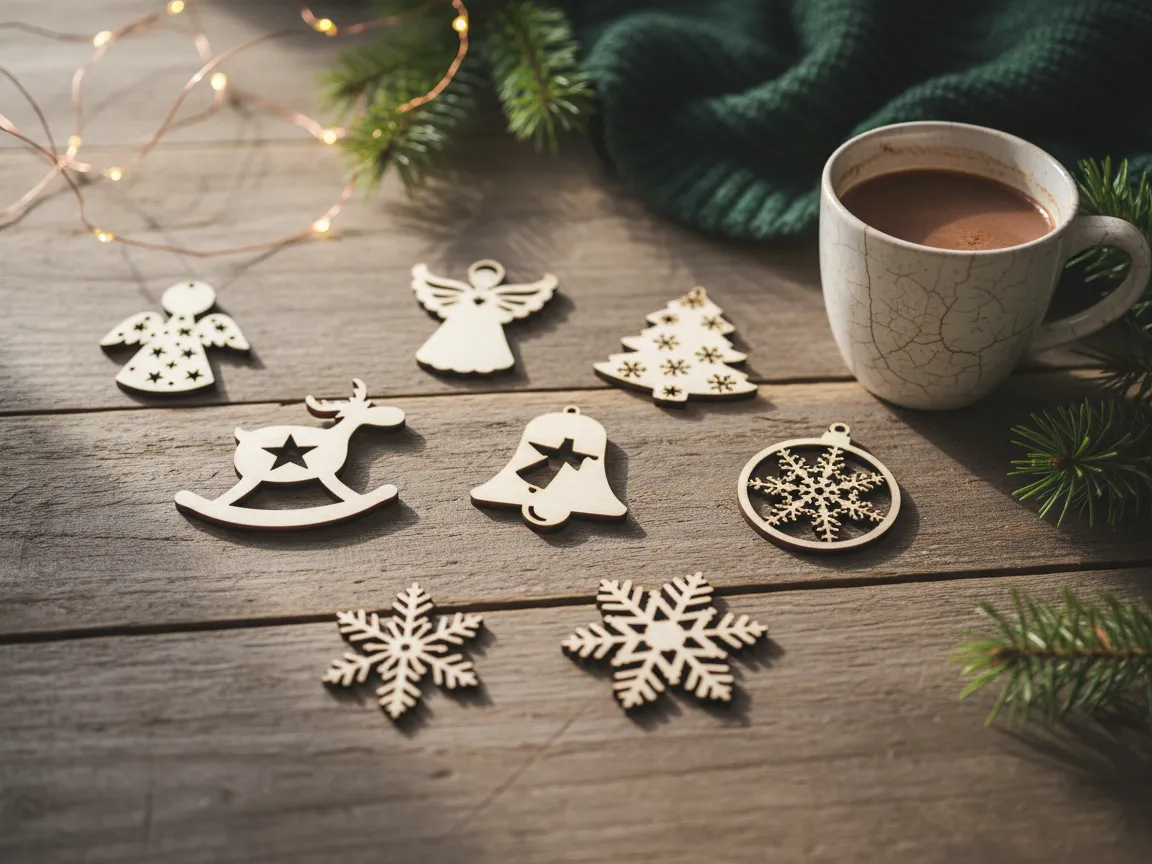
Mini ornament bundles are the batch-maker's dream: dozens of small classic shapes cut from a single sheet, perfect for gift toppers, advent calendars, and market multi-packs. This community bundle packs hundreds of bauble designs into one file — you'll never run out of shapes.
7. Layered Santa Ornaments
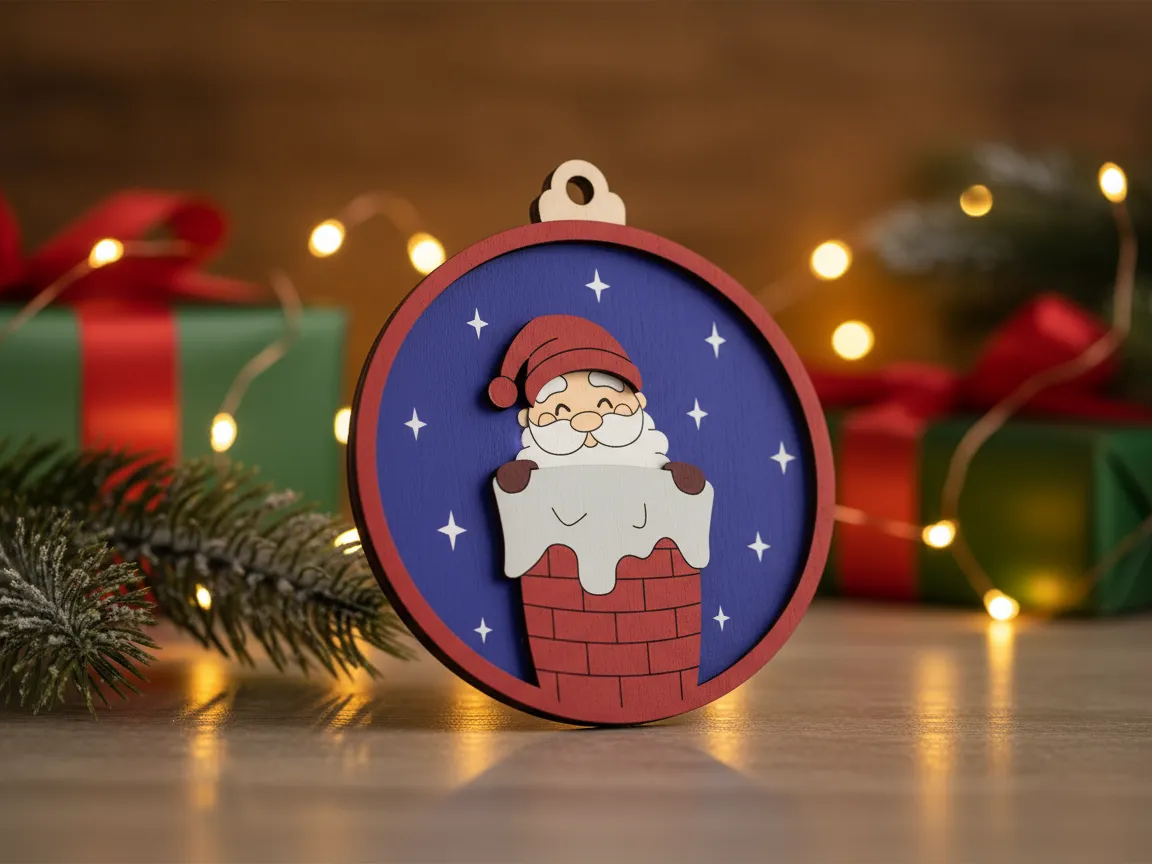
Multi-color layered scenes — Santa in the chimney against a painted night sky — are the showpieces of laser ornament making. Each color is its own cut layer, stacked for depth. Paint the layers before assembly for crisp color separation.
8. Personalized Name Baubles
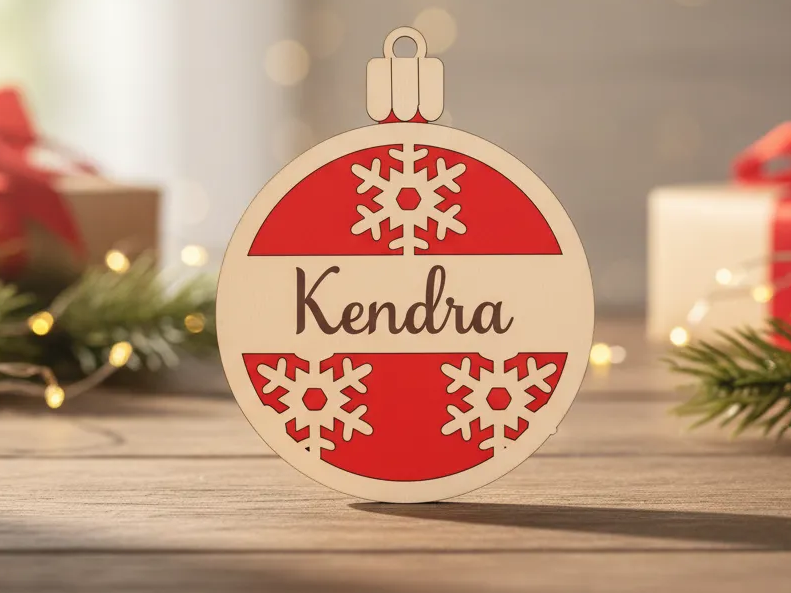
The personalized name bauble is the best-selling ornament format, full stop. A name in the middle band, snowflakes above and below, done in two layers. Swap the name in the file and cut the next one — perfect for gifts, stockings, and custom orders.
9. Reindeer Countdown Ornaments
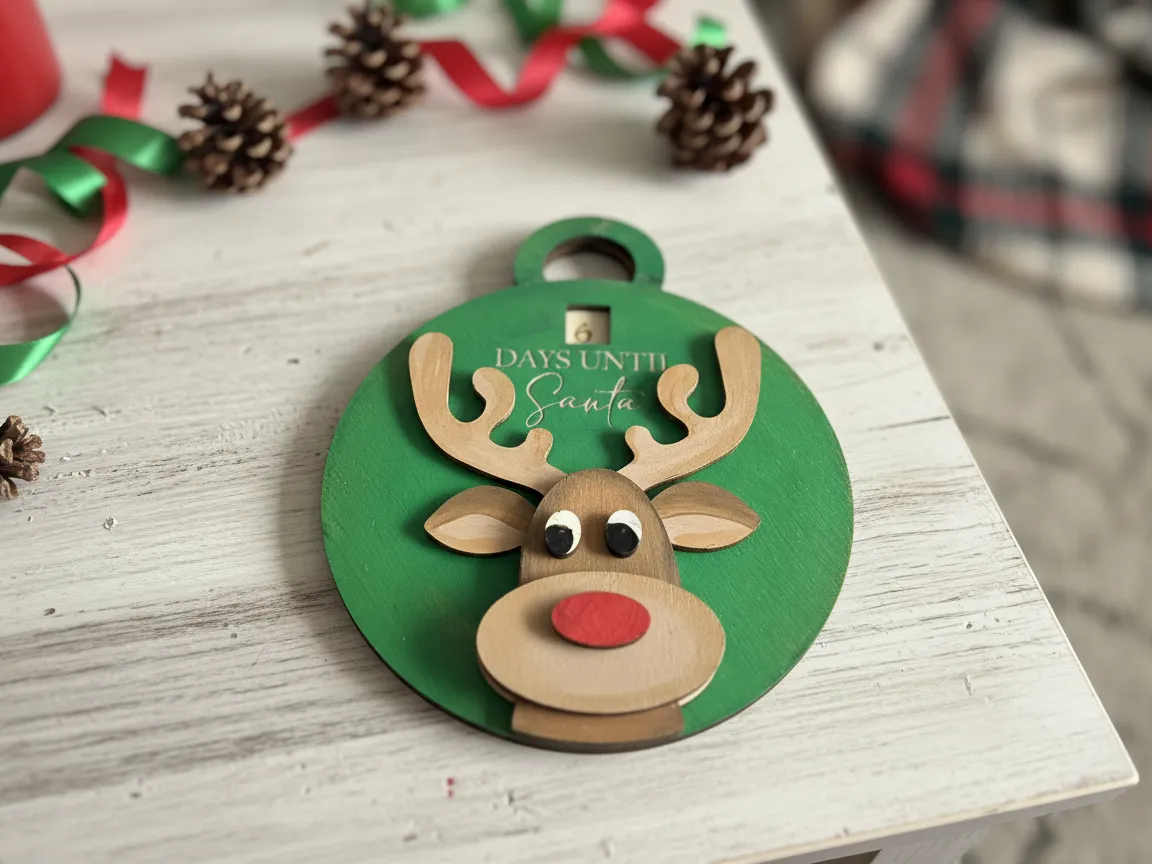
A countdown ornament gives kids a job: move the marker each December morning. The layered reindeer with his red nose is pure charm, and the countdown mechanic makes it the most-used ornament on the tree. A clever gift for young families.
10. Smiling Snowflake Charms
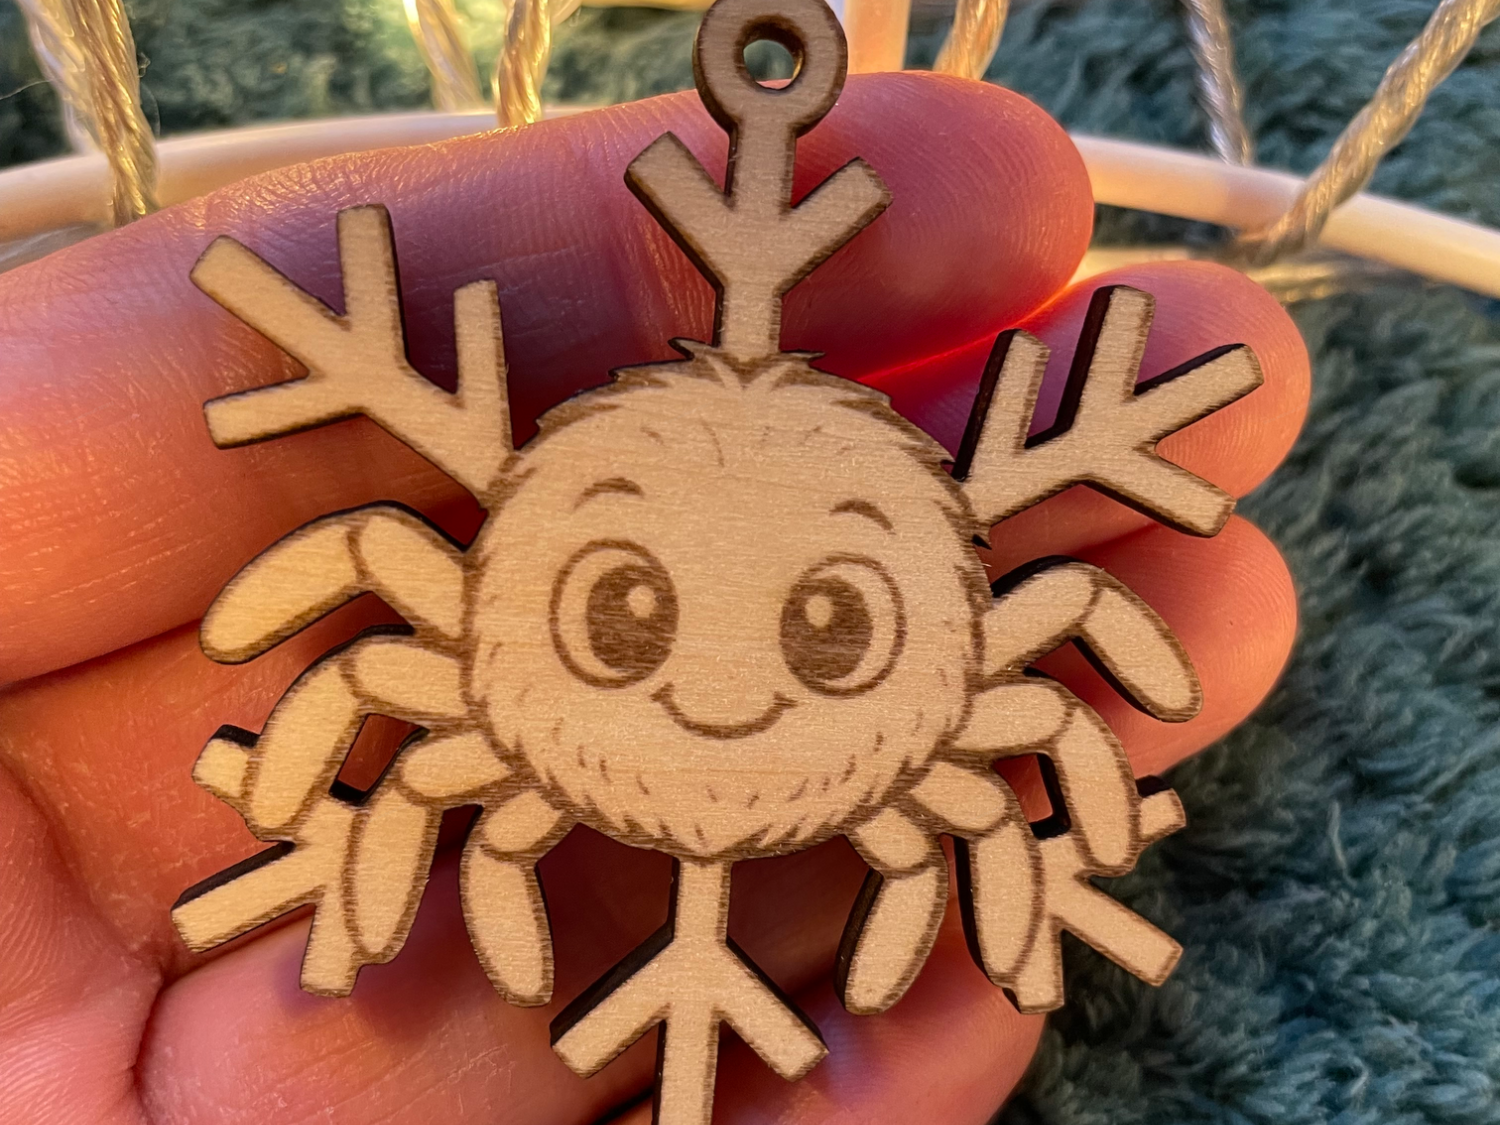
Kawaii-style snowflakes with engraved smiling faces are quick, tiny, and impossible not to love. They cut from scrap in a couple of minutes — ideal for gift tags, package charms, and stocking stuffers. Engrave the face, cut the outline, done.
How to Hang and Preserve Handmade Ornaments
- Hanging: thin satin ribbon or baker's twine suits dough and wood; classic S-hooks suit capped balls. Always make the hole before baking or as part of the cut file.
- Sealing: seal salt dough on both sides and clear-coat wood — moisture is the enemy.
- Storage: wrap each ornament in tissue and store in a divided box somewhere cool, dry, and dark. Skip the damp basement and the hot attic, and your handmade ornaments will outlast the store-bought ones.
The bottom line
Match the method to the moment: salt dough for keepsakes and kid afternoons, fillable balls for effortless variety, cinnamon dough for the scent, laser-cut wood or acrylic for heirlooms and gifts, and paper-and-bead crafts for the littlest helpers. Whatever you make, punch the hole first, seal what's porous, and write the year on the back.
Frequently Asked Questions
What's the easiest Christmas ornament to make?
A clear fillable ball with a paint swirl or glitter — there's no dough to mix or bake, and it's nearly impossible to get wrong. For kids, beaded pipe-cleaner candy canes take ten minutes with zero mess.
How do you make salt dough ornaments that last?
Bake them low and slow (200°F for 1–2 hours), let them cool fully, and seal both sides with Mod Podge or clear acrylic spray. Sealed and stored dry, salt dough ornaments genuinely last for decades.
Are cinnamon ornaments edible?
No. Although the ingredients are food, the dough is overwhelmingly concentrated cinnamon and dries hard as clay — it tastes terrible and that much cinnamon isn't safe to eat. Treat them strictly as (wonderful-smelling) decorations.
What material is best for laser-cut ornaments?
3 mm basswood plywood is the favorite — light, affordable, and it engraves with beautiful contrast. Clear or colored acrylic gives a glossy, modern look, and layering two or three colors creates dimensional designs no other method can produce.
Can I sell handmade Christmas ornaments?
Yes — personalized ornaments (names, years, pets, first-Christmas milestones) are perennial craft-fair and Etsy bestsellers. Laser-cut ornaments scale best, since one design file produces identical pieces in minutes. And ornaments aren't only a December business — they work year-round for every occasion.
