![[Laser cut and engrave] Dollhouse Side Tables](https://image-res.atomm.com/resource/xtool/community/attachment/xtool-community/d54f99c4-736f-421c-a7d3-1d8f52f29150?x-oss-process=image/resize,w_1200,h_900,limit_0/interlace,1/format,webp/auto-orient,1)
![[Laser cut and engrave] Dollhouse Side Tables](data:image/png;base64,iVBORw0KGgoAAAANSUhEUgAAAAoAAAAKCAYAAACNMs+9AAAAAXNSR0IArs4c6QAAABdJREFUKFNjZCASMBKpjmFUId6QIjp4AAppAAuXjCs4AAAAAElFTkSuQmCC)
![[Laser cut and engrave] Dollhouse Side Tables](https://image-res.atomm.com/resource/xtool/community/attachment/xtool-community/d54f99c4-736f-421c-a7d3-1d8f52f29150?x-oss-process=image/resize,w_200,h_150,limit_0/interlace,1/format,webp/auto-orient,1)
![[Laser cut and engrave] Dollhouse Side Tables](https://image-res.atomm.com/resource/xtool/community/attachment/xtool-community/dc281acd-8c4e-4511-bfd4-b7f8b8d44e77/20240703_095625.jpg?x-oss-process=image/resize,w_200,h_150,limit_0/interlace,1/format,webp/auto-orient,1)
![[Laser cut and engrave] Dollhouse Side Tables](https://image-res.atomm.com/resource/xtool/community/attachment/xtool-community/51bd8f51-d2ed-4468-9efa-9e9c14e1a134/20240703_095614.jpg?x-oss-process=image/resize,w_200,h_150,limit_0/interlace,1/format,webp/auto-orient,1)
![[Laser cut and engrave] Dollhouse Side Tables](https://image-res.atomm.com/resource/xtool/community/attachment/xtool-community/a47a8bf8-8bc2-4191-abc8-505c5acf9ac6/20240703_095620.jpg?x-oss-process=image/resize,w_200,h_150,limit_0/interlace,1/format,webp/auto-orient,1)
![[Laser cut and engrave] Dollhouse Side Tables](https://image-res.atomm.com/resource/xtool/community/attachment/xtool-community/f1a17ccf-c25f-43ec-b1af-0f2a9ceb9a99/20240703_095637.jpg?x-oss-process=image/resize,w_200,h_150,limit_0/interlace,1/format,webp/auto-orient,1)
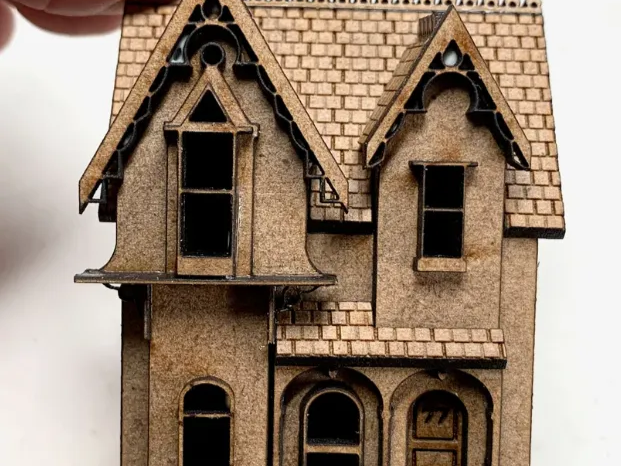
Tavolini laterali della casa delle bambole
 Istruzione


Informazione
Comodini decorativi a specchio per una casa delle bambole
Istruzione
Passo1: Progettazione del Tavolo

Misura la dimensione del tuo specchio. Crea un cerchio di quella dimensione in XCS per un modello e impostalo per ignorarlo.
Crea altri 2 cerchi leggermente più grandi e leggermente più piccoli del tuo cerchio per la cornice frontale del tavolo.
Fai 2 copie del cerchio più grande e separali. Sul primo cerchio aggiungi un altro cerchio interno che sia più piccolo del primo ma comunque più grande dello specchio.
Nella seconda copia aggiungi 4 rettangoli per inserire le gambe. Questi saranno circa 3mm in una dimensione (il mio legno è 2,7mm). L'altra dimensione dipenderà dalla larghezza che vuoi avere per le gambe del tavolo.
Aggiungi 4 rettangoli per le gambe. La larghezza dovrebbe corrispondere alla dimensione che hai appena creato nel cerchio.
Passo2: Incisi uno specchio o aggiungi al design in legno


usare uno specchio qui per il tavolo OPPURE aggiungere un cerchio di legno nella dimensione dello specchio per un tavolo colorato.
Se incidi lo specchio usa una pittura acrilica o una vernice spray per aggiungere colore sul retro. Ho usato la vernice spray per il giallo sul mio tavolo.
Passo3: Taglia e macchia o vernice

Taglia le parti di legno usando le impostazioni predefinite del tiglio.
Tingi tutti i pezzi prima di assemblarli per un aspetto più uniforme.
Un'opzione alternativa sarebbe dipingere il piano del tavolo e tingere il resto del tavolo per un aspetto unico.
Lascia asciugare tutte le parti.
Passo4: Assemblea


Prova il fitting di tutti i pezzi prima di incollarli.
Incolla il pezzo esterno di rifinitura in legno sul retro della parte superiore e assicurati che sia centrato.
Incolla lo specchio sulla parte superiore, assicurandoti che la colla non si attacchi alla faccia visiva della parte superiore.
Incolla il fondo del tavolo.
Aggiungi le gambe nelle fessure del tavolo.
Lascia asciugare tutta la colla e poi gira di nuovo. Aggiungi alla tua casa delle bambole per ore di gioco.
Remix


Potrebbe piacerti anche

Kit Mini Mobili Senza Mobili Tagliati Laser


Casa delle bambole


Casa delle bambole

Mini casa delle bambole a culla a dondolo


Camino in miniatura con camino e righello decorativi
.JPG?x-oss-process=image/resize,m_fill,w_240,h_240,limit_0/interlace,1/format,webp/auto-orient,1)

File Kit di mobili DXF per casette delle bambole tagliate al laser

Mini casa delle bambole


Tecnica per realizzare cerniere nascoste per porte/finestre utilizzabili in legno tagliato al laser


Letto della Casa delle Bambole


Panchina in miniatura per veranda Vintage Dollhouse


Cassetta delle Lettere della Casa delle Bambole


File SVG Laser Cut Dollhouse con mobili – Compatibile con il legno da 3mm


Sedia a dondolo in miniatura


Blocchi Edificabili Gotici

Cavallo di legno piccolo


Libreria per Booknook/Casa delle bambole

Tavolo da picnic


Piccola Cucina
