
![[Laser cut and engrave] Name Puzzle with Knobs](https://image-res.atomm.com/resource/xtool/community/attachment/xtool-community/e863607f-acf6-4c0c-a2d1-a347b6d30ed0?x-oss-process=image/resize,m_fill,w_1280,h_960,limit_0/interlace,1/format,webp/auto-orient,1)
![[Laser cut and engrave] Name Puzzle with Knobs](data:image/png;base64,iVBORw0KGgoAAAANSUhEUgAAAAoAAAAKCAYAAACNMs+9AAAAAXNSR0IArs4c6QAAABdJREFUKFNjZCASMBKpjmFUId6QIjp4AAppAAuXjCs4AAAAAElFTkSuQmCC)
![[Laser cut and engrave] Name Puzzle with Knobs](https://image-res.atomm.com/resource/xtool/community/attachment/xtool-community/e863607f-acf6-4c0c-a2d1-a347b6d30ed0?x-oss-process=image/resize,m_fill,w_160,h_120,limit_0/interlace,1/format,webp/auto-orient,1)
![[Laser cut and engrave] Name Puzzle with Knobs](https://image-res.atomm.com/resource/xtool/community/attachment/xtool-community/3654c136-2e7b-4724-9a0c-86108fde6f58/20240626_122114.jpg?x-oss-process=image/resize,m_fill,w_160,h_120,limit_0/interlace,1/format,webp/auto-orient,1)
![[Laser cut and engrave] Name Puzzle with Knobs](https://image-res.atomm.com/resource/xtool/community/attachment/xtool-community/90a24a00-2dcd-4f64-b7b5-b08f09c38898/20240626_122008.jpg?x-oss-process=image/resize,m_fill,w_160,h_120,limit_0/interlace,1/format,webp/auto-orient,1)
![[Laser cut and engrave] Name Puzzle with Knobs](https://image-res.atomm.com/resource/xtool/community/attachment/xtool-community/69d48c49-b695-470f-a172-ddca7f31c245/20240626_122105.jpg?x-oss-process=image/resize,m_fill,w_160,h_120,limit_0/interlace,1/format,webp/auto-orient,1)
Enigma dei nomi con manopole
 Istruzione


Informazione
Un puzzle con nomi con uno sfondo carino e manopole per rendere le lettere facili da prendere o togliere
Istruzione
Passo1: Prepara il tuo background


Puoi dipingere lo sfondo con colori acrilici oppure puoi ritagliare il disegno da carta colorata.
Se vuoi dipingerlo puoi includere un disegno oppure puoi semplicemente mettere un sacco di colore sulla tavola e mescolarli.
Io ho scelto lo stile astratto.
Lascia asciugare questo.
Passo2: Progettare il Puzzle


Crea il tuo testo con il nome.
Seleziona il tuo carattere. Il Gorditas Regular taglia bene e trasparente, quindi l'ho usato.
Salda il tuo testo.
Se il tuo nome include dei punti (per una i, j, ecc.) vai su Vector Edit e sposta il punto per sovrapporlo alla parola principale. Unisci/unisci questo in modo che sia un unico oggetto per la lettera.
Crea una scatola che si adatti intorno alla parola e duplicatala. Questi saranno i livelli frontale e posteriore.
Crea un piccolo cerchio per ogni lettera che possa essere usato come manopola.
Passo3: Taglio e assemblaggio

Imposta tutti gli oggetti su Taglia.
Installa il legno nella macchina e taglia il disegno.
Se usi una carta per la decorazione di sfondo, tagliala usando lo stesso modello e il supporto per il legno.
Dipingi le lettere e la maschera e lascia asciugare.
Incolla i puntini sulle lettere.
Incolla insieme le lastre anteriori e posteriori (e anche la carta opzionale qui).
Lascia asciugare tutto e poi goditi il tuo puzzle.
Remix



Potrebbe piacerti anche
Puzzle personalizzato in legno con il nome per bambini piccoli


Puzzle per nomi

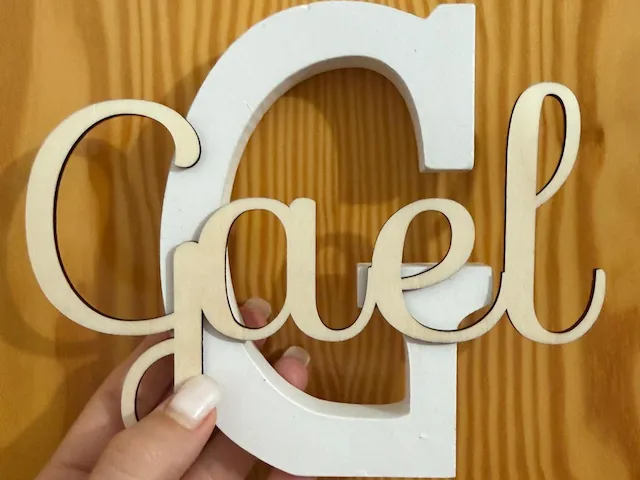
Nome personalizzato


'/%3e%3cpath%20d='M15.9997%2019.3335L11.833%2014.3335H14.333L15.9997%2017.6668L17.6663%2014.3335H20.1663L15.9997%2019.3335Z'%20fill='white'/%3e%3c/g%3e%3cdefs%3e%3clinearGradient%20id='paint0_linear_1412_57140'%20x1='16'%20y1='7.6665'%20x2='16'%20y2='24.3332'%20gradientUnits='userSpaceOnUse'%3e%3cstop%20stop-color='%23FFA15F'/%3e%3cstop%20offset='1'%20stop-color='%23E37C32'/%3e%3c/linearGradient%3e%3c/defs%3e%3c/svg%3e)
Enigma dei nomi spaziali


Il mio primo enigma dei numeri


Enigma delle lettere dell'alfabeto

Enigma dei nomi

Puzzle personalizzato in legno con il nome per bambini piccoli

Gioco di puzzle di gatti in legno tagliato a laser


Gioco interattivo educativo in legno tagliato al laser (PictoSpell) - Con giocattolo antistress per bambini ASD/ADHD/SEN

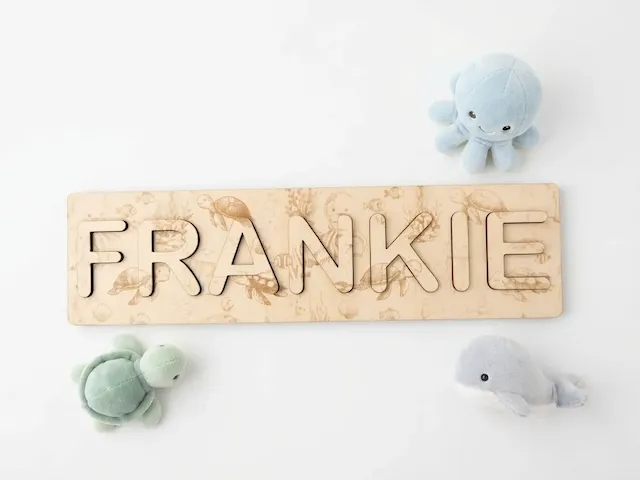
Enigma per bambini a tema Oceano Marino: Enigma - Motivo delle Creature Marine


Enigma dei nomi


Enigma dell'alfabeto


Veicoli tagliati al laser Forme Puzzle con pioli di legno per bambini piccoli Vetoriale Gratuito


Puzzle a forma di cuore

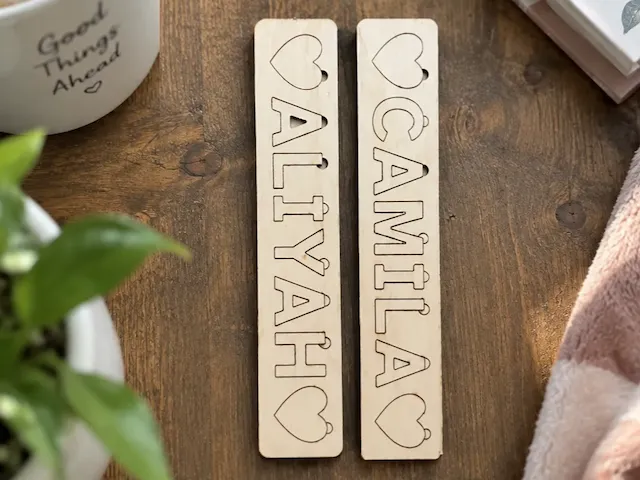
Enigma Camila & Aliyah con cuori affiancati
.JPEG?x-oss-process=image/resize,m_fill,w_80,h_80,limit_0/interlace,1/format,webp/auto-orient,1)

Enigma del nome del bambino di legno dei dinosauri

Puzzle individuale interconnesso
