
![[Laser cut and engrave] Explosion Box Template](https://image-res.atomm.com/resource/xtool/community/attachment/xtool-community/cbdbe325-6cb2-4412-a93d-f4898a9b068f?x-oss-process=image/resize,w_1200,h_900,limit_0/interlace,1/format,webp/auto-orient,1)
![[Laser cut and engrave] Explosion Box Template](data:image/png;base64,iVBORw0KGgoAAAANSUhEUgAAAAoAAAAKCAYAAACNMs+9AAAAAXNSR0IArs4c6QAAABdJREFUKFNjZCASMBKpjmFUId6QIjp4AAppAAuXjCs4AAAAAElFTkSuQmCC)
![[Laser cut and engrave] Explosion Box Template](https://image-res.atomm.com/resource/xtool/community/attachment/xtool-community/cbdbe325-6cb2-4412-a93d-f4898a9b068f?x-oss-process=image/resize,w_200,h_150,limit_0/interlace,1/format,webp/auto-orient,1)
![[Laser cut and engrave] Explosion Box Template](https://image-res.atomm.com/resource/xtool/community/attachment/xtool-community/fc0eeef2-fc96-4065-a456-59fac826fb01/IMG_7716.jpeg?x-oss-process=image/resize,w_200,h_150,limit_0/interlace,1/format,webp/auto-orient,1)
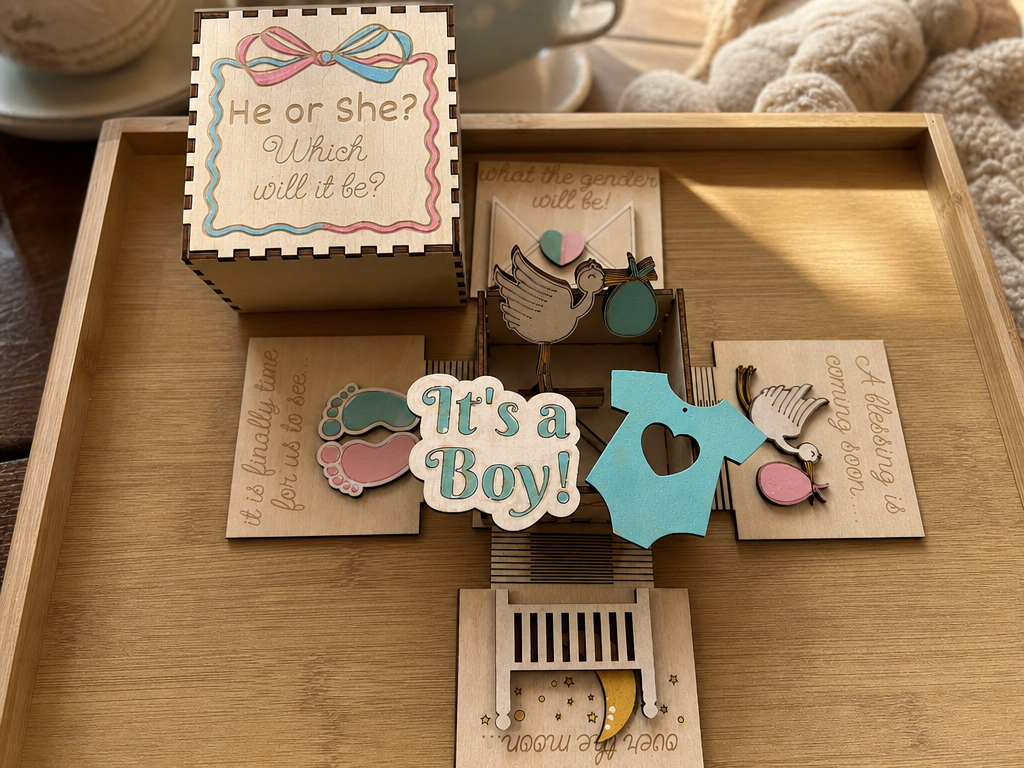
Modello della scatola esplosione
 Istruzione


Informazione
Questo include solo un modello per creare una scatola esplosiva. Aggiungi i tuoi timbri e i tuoi saluti per renderlo personale.
Istruzione
Passo1: Progettazione

In questo file ci sono le forme di base della scatola e del coperchio, alcune posckets e uno strato extra di designspace. Anche i pezzi che puoi usare per la carta da design.
Se vuoi ridimensionare, seleziona tutti e poi cambia la misura desiderata!
Passo2: Impostazioni

Per questo progetto ho fatto 4 lavori di taglio e selezionato una selezione alla volta.
Ho usato anche prismi per questo, per assicurarmi che la carta non si bruci sul retro.
Viola = Punteggio per piegare le linee
Rosso = Taglio
Passo3: Parti pieghevoli


Ho usato un tagliacarta con una lama per le pieghe. In questo modo mi sono assicurato che tutti fossero dritti e nel posto giusto. Ma potresti anche usare una piega per ossa e un righello.
Nel file puoi rivedere le parti che devono essere piegate.
Passo4: Montaggio del coperchio


Prendi la forma per il coperchio, aggiungi della colla alle alette e attacca ai lati. Fallo per tutti e 4 e il coperchio è pronto.
Passo5: Aggiungi tasche alla scatola


Prendi i ritaglio tascabili e aggiungi la colla. Puoi metterli dove vuoi sulla scatola, ma assicurati di incollarli un po' sopra la linea piegata. Così non avrai problemi a chiudere la scatola alla fine.
Passo6: Applica la carta di design


Prendi le forme e applicadelle nei punti di adattamento all'interno della scatola. In questo passaggio puoi anche incollare i lati interni della scatola al centro.
Adoro molto la parte della porta con i cerchi. Per questo ho usato del nastro in schiuma doppia per avere un po' di dimensione e spazio per un po' di spago per chiuderlo.
Passo7: Decora con timbri e altro - Rendilo tuo


Ora è una tua parte. Puoi aggiungere saluti con timbri o immagini, scrivere un po' di testo per la persona e molto altro.
Spero ti piaccia questo modello base per questa scatola esplosiva e divertiti a creare il tuo! ~Anzy
Remix
Licenza


Potrebbe piacerti anche

Scatola regalo


Scatola regalo con il nome su nastro


Scatola regalo incisa in due pezzi


Marchio all'interno delle scatole di spedizione

Scatola del tesoro


Pacchetto rotondo di scatole regalo in legno tagliato laser, modelli per scatole cerchi, vassoio decorativo, supporto per dolci


Scatola regalo in stile cassetto


Scatola di cartone elegante


Scatola regalo


Scatola regalo semplice in carta Kraft con coperchio senza incollare


Cassetta di fiori


Scatola della carta regalo

Scatola dell'esplosione per la rivelazione del genere


Scatola di spedizione da Carton

Scatola regalo di Natale fiorita

Scatola Arrotondata


Scatola regalo piccola tagliata al laser Scatola di gioielli in legno Vettore Gratis


Coperchino per la scatola di fazzoletti
