![[Laser cut and engrave] Nellie Personalized Bone Shaped Pet ID Tag](https://storage-public.atomm.com/xtool/community/attachment/xtool-community/7caa3170-267f-4558-8861-766766ff2b6e.jpeg?x-oss-process=image/resize,m_fill,w_1280,h_960,limit_0/interlace,1/format,webp/auto-orient,1)
Bone Pet ID Tag - Jig
 Instruction


Instruction
Step1
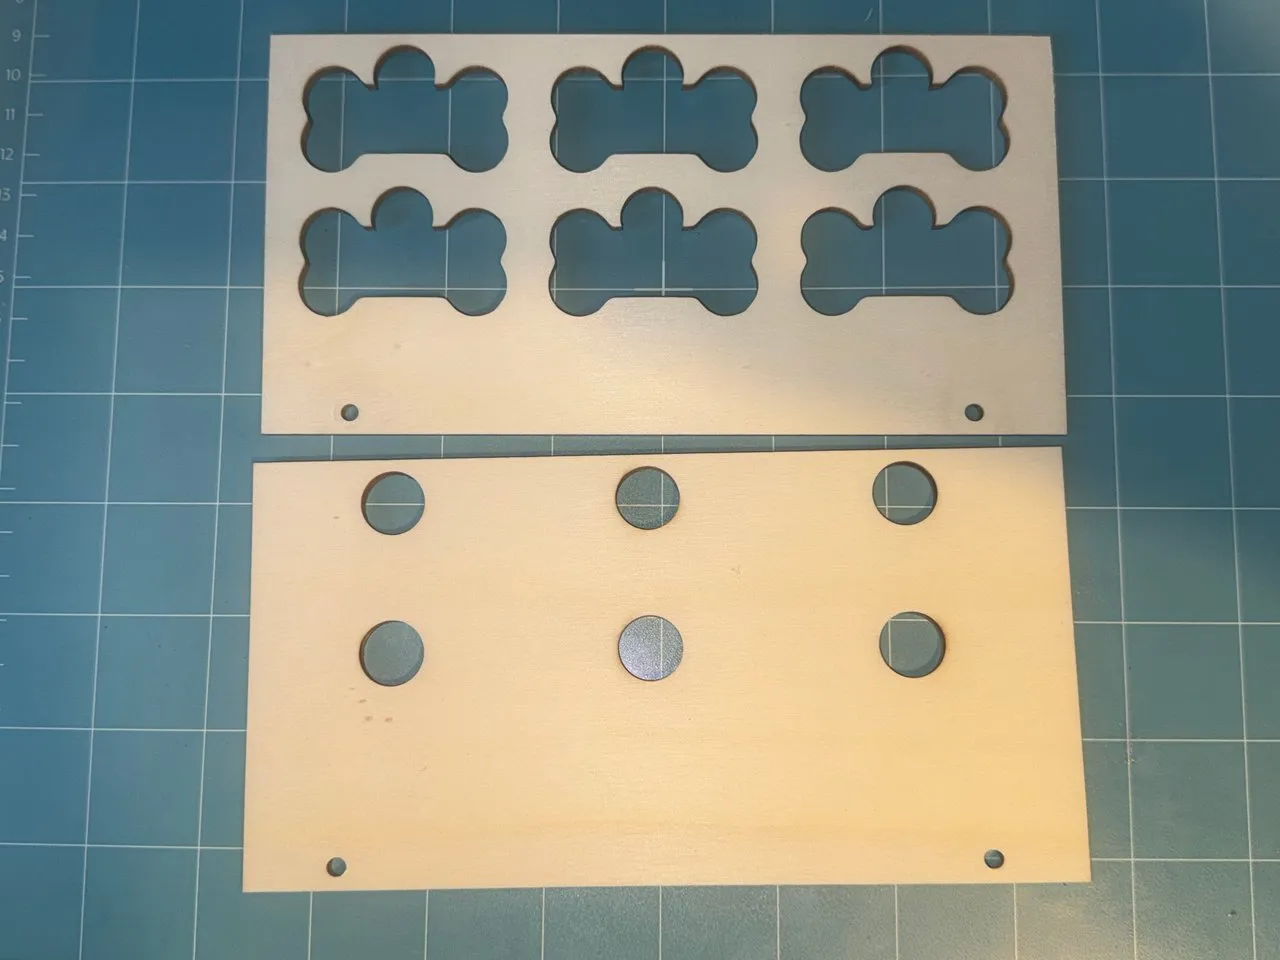
Cut out the two pieces
Step2

Glue them together and use two M4 thumb nuts to ensure they are aligned, and clamp the two pieces until dry
Step3

When you are ready to use the jig, set the middle bottom tag under the centre of the laser, apply decorators tape and measure. This will be the set distance every time that the jig is used
Never engrave directly under the lens when using reflective material
Step4
This step needs only to be done once, and should be very close with the supplied project
Ensure that the bone shapes match up with the cutouts, the bone shapes can be used as a guide to help when placing the text / image
Step5

Remove the tape, and place any further tags in the empty spaces
Ensure that the names/image are turned on for output as long as there is a tag in place
Step6

Process the image
Remixes



You may also like

Stainless Steel Dog bone shaped pet identification tag template


Laser Cut Wooden Dog Bone Tag Holder with Metal Tags 40mmx21mm


Dog Tag Jig


Dog Tag Jig for xTool F1


Name Tag Jig


Black Oval Metal Tag jig


Christmas Tag Jig


X8 Military Tag Jig


Laser Engraved Wooden Stencil Set for Dog Tags 26x38mm DOG TAG JIG


F1 Ultra Jig for Dog Tag 29x50mm


Bag Tag Jig for 15 (12x12 Basswood)


LASER CUT DOG TAG JIG FOR S1

Dogtag multi job jig


F1 Base Plate Replacement Stainless Steel Tag Jig


Fabric Cutting Template

Jig für Military Necklace


Card and Dog Tag

Military style dog tag jig
