
Salt dough is the craft that refuses to go out of style — three pantry ingredients, an afternoon, and you've made ornaments that genuinely last for decades. The lopsided stars kids cut today are the ones their own kids will hang someday. And unlike most "easy" crafts, this one really is: if you can make cookies, you can make salt dough ornaments.
The short answer:
- Mix 2 parts flour, 1 part salt, and about ¾ part warm water.
- Roll, cut your shapes, and punch a hanging hole.
- Bake at 200°F for 1–2 hours (or air-dry 2–4 days).
- Paint and seal both sides.
Here's the full walkthrough, plus the fixes for puffing, cracking, and softening that most guides skip.

What is salt dough?
Salt dough is a simple flour-salt-water clay that air-hardens or bakes rock-solid. The salt does two jobs: it stiffens the dough and preserves it — which is why sealed salt dough ornaments survive generations. It costs about a dollar a batch, takes handprints beautifully, and holds crisp cookie-cutter edges.
What You Need for Salt Dough Ornaments
- 2 cups all-purpose flour
- 1 cup table salt (fine, cheap — not flaky sea salt)
- ~¾ cup warm water, added gradually
- A rolling pin, cookie cutters, and a drinking straw for the hanging hole
- A parchment-lined baking sheet
- Acrylic paint and a sealer (Mod Podge or clear acrylic spray)
That's a standard batch (about 12–20 ornaments). Double everything for a classroom or a big family session: 4 cups flour, 1 cup salt won't work — keep the ratio at 2 parts flour to 1 part salt (so 4 cups flour, 2 cups salt, ~1½ cups water).
Steps to Make Salt Dough Ornaments

- Mix the dry ingredients. Whisk the flour and salt together in a large bowl.
- Add warm water gradually — not hot — and stir, then knead for a few minutes until you have a smooth, firm dough. Too crumbly? Add water a spoonful at a time. Too sticky? Dust in more flour.
- Roll it out ⅛ to ¼ inch thick on a lightly floured surface. Thinner ornaments dry flatter and are far less likely to puff or crack.
- Cut your shapes with cookie cutters and lift them onto the parchment-lined sheet.
- Punch the hanging hole now with a drinking straw, near the top of each shape. A straw makes a clean ~¼" hole that won't close up — and a hole added after baking means a cracked ornament.
- Bake at 200°F (93°C) for 1–2 hours, flipping halfway, until the ornaments are hard, dry, and evenly pale on both sides.
- Cool completely before decorating — warm dough shrugs off paint.
Tip: Resist the urge to raise the oven temperature to "speed things up." Hot ovens make salt dough puff like a biscuit and brown like one too. 200°F, low and slow, is the whole secret to flat, pale, professional-looking ornaments.
Can you air-dry salt dough instead of baking?
Yes — lay the ornaments flat somewhere warm and dry for 2–4 days, flipping them daily so they don't curl. Air-drying suits thick or handprint pieces that might crack in the oven, and it's the safest option if little helpers want to "check" the oven every five minutes. The trade-off is patience: they're fragile until fully dry.
How to Decorate Salt Dough Ornaments
Once fully cool, salt dough takes decoration like a champ:
- Acrylic paint is the standard — a white base coat first makes colors pop.
- Stamps and texture: press lace, leaves, or rubber stamps into the dough before baking for embossed detail.
- Glitter: paint with Mod Podge and dust while wet.
- Markers and metallics work on baked, painted surfaces for fine detail.
- Keep some plain. Natural pale dough with a twine loop has a rustic charm that painted ones can't match. (For more looks to copy, this homemade ornament gallery is full of them.)

How to Seal Salt Dough Ornaments So They Last
This is the step that separates one-season ornaments from heirlooms. Salt dough is hygroscopic — it pulls moisture from the air and slowly softens if left bare.
- Make sure the ornament is bone dry and fully cool.
- Seal both sides (and the hole's edges) with Mod Podge, polyurethane, or a clear acrylic spray.
- Let each side cure fully before flipping.
- Store wrapped in tissue, somewhere cool and dry — never a damp basement or hot attic.
Sealed and stored well, salt dough ornaments genuinely last for decades.
Salt Dough Troubleshooting
- Puffed up like a biscuit? Oven too hot, or dough too thick. Bake at 200°F and roll ⅛–¼ inch.
- Cracked while drying? Dried too fast or unevenly — flip regularly, and air-dry thick pieces.
- Still soft in the middle? It's not done — return it to the low oven; a finished ornament sounds solid when tapped.
- Bumpy surface? Knead longer next time, and roll between parchment sheets.
- Went soft in storage? It absorbed moisture — it wasn't sealed on both sides. Re-dry in a low oven, then seal properly.
10 Salt Dough Ornament Ideas to Try
- Handprint keepsakes — press a child's hand into a rolled circle; add the name and year with a toothpick. The all-time classic.
- Paw print ornaments — the pet version; press gently and reward generously.
- Classic cookie-cutter shapes — stars, hearts, trees, and gingerbread figures, painted or plain.
- Lace-embossed rounds — press doilies or lace into the dough for delicate texture, then dust with metallic paint.
- Fingerprint reindeer and snowmen — thumbprints become faces with a fine marker.
- Name tags — stamp or paint family names for personalized gift toppers (the free name gift generator makes laser-cut versions in seconds).
- Photo frame ornaments — cut a ring shape and glue a photo behind it after sealing, or design a wooden one in the free photo frame generator.
- Leaf and botanical impressions — press real evergreen sprigs in for a woodland set.
- Painted rainbow sets — one shape, every color; great for kids to batch.
- "Baby's first Christmas" plaques — a circle, tiny footprints, and the date — the one that gets teary reactions.
Tip: Love the personalized-ornament look but want machine-perfect results too? A laser-cut wooden version makes a beautiful companion piece — design one in seconds with the free Atomm Christmas ornament generator, or browse the Christmas ornaments collection for inspiration.
Real Laser-Made Tools for Salt Dough (Free Designs)
Salt dough gets a serious upgrade from the maker community: laser-engraved embossing rolling pins press crisp patterns straight into the dough, and custom cutters make shapes no supermarket set has. These are real Atomm community projects you can open and make for free.
1. Folk Art Embossing Rolling Pin
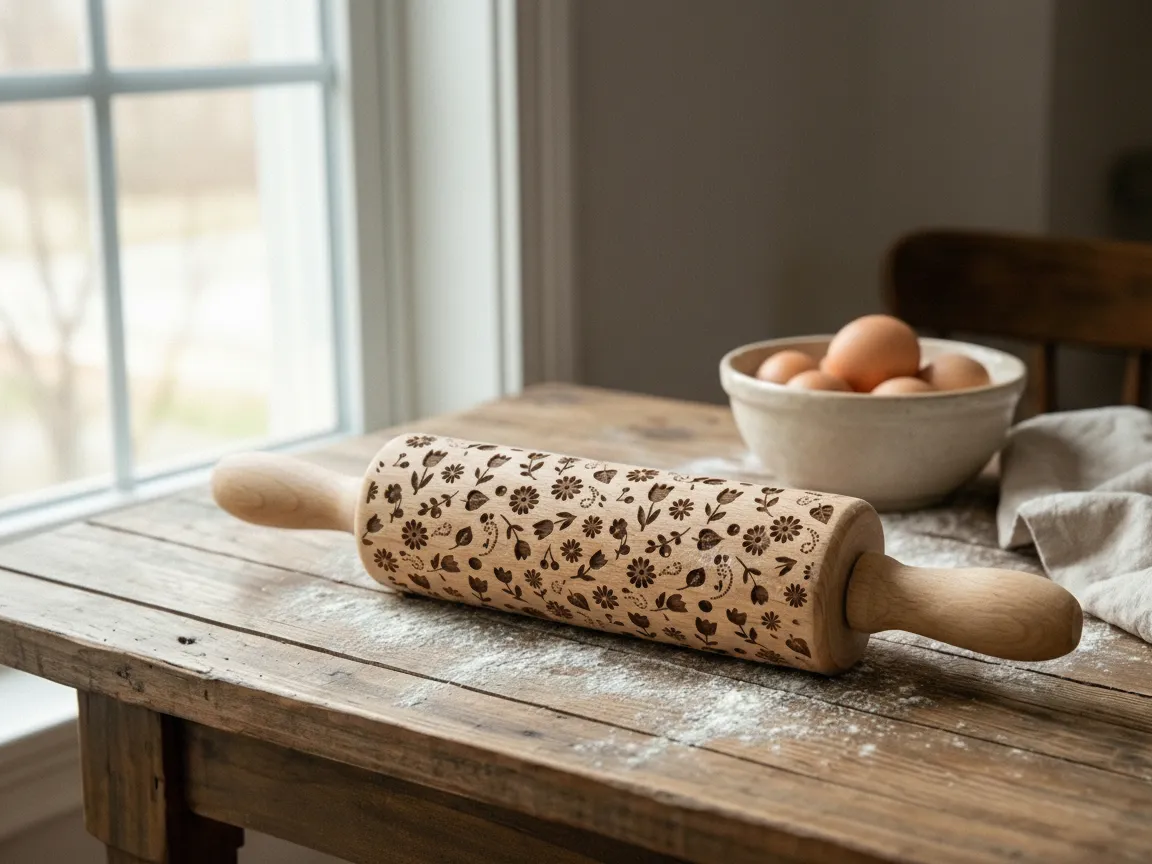
Roll this once over your salt dough and every ornament comes out with an all-over folk-floral texture — the single fastest way to make plain dough look boutique. The pattern is laser-engraved into a standard wooden pin, so it presses the same crisp relief every time.
2. Christmas Pattern Rolling Pin
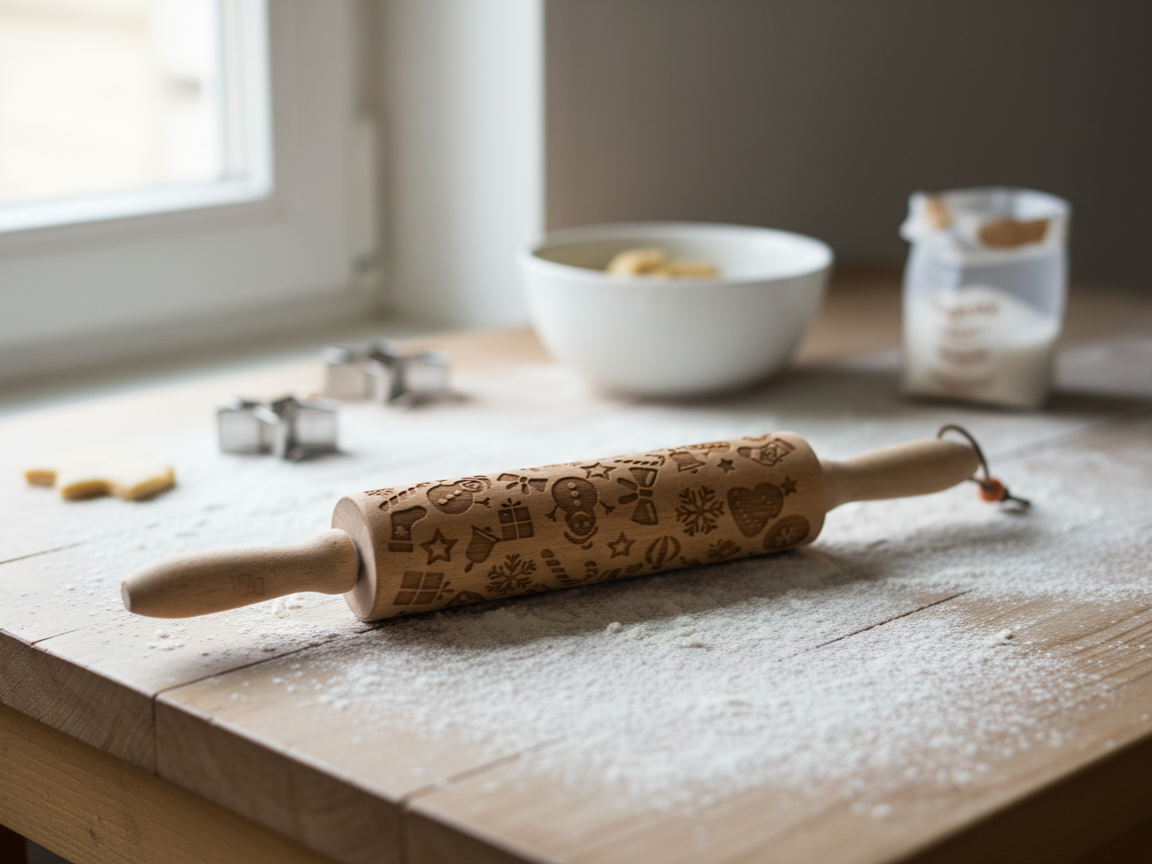
The holiday version: snowflakes, trees, and ornaments engraved around the barrel. Emboss the sheet first, then cut your shapes — each salt dough ornament picks up a different slice of the pattern, so no two look alike.
3. Custom Cookie Cutters
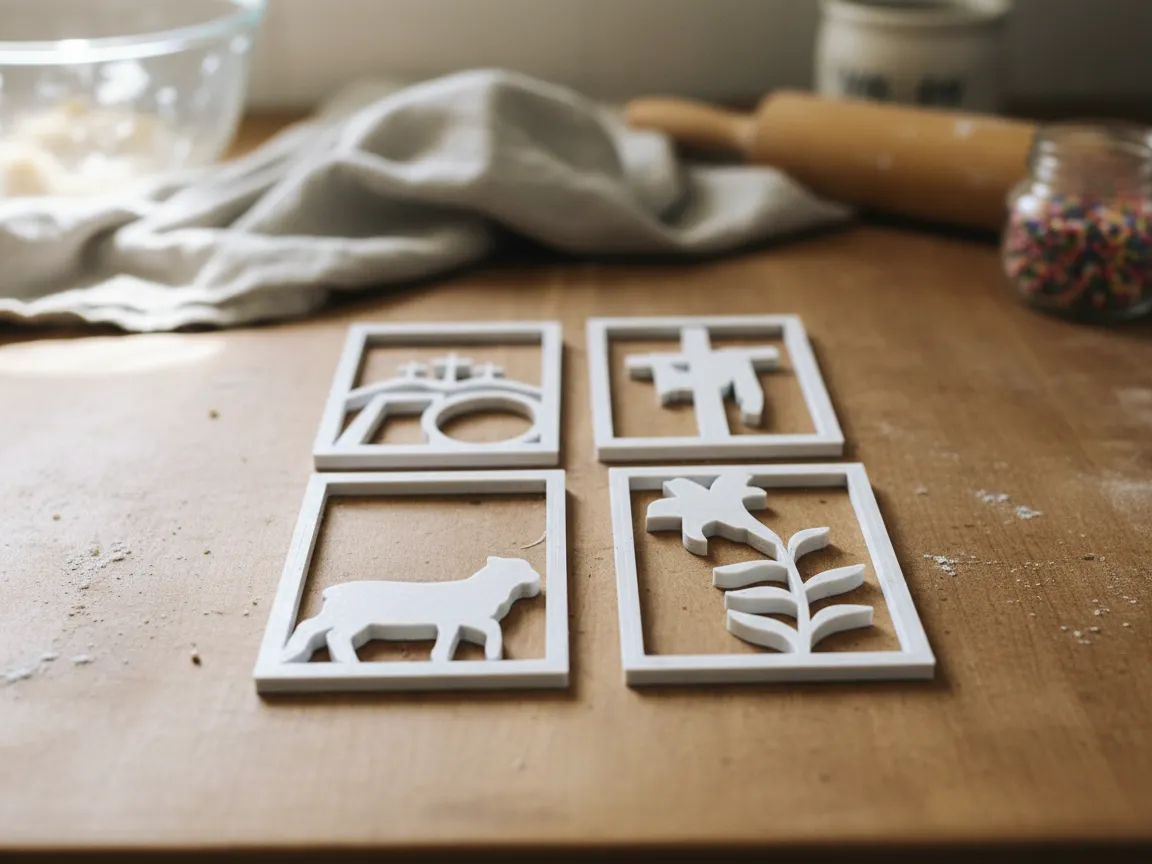
Why settle for star-and-heart supermarket cutters? This community set cuts Easter silhouettes, and the same approach works for any shape you can draw — pets, monograms, logos. Laser-cut cutters press clean edges into salt dough exactly like store-bought ones.
4. Decorative Cutout Rolling Pin
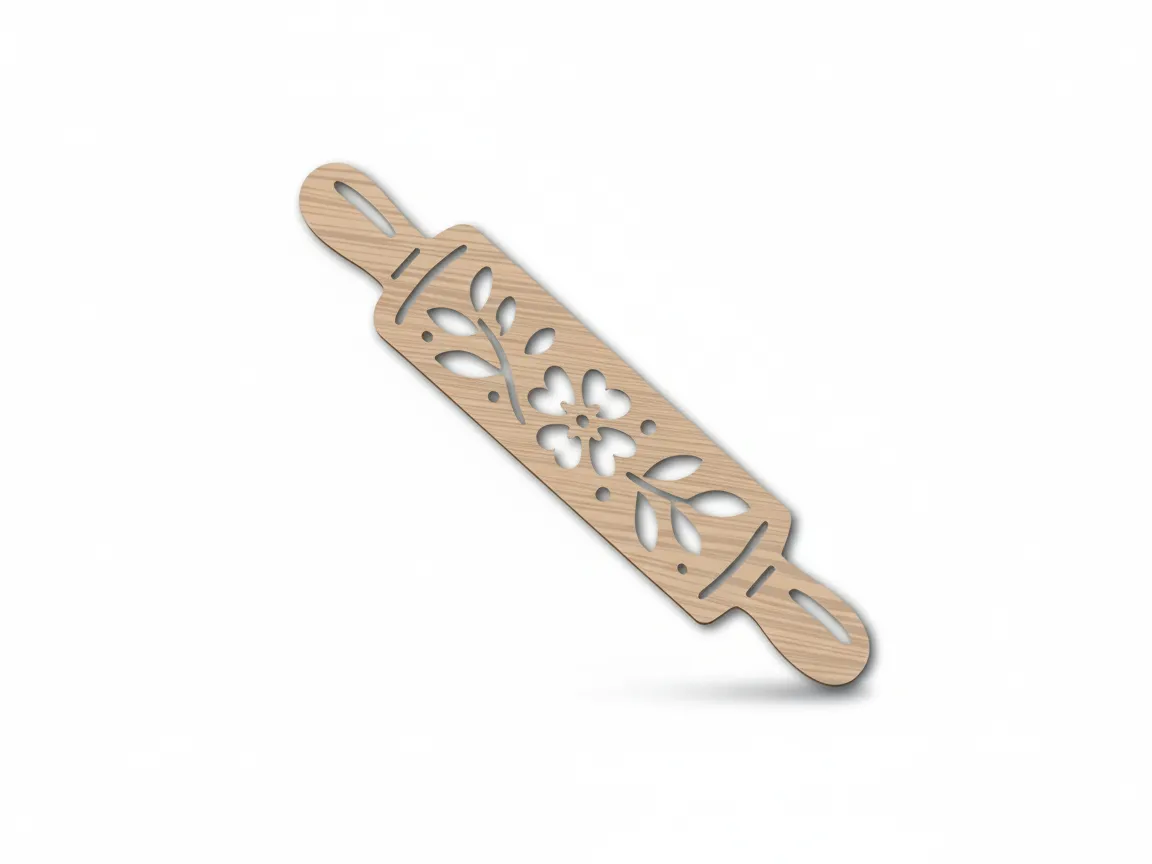
A different trick: instead of engraving the pattern in, this pin is cut through, stamping bold open florals into the dough surface. Pair it with the plain recipe above and the texture does all the decorating — no paint needed.
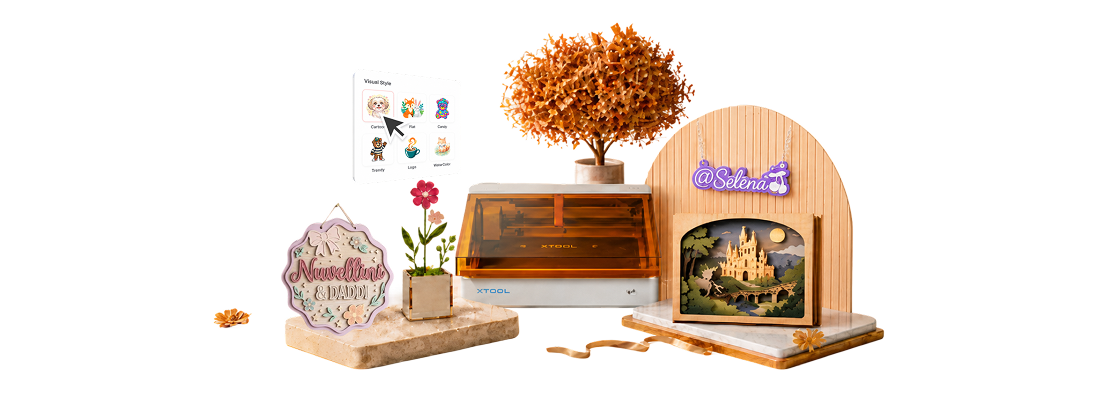
If you're shopping for a machine for exactly this kind of project, the xTool M2 is the current do-it-all starter: an enclosed Class 1 diode laser (10W or 20W) that also swaps in a CMYK inkjet head, so it prints a full-color design and cuts it out in one session — dual cameras handle placement and air assist is built in. For salt dough that means embossing pins and a full custom cutter set come off one sheet of plywood in an afternoon.
Steps to Laser Cut Your Own Cutters and Embossing Tools
Following xTool's own plywood processing guide:
- Open one of the free designs above — or draw your own shape; any closed outline becomes a cutter.
- Load 3 mm basswood plywood, flat and film-free, and let the cameras place the design on the sheet.
- Set Cut with material-library settings, frame to confirm placement, and cut with air assist on.
- For embossing rolling pins, engrave instead: mount a plain wooden pin on the rotary attachment and run the pattern as an engrave job — the folk-art pin above is exactly that.
The bottom line
Salt dough is the rare craft that's cheap, easy, kid-proof, and heirloom-grade all at once. Keep the ratio (2:1:¾), the temperature (200°F, low and slow), and the sealing step, and everything else is decoration. Make the handprint one this year — future-you says thanks. And if the dough bug bites, salt dough is just one of six ways to make an ornament.
Frequently Asked Questions
What is the recipe for salt dough ornaments?
Two parts all-purpose flour, one part table salt, and roughly three-quarters part warm water — for example, 2 cups flour, 1 cup salt, and about ¾ cup water. Add the water gradually and knead until the dough is smooth and firm.
How long do you bake salt dough ornaments?
Bake at 200°F (93°C) for 1–2 hours, flipping halfway, until they're hard and evenly pale on both sides. Low and slow prevents puffing and browning. Alternatively, air-dry them flat for 2–4 days, flipping daily.
Are salt dough ornaments edible?
No — they're pure flour and salt with no sugar and an enormous amount of salt. They're not toxic in a nibble, but they taste awful and shouldn't be eaten. Keep them away from dogs especially, since a large amount of salt is dangerous for pets.
How do you keep salt dough ornaments from going soft?
Seal both sides with Mod Podge or a clear acrylic spray once fully dry, and store them wrapped in tissue somewhere cool and dry. Unsealed salt dough absorbs humidity and softens over time.
How long do salt dough ornaments last?
Decades, genuinely — as long as they're fully dried, sealed on both sides, and stored away from moisture. Many families still hang salt dough ornaments made twenty or thirty years ago.
