
![[Laser cut and engrave] Pumpkin Luminary](https://image-res.atomm.com/ali-res/community/making/66fe8c88-8f00-4b28-a1bb-1aea21e9fbc9/20221024_202731.jpg?x-oss-process=image/resize,m_fill,w_1280,h_960,limit_0/interlace,1/format,webp/auto-orient,1)
![[Laser cut and engrave] Pumpkin Luminary](data:image/png;base64,iVBORw0KGgoAAAANSUhEUgAAAAoAAAAKCAYAAACNMs+9AAAAAXNSR0IArs4c6QAAABdJREFUKFNjZCASMBKpjmFUId6QIjp4AAppAAuXjCs4AAAAAElFTkSuQmCC)
![[Laser cut and engrave] Pumpkin Luminary](https://image-res.atomm.com/ali-res/community/making/66fe8c88-8f00-4b28-a1bb-1aea21e9fbc9/20221024_202731.jpg?x-oss-process=image/resize,m_fill,w_160,h_120,limit_0/interlace,1/format,webp/auto-orient,1)
![[Laser cut and engrave] Pumpkin Luminary](https://image-res.atomm.com/ali-res/community/making/61431095-9649-4eba-869e-98ab286fac9e/20221024_204630.jpg?x-oss-process=image/resize,m_fill,w_160,h_120,limit_0/interlace,1/format,webp/auto-orient,1)
![[Laser cut and engrave] Pumpkin Luminary](https://image-res.atomm.com/ali-res/community/making/b4379ae7-8b44-485d-b4d6-c6456f695bb9/20221024_211715%20(1).jpg?x-oss-process=image/resize,m_fill,w_160,h_120,limit_0/interlace,1/format,webp/auto-orient,1)
Pumpkin Luminary
 Instruction


Instruction
Step1
Design

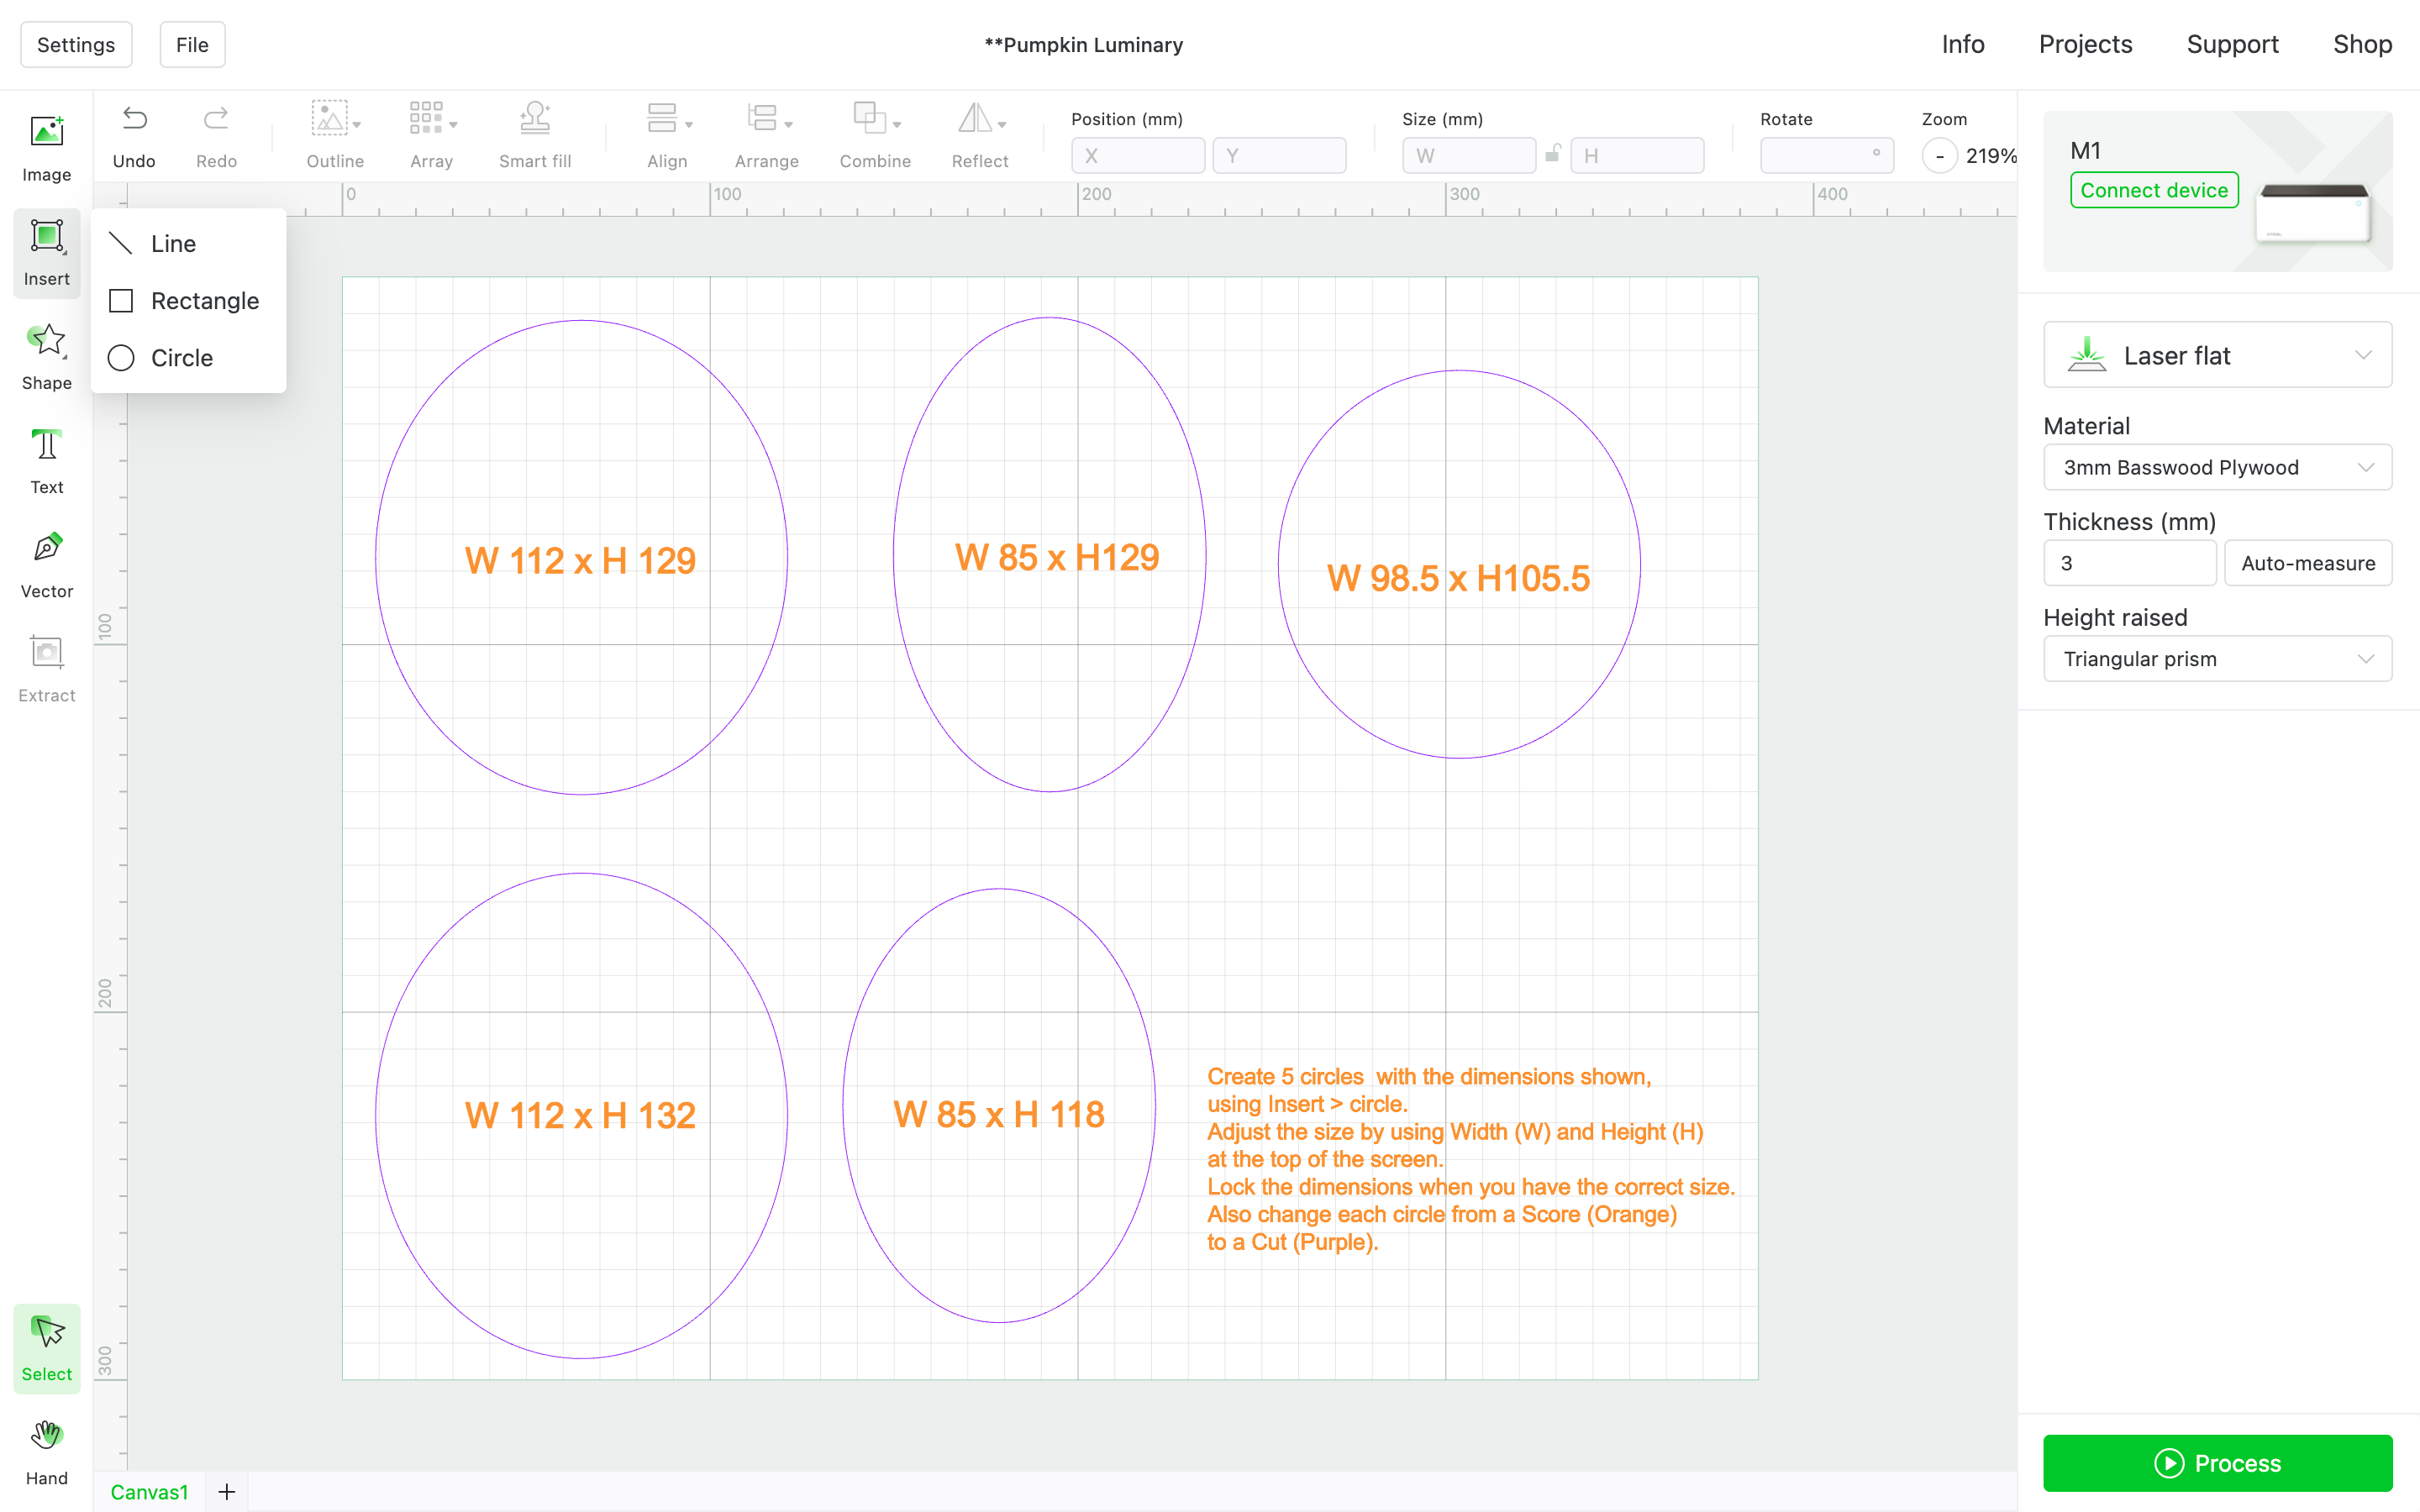


Step2


Step3
The Pumpkin Luminary will take about 45 to 60 minutes to make. It depends on the time it takes for the glue to dry. You will glue the back and middle layer first. Hold the two layers and make sure they both sit evenly on the counter/table. (As shown in the picture.) I like to use clothes pins to hold the layers together that I'm gluing. It saves you having to use tape and wasting money.
Next you will take the front layer and the base. Put the front layer in the slot on the base. (As shown in the picture. )The front layer sits lower than the other two layers. That's why you glue the other layers two layers first. Add the other two layers that you already glued. If the three layers sit together properly on the base.
Remove them from the base keeping them in position to be glued together.
After the glue dries on the three layers you can then glue them to the base.
It helps to have something to support it while it's drying so it doesn't fall over.
You can use scrap pieces of wood if you want (As shown in the picture). Just as long as it doesn't fall over. The last thing is to glue the stem on your pumpkin. Enjoy!
I used a battery operated tea light candle for the luminary.
I hope this tutorial helps and inspires you to create! I also hope hope that I shared the file properly!
Remixes


You may also like

Filigree Pumpkin Wall Hanging with Decorative Leaves


Jack-o'-lantern - Shadow Box


Halloween Lantern / Wooden Lantern


Smiling Jack-o'-lantern Pumpkin Tabletop Sign

'/%3e%3cdefs%3e%3clinearGradient%20id='paint0_linear_1433_15675'%20x1='12'%20y1='3.25'%20x2='16.6891'%20y2='20.75'%20gradientUnits='userSpaceOnUse'%3e%3cstop%20stop-color='%23FF5D80'/%3e%3cstop%20offset='1'%20stop-color='%23FF0035'/%3e%3c/linearGradient%3e%3c/defs%3e%3c/svg%3e)
Coffin Candle Holder | Halloween Lantern | Pumpkin, Bats & Ghost Tea Light Box

Halloween Light


Autumnal LED Wooden Lantern with Sliding Door

Candle Holder with Ghosts Halloween Decoration

'/%3e%3cdefs%3e%3clinearGradient%20id='paint0_linear_1433_15726'%20x1='12'%20y1='5.25'%20x2='12'%20y2='18.75'%20gradientUnits='userSpaceOnUse'%3e%3cstop%20stop-color='%23FFC654'/%3e%3cstop%20offset='1'%20stop-color='%23FF8D12'/%3e%3c/linearGradient%3e%3c/defs%3e%3c/svg%3e)
Laser Cut Decorative 3 Layer Pumpkin Autumn Wall Art


Halloween Lantern - Pumpkin

LED Pumpkin Lantern


LED Pumpkin Lantern

Pumpkin and Autumn Leaf Wall Hanging

Wooden Pumpkin Tabletop Sign with Leaf Accents

Sweet Dreams Hexagon Night Light


Pumpkin stand with flower motif for autumn decoration


Wooden Pumpkin Wall Hanging with Leaves and Vines

Spooky Halloween Laser Cut
