

Mini Jack O’Lanterns
 Instruction


Information
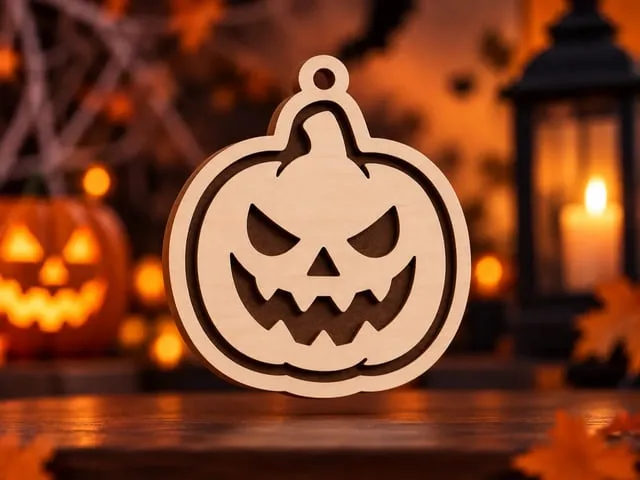
These Mini Jack O’Lanterns are small layered wooden Halloween decorations made from two pieces of plywood.
Instruction
Step1: Choose Your Jack O’Lantern
Each Mini Jack O’Lantern design is provided on a separate canvas.
Choose the design you would like to make.
You can resize these to your prepfered size before Before cutting
Resize the entire design together so that the front face and backing remain exactly the same size.
Do not resize the face and backing separately, as they need to line up when assembled.
Step2: Separate the Two Cuts
Once you are happy with the size, separate the design into its two cutting parts:
BLACK = BACKING
This is the solid pumpkin shape that sits behind the face.
RED = FRONT FACE
This is the detailed pumpkin face that sits on top of the backing.
You will need two pieces of plywood – one for the backing and one for the front.
Step3: Cut the Backing
First, hide or remove the red/front-face cut from your cutting area.
Leave only the black backing cut visible.
Send the backing to your cutting machine and cut it from one piece of plywood.
This creates the solid pumpkin-shaped backing.
Step4: Cut the Front Face
Next, hide or remove the black/backing cut.
Leave only the red/front-face design visible.
Cut this from a second piece of plywood.
This creates the detailed front of your Jack O’Lantern.
You should now have:
1 × wooden backing
1 × wooden front face
Step5: Paint Your Pieces
Paint the two pieces in whatever colours you wish.
For the traditional Halloween look:
- Backing: Black
- Front face: Orange
You can also get creative and use any colours you like.
Allow the paint to dry completely before assembling the pieces.
Step6: Assemble
Once both pieces are completely dry, place the front face over the backing.
Line up the edges carefully so that the two pieces sit neatly together.
The black backing will show through the eyes, nose, mouth and other cut-out areas, giving your Jack O’Lantern its finished layered look.
Glue the pieces together if you want a permanent decoration.
Step7: Seal With Wax
Once the assembled Jack O’Lantern is completely dry, apply a suitable wood wax over the finished piece.
Allow the wax to dry and buff if required.
The wax helps seal and protect the painted wood and gives your Mini Jack O’Lantern a lovely finished appearance.
Remixes



You may also like

Halloween Jack-o'-lantern Pumpkin Tabletop Sign

Halloween Pumpkin Decorations


Wooden Jack-o'-lantern Halloween Tabletop Sign

Wooden Halloween pumpkin for decoration


Addobbi a forma di zucca di Halloween con cuore


Lighted Pumpkin Toilet Paper Holder with Bats for Halloween


Filigree Jack-o'-lantern Pumpkin Tabletop Sign


Halloween Wooden Pumpkin Cutout Vector, Laser Cut Pumpkin Shape, Spooky Fall Decor File

Wooden Jack-o'-lantern Pumpkin Cutouts for Fall Decor


Jack-o'-lantern pumpkin wall sign


Flaming pumpkin


Wooden Jack-o'-lantern Halloween Tabletop Figure


Freestanding Jack-o'-lantern Pumpkin Tabletop Sign

Stacked Halloween Jack-O'-Lanterns – Pumpkin & Bat Wooden Cutout


Happy Halloween Pumpkin and Ghost Sign


Trick or Treat Jack-o'-lantern Pumpkin Halloween Cutouts


Wooden Jack-o'-lantern Pumpkin Tabletop Figure

Jack o Lantern Candle HolderLaser Cut Bundle. Pumpkin Tabletop Figures. Halloween Decor. Lighted Halloween Signs
