
![[Laser cut and engrave] Textured wood relief panel with abstract organic patterns](https://image-res.atomm.com/resource/xart/result/1100039/2f43d87a-3965-4d9e-8452-d2379dd116eb.png?x-oss-process=image/resize,w_1200,h_900,limit_0/interlace,1/format,webp/auto-orient,1)
![[Laser cut and engrave] Textured wood relief panel with abstract organic patterns](data:image/png;base64,iVBORw0KGgoAAAANSUhEUgAAAAoAAAAKCAYAAACNMs+9AAAAAXNSR0IArs4c6QAAABdJREFUKFNjZCASMBKpjmFUId6QIjp4AAppAAuXjCs4AAAAAElFTkSuQmCC)
![[Laser cut and engrave] Textured wood relief panel with abstract organic patterns](https://image-res.atomm.com/resource/xart/result/1100039/2f43d87a-3965-4d9e-8452-d2379dd116eb.png?x-oss-process=image/resize,w_200,h_150,limit_0/interlace,1/format,webp/auto-orient,1)
![[Laser cut and engrave] Textured wood relief panel with abstract organic patterns](https://storage-public.atomm.com/xtool/community/attachment/xtool-community/9077f861-4249-4e19-a884-aa1df017c775.jpg?x-oss-process=image/resize,w_200,h_150,limit_0/interlace,1/format,webp/auto-orient,1)
![[Laser cut and engrave] Textured wood relief panel with abstract organic patterns](https://storage-public.atomm.com/xtool/community/attachment/xtool-community/0693104d-71e6-4ba0-bcdd-19d16dd597e5.jpg?x-oss-process=image/resize,w_200,h_150,limit_0/interlace,1/format,webp/auto-orient,1)
Xtool S1 20w Quick Textured Basswood Relief - A Beginners Guide
 Instruction


Designs Use

Instruction
Step1: Find your muse! Or at least a suitable image.

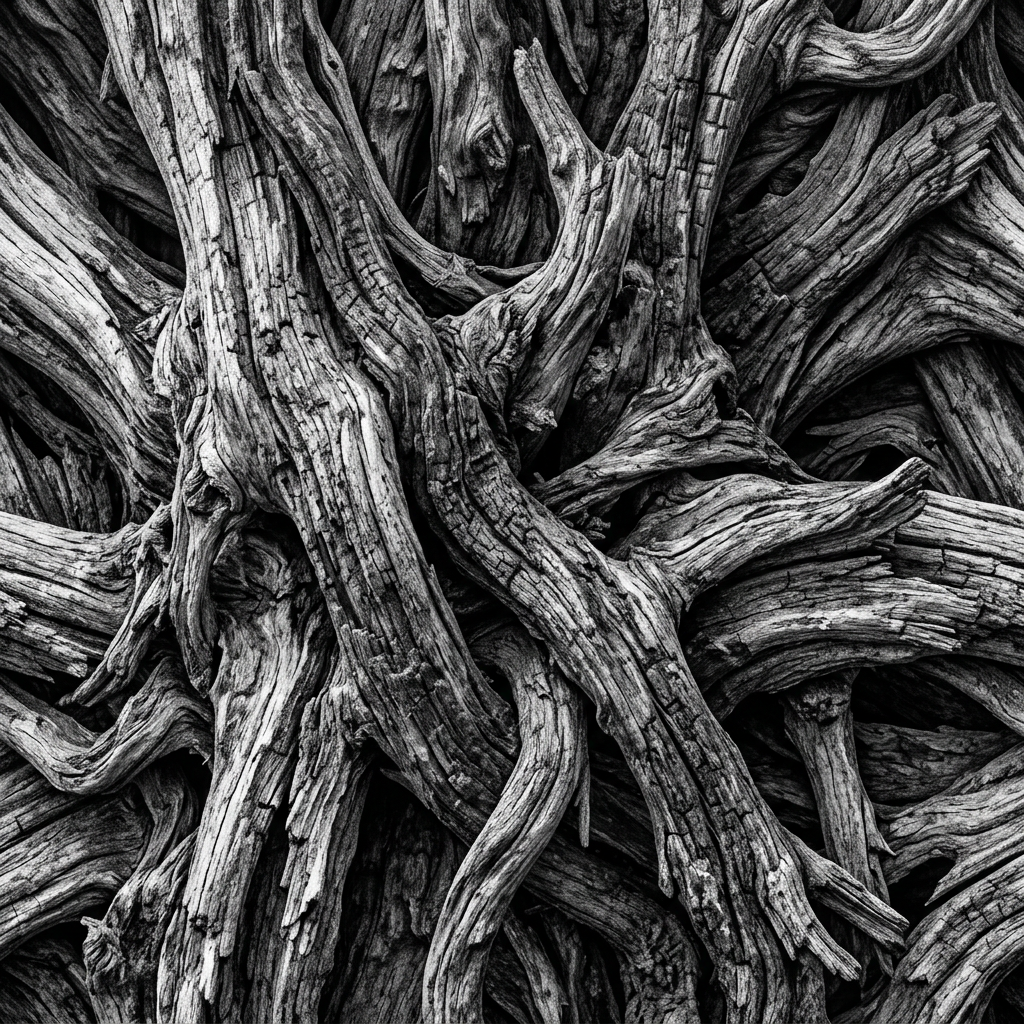
Find a suitable texture or picture you would like to use as a relief.
- High Contrast
- Looks good in black and white.
- Has multiple shades of grey.
I went to Atomm Designs and grabbed a freely available pattern of a tree. I thought it had good depth but not too many that it would wash out. Too many different shades do not engrave reliefs well, and if you do want to use a more complicated image, you need to follow a completely different process. So Practice here first.
Step2: Prep the Image & Start Small...

The process is easy, but each image should follow these steps so you can learn how to adjust your depth, and refine your relief.
- Resize your image into a manageable size. I did 1.5 Inches.
- Make 4 Copies, Line them up next to each other.
Each Copy is going to represent single layer of engraving. We are going to edit each image 1 at a time so we have 4 distinct layers. Starting from left to right. Only start with 4 for now. Save the fancy experiements for later, usually don't need more then 4 layers to get an amazing affect.
Step3: Layer 1 (First Image)

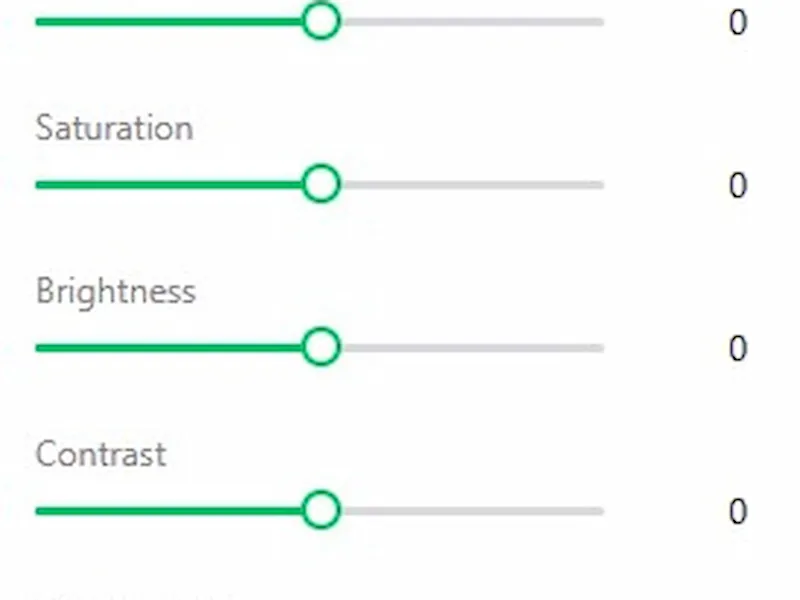
NOTE: If you aren't following along or using a different image. Know that the white/lighter regions are the peaks, while the darker parts are the valleys. So you depending on how you want the relief to look, you may want to invert your image first.
- Select the first image and click adjustment.
- (Optional) Invert.
- Convert to Grayscale.
- Set Greyscale to: 16-245
Step4: Layer 2 (Second Image)
- Select the next image and click adjustment.
- (Optional) Invert.
- Convert to Grayscale.
- Set Greyscale to: 16-130
Step5: Layer 3 (Third Image)
- Select the next image and click adjustment.
- (Optional) Invert.
- Convert to Grayscale.
- Set Greyscale to: 0-65
Step6: Layer 4 (Fourth Image)
- Select the next image and click adjustment.
- (Optional) Invert.
- Convert to Grayscale.
- Set Greyscale to: 0-25
Step7: Set the Engrave Settings for Each Image 1-4
- Image 1: Engrave: Power: 50% Speed: 300mm/s Linces per cm: 200 Bitmap mode: Stucki
- Image2: Engrave: Power: 50% Speed: 200mm/s Linces per cm: 200 Bitmap mode: Stucki
- Image 3: Engrave: Power: 60% Speed: 250mm/s Linces per cm: 200 Bitmap mode: Stucki
- Image 4: Engrave: Power: 60% Speed: 160mm/s Linces per cm: 200 Bitmap mode: Stucki
NOTE ON BITMAP MODE: Do not use Grayscale. Grayscale changes power level dynamically based on each pixel. in order to get depth all pixels need to have the same power level. The intent is to build layers.- Try Jarvis, Stucki, or Atkinson at first.
Step8: The Why?

Before assembling the piece, lets talk about what each layer represents. We will always start with what looks like the darkest(Image 1) to the lightest (Image 4)
Image one is actually the highlights, the top most layer. Each layer then cumulatively adds more depth. We are stacking or removing material deeper with each image. So the dark area's on image 4 would have completed 4 passes. So although it's the lightest image its the deepest and darkest valley.
This is also why each layer has different power levels, it keeps the laser from burning and pre-maturely carbonizing, and punching through material at each layer. We want to build gradual depth.
Step9: Assembling The Relief in Order...

Now to get the desired affect, the relief needs to be assembled in order. So we have to Stack them with Image 1 on top and 4 on the bottom.
Part 1
- Starting on Image 4 (The Lightest) Right Click / Arrange / Send to Back
- Image 3 Right Click / Arrange / Bring to Front
- Image 2 Right Click / Arrange / Bring to Front
- Image 1 (Darkest) Right Click / Arrange / Bring to Front
Part 2
- Select All 4 Images (Control A) or Click and drag. All images should now be in order.
- On the tool bar (See Image) Select Align / Align center.
- On the tool bar (See Image) Select Align / Align center.
This now stacks all 4 images in order. so that they will be engraved in order.
Step10: Duplicate Objects Detected! Don't Worry it's what we need time to process.

Now if you completed your beginner Xtool S1 courses and know how to engrave on a piece of basswood. Go ahead and setup your material like you would do when you normally cut or engrave a piece.
When you click process you will get a Duplicate Objects Detected! message. Confirm that is what you want to do. Just remember, safety first, and we are intentionally doing lower powered multiple engrave passes. So monitor closely.
Step11: Inspect your results!

Congrats! If you made it this far you should have your first relief, and you will either be happy with it or just meh… or even un-happy. So lets talk about some tips and tricks.
Step12: TIPS & TRICKS!
- If you duplicate your relief and seperate them with layers next to each other on the left, and relief on the right, you can see how your layers “built down” and can make minor adjustments to your image to adjust depth and shading.
- Invert your image, not all texutres look good. Sometimes inverting it will make it pop or show more depth perspective.
- If you get blotches, or irregularies due to adjuting power or grayscale, engrave 1 layer at a time, you may be building up too much carbon, so keep a small brush handy to remove built up debris to get a clearn engrave.
- Experiement with different bitmap methods, some images just look better with different patterns.
Remixes



You may also like

Laser Engraved and Painted Goat Wood Art Kit with Cactus Design


Squirrel low relief illustration with nuts and leaves by PeK


Wood Engraved Abstract Figure Art on Tabletop Easel

My selfmade DithX work on my Lm3 with Opt lasers XT50


My first laser from photo
.jpg?x-oss-process=image/resize,m_fill,w_32,h_32,limit_0/interlace,1/format,webp/auto-orient,1)

Paper Cutout Book and Flower Floral Silhouette Set


AI designed Basketball shoes

Lead Engraving - Shadow Casting


Experiment on 23 mm thick of plywood


Photo Engraving paper


Cell Holder


Laser Cut Metal Sheet with Circular Pattern Design


Laser Cut and Engraved Assorted Graphic Designs and Quotes


Laser Engraved Dolphin Artwork


First Glass on an Xtool M2


Abstract black and white swirl patterns with blurred face


Trees And A Picnic Table Silhouette | Tree Silhouette SVG | Forest Vector | Landscape |


mind flyer puzzle
