
![[Laser cut and engrave] Silver Dragon Wall Plaque with Intricate Forest Background](https://storage-public.atomm.com/xtool/community/attachment/xtool-community/6d3b13aa-b5a5-48d2-b13a-3c0b91494618.gif)
![[Laser cut and engrave] Silver Dragon Wall Plaque with Intricate Forest Background](data:image/png;base64,iVBORw0KGgoAAAANSUhEUgAAAAoAAAAKCAYAAACNMs+9AAAAAXNSR0IArs4c6QAAABdJREFUKFNjZCASMBKpjmFUId6QIjp4AAppAAuXjCs4AAAAAElFTkSuQmCC)
![[Laser cut and engrave] Silver Dragon Wall Plaque with Intricate Forest Background](https://storage-public.atomm.com/xtool/community/attachment/xtool-community/ebe61d63-0d69-4dd0-88ff-9ba2ed365cb2.png?x-oss-process=image/resize,m_fill,w_160,h_120,limit_0/interlace,1/format,webp/auto-orient,1)
![[Laser cut and engrave] Silver Dragon Wall Plaque with Intricate Forest Background](https://storage-public.atomm.com/xtool/community/attachment/xtool-community/d8725ea2-970b-4896-9f39-d4d33deff1f0.jpeg?x-oss-process=image/resize,m_fill,w_160,h_120,limit_0/interlace,1/format,webp/auto-orient,1)
![[Laser cut and engrave] Silver Dragon Wall Plaque with Intricate Forest Background](https://storage-public.atomm.com/xtool/community/attachment/xtool-community/599e40f5-a283-4f86-b371-53e9a3c2bd83.jpeg?x-oss-process=image/resize,m_fill,w_160,h_120,limit_0/interlace,1/format,webp/auto-orient,1)
![[Laser cut and engrave] Silver Dragon Wall Plaque with Intricate Forest Background](https://storage-public.atomm.com/xtool/community/attachment/xtool-community/2c771f60-fed0-4f25-94ce-d1041143e30f.jpeg?x-oss-process=image/resize,m_fill,w_160,h_120,limit_0/interlace,1/format,webp/auto-orient,1)
![[Laser cut and engrave] Silver Dragon Wall Plaque with Intricate Forest Background](https://storage-public.atomm.com/xtool/community/attachment/xtool-community/c0420d07-42b0-4012-9345-a2346dff39a4.jpeg?x-oss-process=image/resize,m_fill,w_160,h_120,limit_0/interlace,1/format,webp/auto-orient,1)
3D浮雕龙
 教程
教程3d emboss
.xs
应用场景
激光加工
机器与模块

xTool F1 Ultra
20W材料兼容的 xTool 机器
P3
F2
F2 Ultra UV
F2 Ultra(Single)
F2 Ultra
F1
F1 Lite
S1
P2S
P2
M1 Ultra
M1
D1 Pro 2.0
D1 Pro
D1
Laserbox
M2
使用的材料

黑色相干纸

方形岩石杯垫

206
3704
设计使用

教程
1
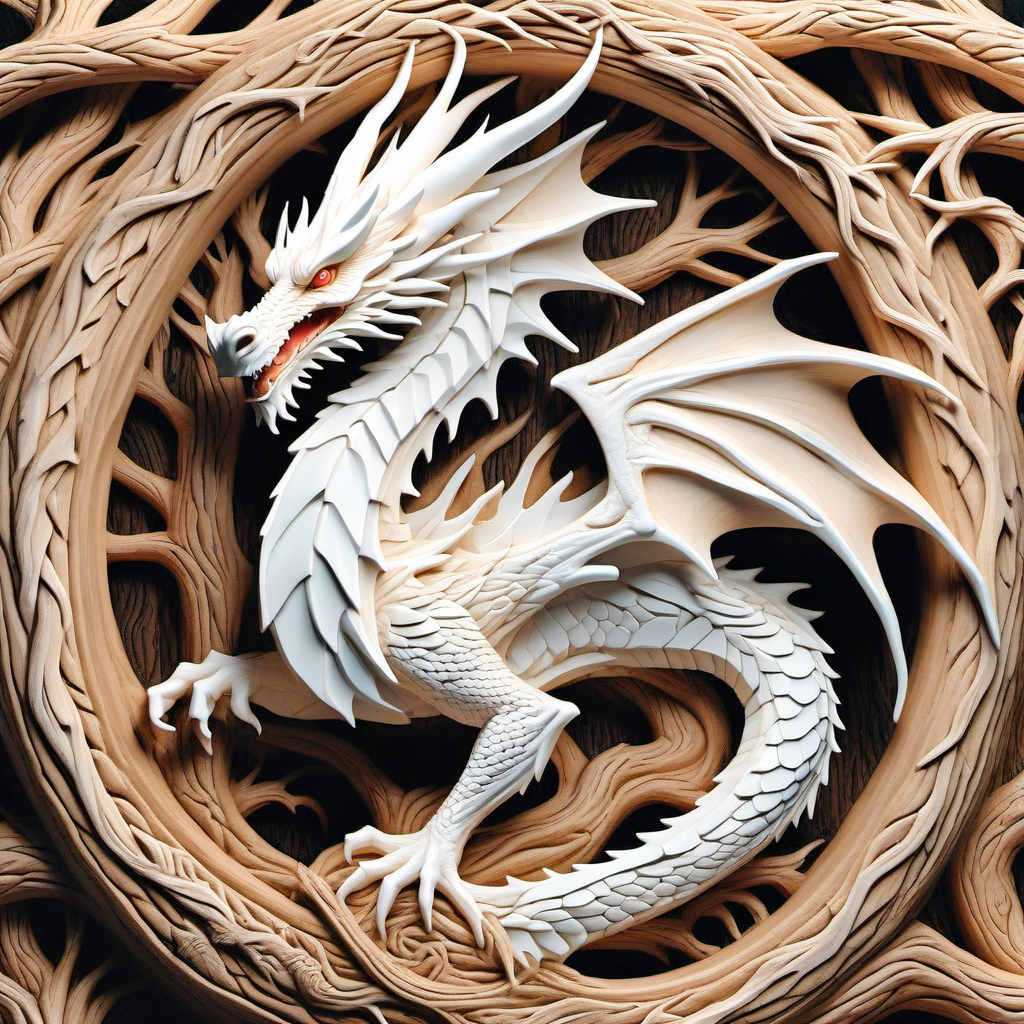
步骤1: 选择一个3D设计

预览
为了
开始,你可以选择Xtool预制的一张图片,自己制作。
附带的项目有多个画布,展示不同的步骤和流程。
我建议你用夹具,避免在底座上留下痕迹,并且能把石板拉出来再放回原位。
2
步骤2: 灰度/深度图

预览

预览
我建议你复制一张照片,这样一个是灰度,另一个是倒置的。
灰度版本将作为压印的深度图。
倒置的那个将作为第二个通过二极管模式,减轻凸起部分的重量。
3
步骤3: 压花
先做压花工作,F1 Ultra大约需要5小时左右,不同功率的机器时间可能会差别很大。
4
步骤4: 清理
这时你会有一吨灰尘,可以刷掉或用水冲洗,让它干燥。
可选喷黑色底漆以增强对比度。
5
步骤5: 再用二极管做第二次检测
你可能想通过快速做第二遍让凸起的细节更突出。
6
步骤6: 可选干刷

预览
在凸起的主体上快速用干刷刷,细节会更加突出。
完成后,你可以喷一层清漆,确保油漆不会掉落。
评论
二创



您可能也喜欢


描绘黑底奇幻龙的壁画

5
14

龙过山车
1
23

带有奇幻龙图案的圆形木质代币
0
4

龙过山车
1
11

龙灰鳞

0
4

龙过山车
3
10

在AImake 中发现了这个
2
14

精致的龙形浮雕壁画牌匾

5
21

方形石头过山车,配有详细的龙类插画
0
9

龙过山车
1
9

描绘中世纪城堡前喷火龙的墙面浮雕

1
5

龙墙牌匾上描绘了复杂的奇幻山景
12
88

装饰性圆形木龙雕刻
27
213

龙 |深度浮雕 |动物 巴布亚新几内亚 |飞龙

200
900

龙壁迷宫

8
7

龙
0
5

我经常玩和尝试,测试能释放多少颜色的极限。我也看看自己能写得多细致。然后我把它们挂在墙上。

22
65

描绘奇幻龙的木质墙牌

8
59