
A beginner cake does not need to look like a beginner made it. The trick is picking a decorating method that matches your actual skill level instead of copying a bakery cake that took years of practice to pipe.
The short answer:
- Start with a crumb coat — a thin layer of frosting that seals in crumbs before the final coat.
- Buttercream piping is the most forgiving decoration for beginners — simple swirls and borders hide imperfections.
- Chocolate ganache and fresh fruit cover a cake fast with almost no piping skill required.
- A cake topper is the easiest decoration of all — it needs zero frosting skill and instantly makes a plain cake look finished.
- Chill between steps. A cold cake holds toppings, drips, and toppers far better than a room-temperature one.
What You Need
- An offset spatula and a bench scraper for smoothing frosting
- Piping bags and at least one star tip and one round tip
- A turntable, or a plate you can spin by hand
- Buttercream or ganache, plus any fresh fruit or sprinkles you want to add
- Optional: a laser-cut or 3D-printed cake topper for an instant finished look
How to Decorate a Cake with Buttercream

- Crumb coat first. Spread a thin layer of buttercream over the whole cake and chill it for 15–20 minutes.
- Apply the final coat generously, then smooth it with a bench scraper held at a steady angle while turning the cake.
- Pipe a simple border around the top or bottom edge with a star tip — a repeated shell or rosette pattern is the easiest place to start.
- Add height with rosettes or dollops across the top if you want more coverage without more piping skill.
How to Decorate a Cake with Chocolate

- Make a simple ganache by heating equal-ish parts cream and chopped chocolate until smooth.
- Chill the cake first so the drip sets instead of sliding straight down.
- Spoon ganache along the edges and let it drip down the sides before filling in the top.
- Add texture with chocolate shavings, curls, or broken pieces of chocolate bark on top.
How to Decorate a Cake with Strawberries

- Wash and fully dry the strawberries — any moisture will make frosting slide.
- Slice some in half and leave others whole for height and variety.
- Arrange from the center out or in a ring around the top edge, largest berries first.
- Brush with warmed jam or glaze for shine and to help the berries stay put.
Decorate with a Cake Topper
If piping is not clicking yet, skip it: a topper turns a plain frosted cake into a finished one in seconds, with zero frosting skill involved. Laser-cut acrylic and wood toppers can be personalized with a name, age, or message, and a lot of them are designed to be reused for the next birthday too.
For more inspiration beyond the picks below, browse the full custom cake topper collection, this set of laser-cut topper and cake decoration designs, or these ready-made birthday decoration sets for matching toppers and accents. A few favorites to start with:
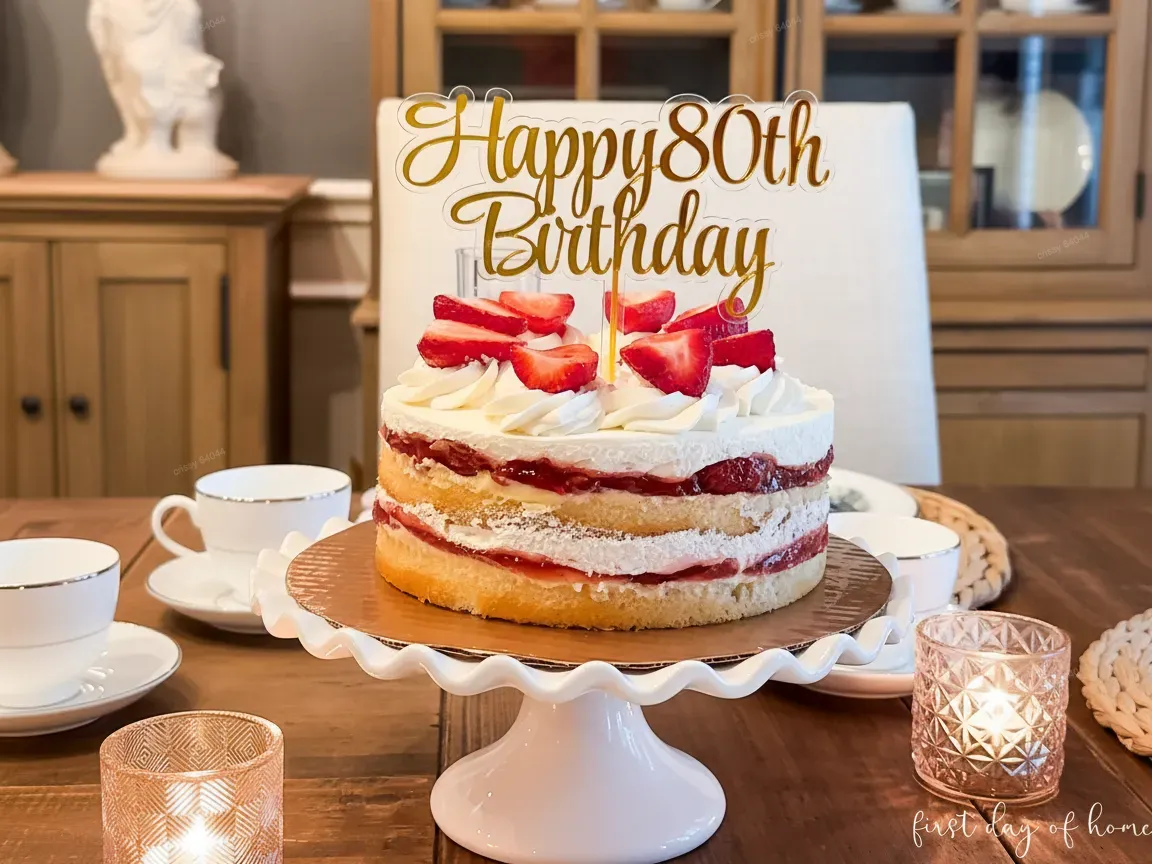
1. Gold Mirror Acrylic Birthday Topper
- Material: Acrylic (mirror gold)
- Process: Laser cutting
- Type: Cake Topper
Mirror-gold acrylic cut as joined script and pushed straight into the cream. Because the letters connect, the whole phrase lifts out as one piece with no fiddly assembly, and the mirrored face bounces candlelight — which is why a plain berry-topped sponge suddenly photographs like a bakery order.
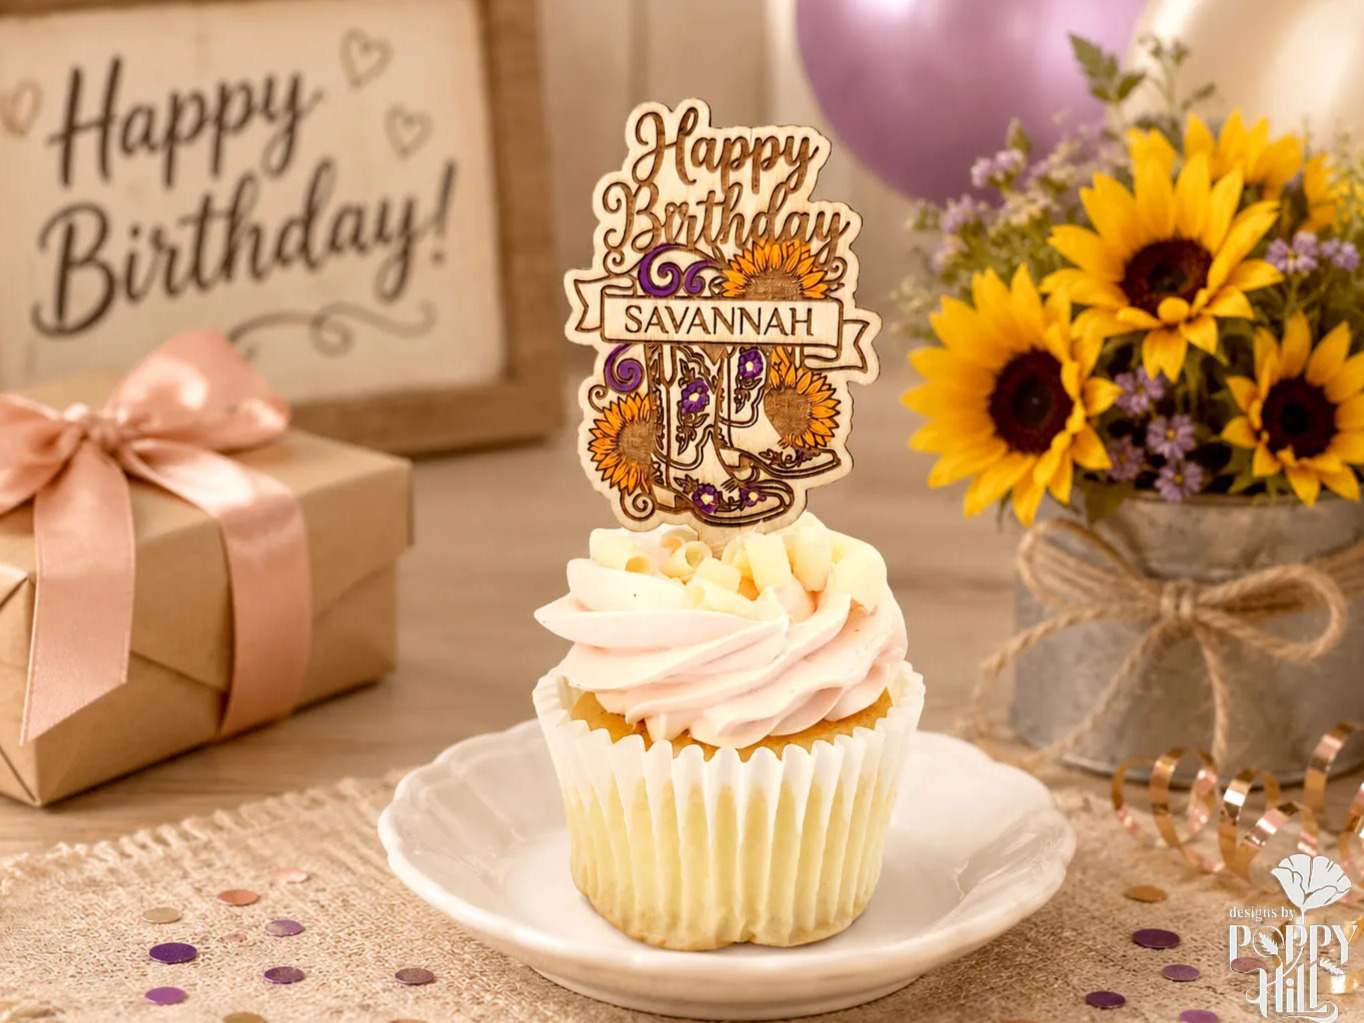
2. Sunflower Cowgirl Boots Cupcake Topper
- Material: Wood
- Process: Laser cutting and engraving
- Type: Cupcake Topper
The same personalize-and-cut approach scales down to cupcakes too — swap in a name and theme, and one file becomes a whole tray of matching toppers.
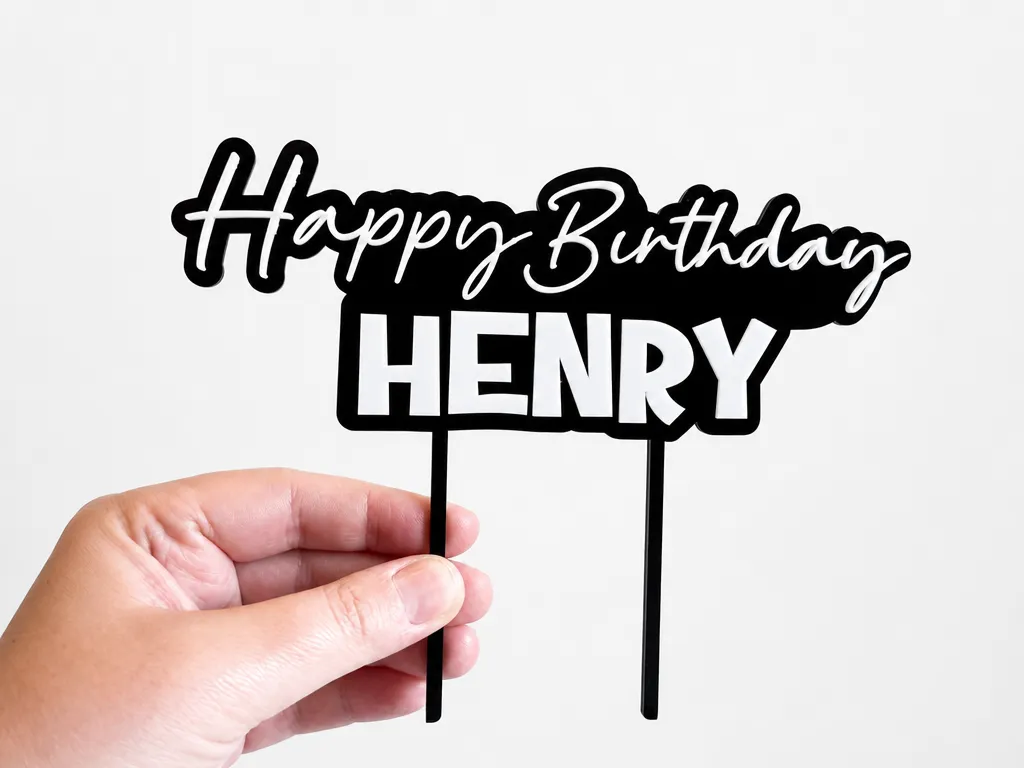
3. Layered Acrylic Name Topper
- Material: Acrylic (layered, two-tone)
- Process: Laser cutting
- Type: Cake Topper
Two layers of contrasting acrylic, cut and stacked, give a name topper depth and a bit of shadow without any painting or shading skill involved.
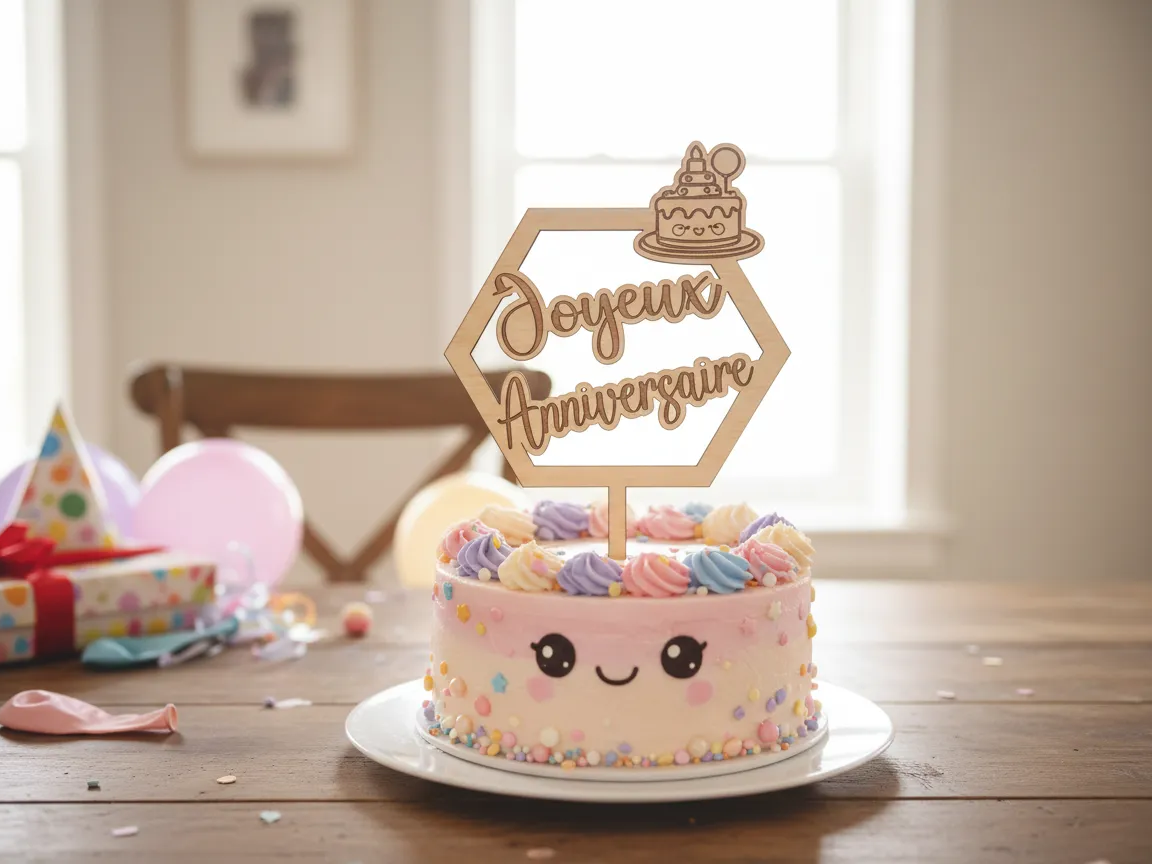
4. Kawaii Anime-Style Birthday Topper
- Material: Wood
- Process: Laser cutting and engraving
- Type: Cake Topper
Kawaii and anime-style art is one of the most requested topper looks in the community — a cute smiling face and hand-lettered message, cut and engraved in one pass. Browse more custom cake topper designs for other character and hand-lettered styles.
How to Design a Custom Cake Topper
None of the community designs above quite match what you pictured? Atomm’s free Cake Topper Generator builds a custom cutting file from scratch, no design software required. Start from a text template, or turn a photo into a portrait-style topper, then export a vector file ready for a laser cutter.

- Choose a mode. Text for names, dates, or a short message; Framed for a bordered layout; or Portrait to turn a photo into a character-style topper.
- Personalize it. Type your wording and pick a font for a text topper, or upload a clear, front-facing photo and choose a style — birthday, wedding, or graduation — for a portrait one.
- Set the size and stake. Enter the topper’s width and height, then add a stake so it stands upright in the cake.
- Export and cut. Download the vector file for any laser cutter, or buy a pre-matched acrylic or wood blank straight from the tool.
In Text mode, typing a message updates the cut lines on the canvas in real time, with a live size preview and font picker before exporting.

Portrait mode works the same way but starts from a photo instead of words: upload a picture, pick a style like birthday, wedding, or graduation, and the tool builds a character-style cutout ready to personalize further.

Beginner Mistakes to Avoid
- Decorating a warm cake. Frosting melts and slides on a cake straight out of the oven — cool it completely first.
- Skipping the crumb coat. Without it, loose crumbs pull into the final layer of frosting and show through.
- Overfilling piping bags. A half-full bag is easier to control than a full one.
- Adding fresh fruit too early. Berries release juice over time and will bleed into frosting if placed hours ahead.
The bottom line
Every beginner-friendly cake decoration shares the same shortcut: pick a technique that hides small mistakes instead of one that requires a perfectly steady hand. Buttercream borders, a chocolate drip, fresh fruit, or a topper all get you to a finished-looking cake — and a topper gets you there without touching a piping bag at all.
Frequently Asked Questions about Cake Decorating for Beginners
What is the easiest way to decorate a cake for a beginner?
A cake topper is the fastest route to a finished-looking cake with no piping skill needed — just frost the cake smooth and set the topper on top. For a hands-on option, a chocolate ganache drip is more forgiving than piped buttercream.
How do you decorate a cake with chocolate?
Make a simple ganache from warmed cream and chopped chocolate, chill the cake so the drip sets rather than sliding, then spoon it along the edges before filling in the top.
How do you decorate a cake with strawberries?
Wash and thoroughly dry the berries, halve some and leave others whole, then arrange them from the center outward or around the top edge. A brush of warmed jam adds shine and helps them stay in place.
How do you make a cake topper?
A laser cutter makes this simple: design or download text or a shape, cut it from thin acrylic or wood, and glue it to a stick or skewer. Community files like the ones above are ready to open, personalize, and cut without designing from scratch.
What tools does a cake-decorating beginner actually need?
An offset spatula, a bench scraper, one piping bag with a star and a round tip, and a turntable (or a plate you spin by hand) cover almost every beginner technique. Everything past that is optional until a specific design calls for it.
Make a matching cake topper
Type the name, pick a style and export a cut-ready topper file — free.
