


Laser engraving stainless steel tumblers—especially popular brands like Yeti and Hydro Flask—has become one of the most in-demand applications in the world of personalized products and maker businesses.
Whether you want to create custom gifts, engrave your business logo, or launch a holiday product line, laser engraving powder-coated tumblers is a perfect place to start.
This guide will walk you through the full process of laser engraving tumblers, including machine setup, step-by-step techniques, and creative ideas to sell or gift your finished products.
1️⃣ Why Tumblers Are Ideal for Laser Engraving
- Powder-coated stainless steel provides high contrast when engraved
- Great for personalization: names, monograms, logos, icons
- High perceived value – perfect for gifts, events, brand swag, and online sales
- Popular tumblers like Yeti cups and Hydro Flask bottles are durable, stylish, and laser-friendly
2️⃣ What You Need to Get Started
Before engraving tumblers, gather the following:
- CO₂ or diode laser – CO₂ preferred for faster results, but high-power diodes can work
- Rotary attachment – Required for engraving cylindrical objects like tumblers
- Focus tool or software alignment grid – For precision placement
- Design file – Vector format works best (SVG, PDF, AI)
- Powder-coated stainless steel tumbler – Black, white, or bold colors engrave best
💡 Tip: Most Yeti and Hydro Flask tumblers have durable powder coating that engraves cleanly with great contrast.
3️⃣ How to Laser Engrave a Stainless Steel Tumbler
Step 1: Set Up Your Machine with a Rotary Attachment
- Secure the rotary tool in place and ensure it spins freely
- Connect it properly to your machine’s axis control (Y-axis or A-axis depending on model)
Step 2: Prepare the Tumbler
- Measure the engraving area and align your design accordingly
- Place the tumbler horizontally on the rotary tool
- Use tape or markers to center your design if needed
Step 3: Choose Your Laser Settings
CO₂ Laser (60W–100W):
- Power: 40–60%
- Speed: 300–500 mm/s
Diode Laser (10W–20W):
- Power: 80–100%
- Speed: 150–250 mm/min
- Passes: 1–3 depending on coating
⚠️ Always test on a spare cup or the back side to confirm settings.
Step 4: Send the Design and Start Engraving
- Double-check the focus and rotary alignment
- Monitor the engraving closely for heat marks or slipping
- Allow the tumbler to cool before removing
4️⃣ Post-Engraving Cleanup
- Use a soft cloth or light rubbing alcohol to remove any residue
- For bright contrast, you may wipe with a bit of baking soda + water paste
- Avoid harsh scrubbing, especially on fine powder-coated finishes
5️⃣ Creative Ideas for Engraved Tumblers
Here’s what you can create and sell:
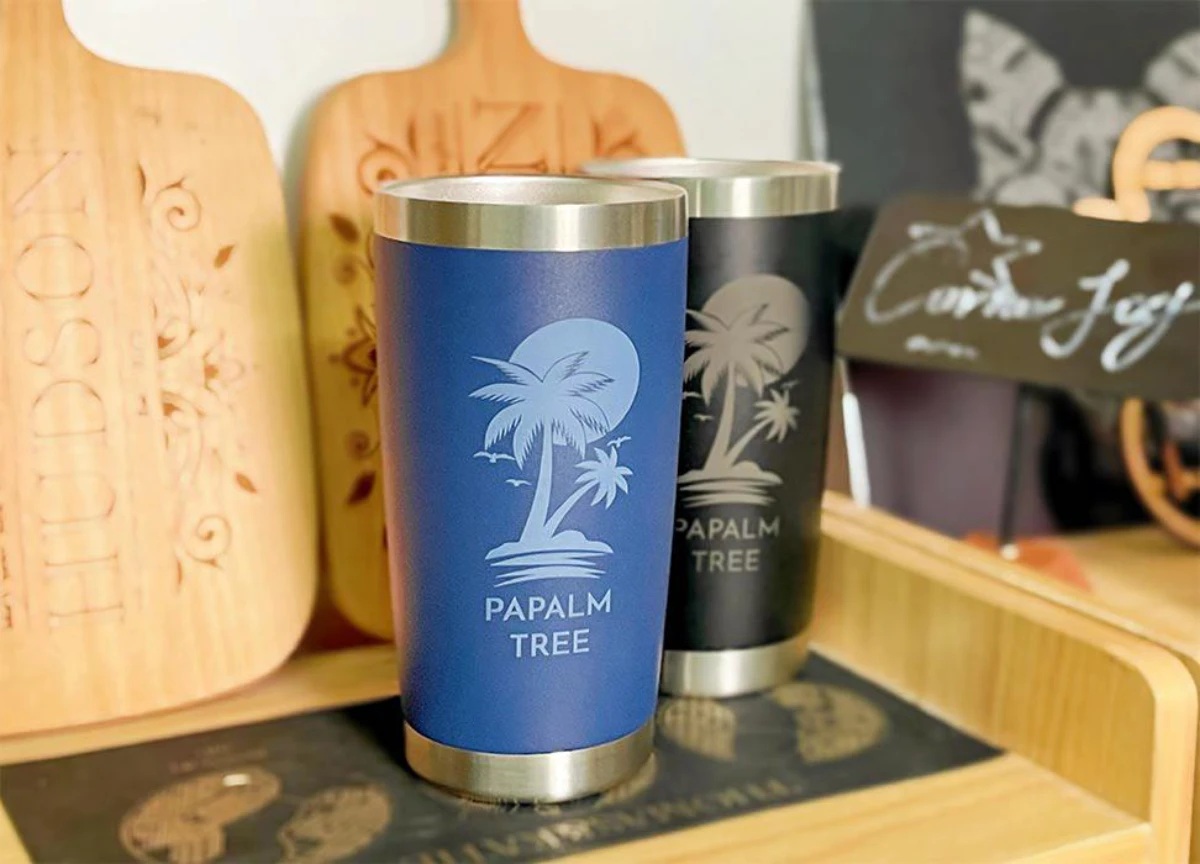
Personalized Lifestyle Tumblers
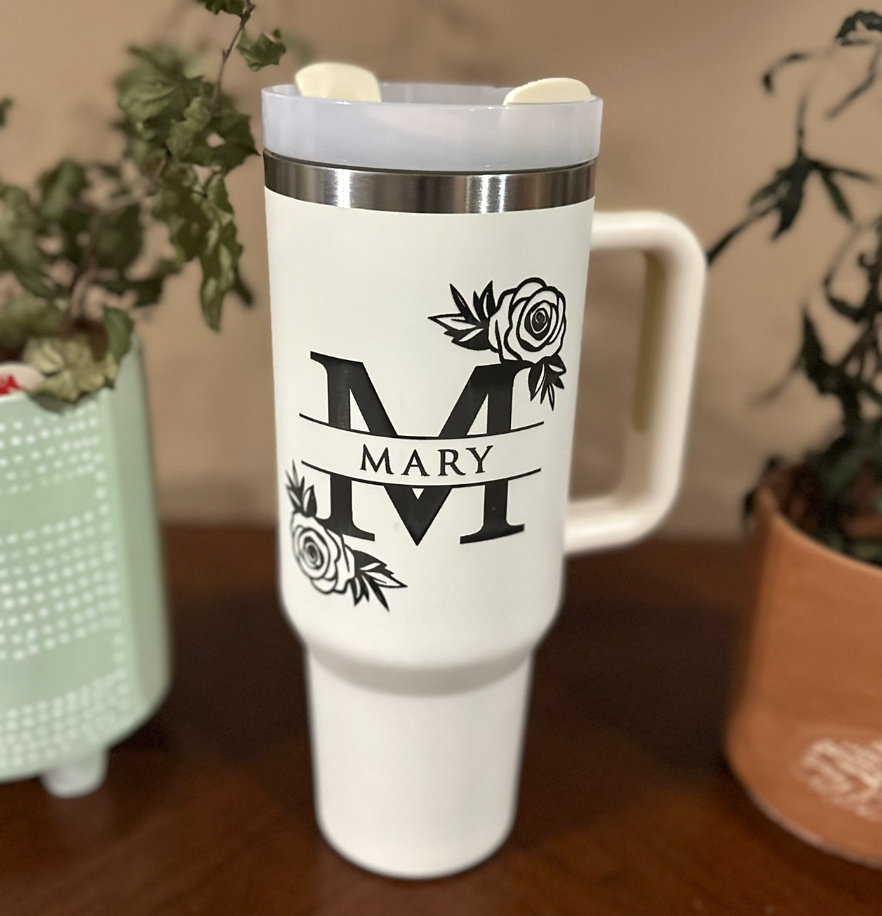
- Monogram or Name Tumblers – Add single initials, full names, or cursive scripts for weddings and birthdays
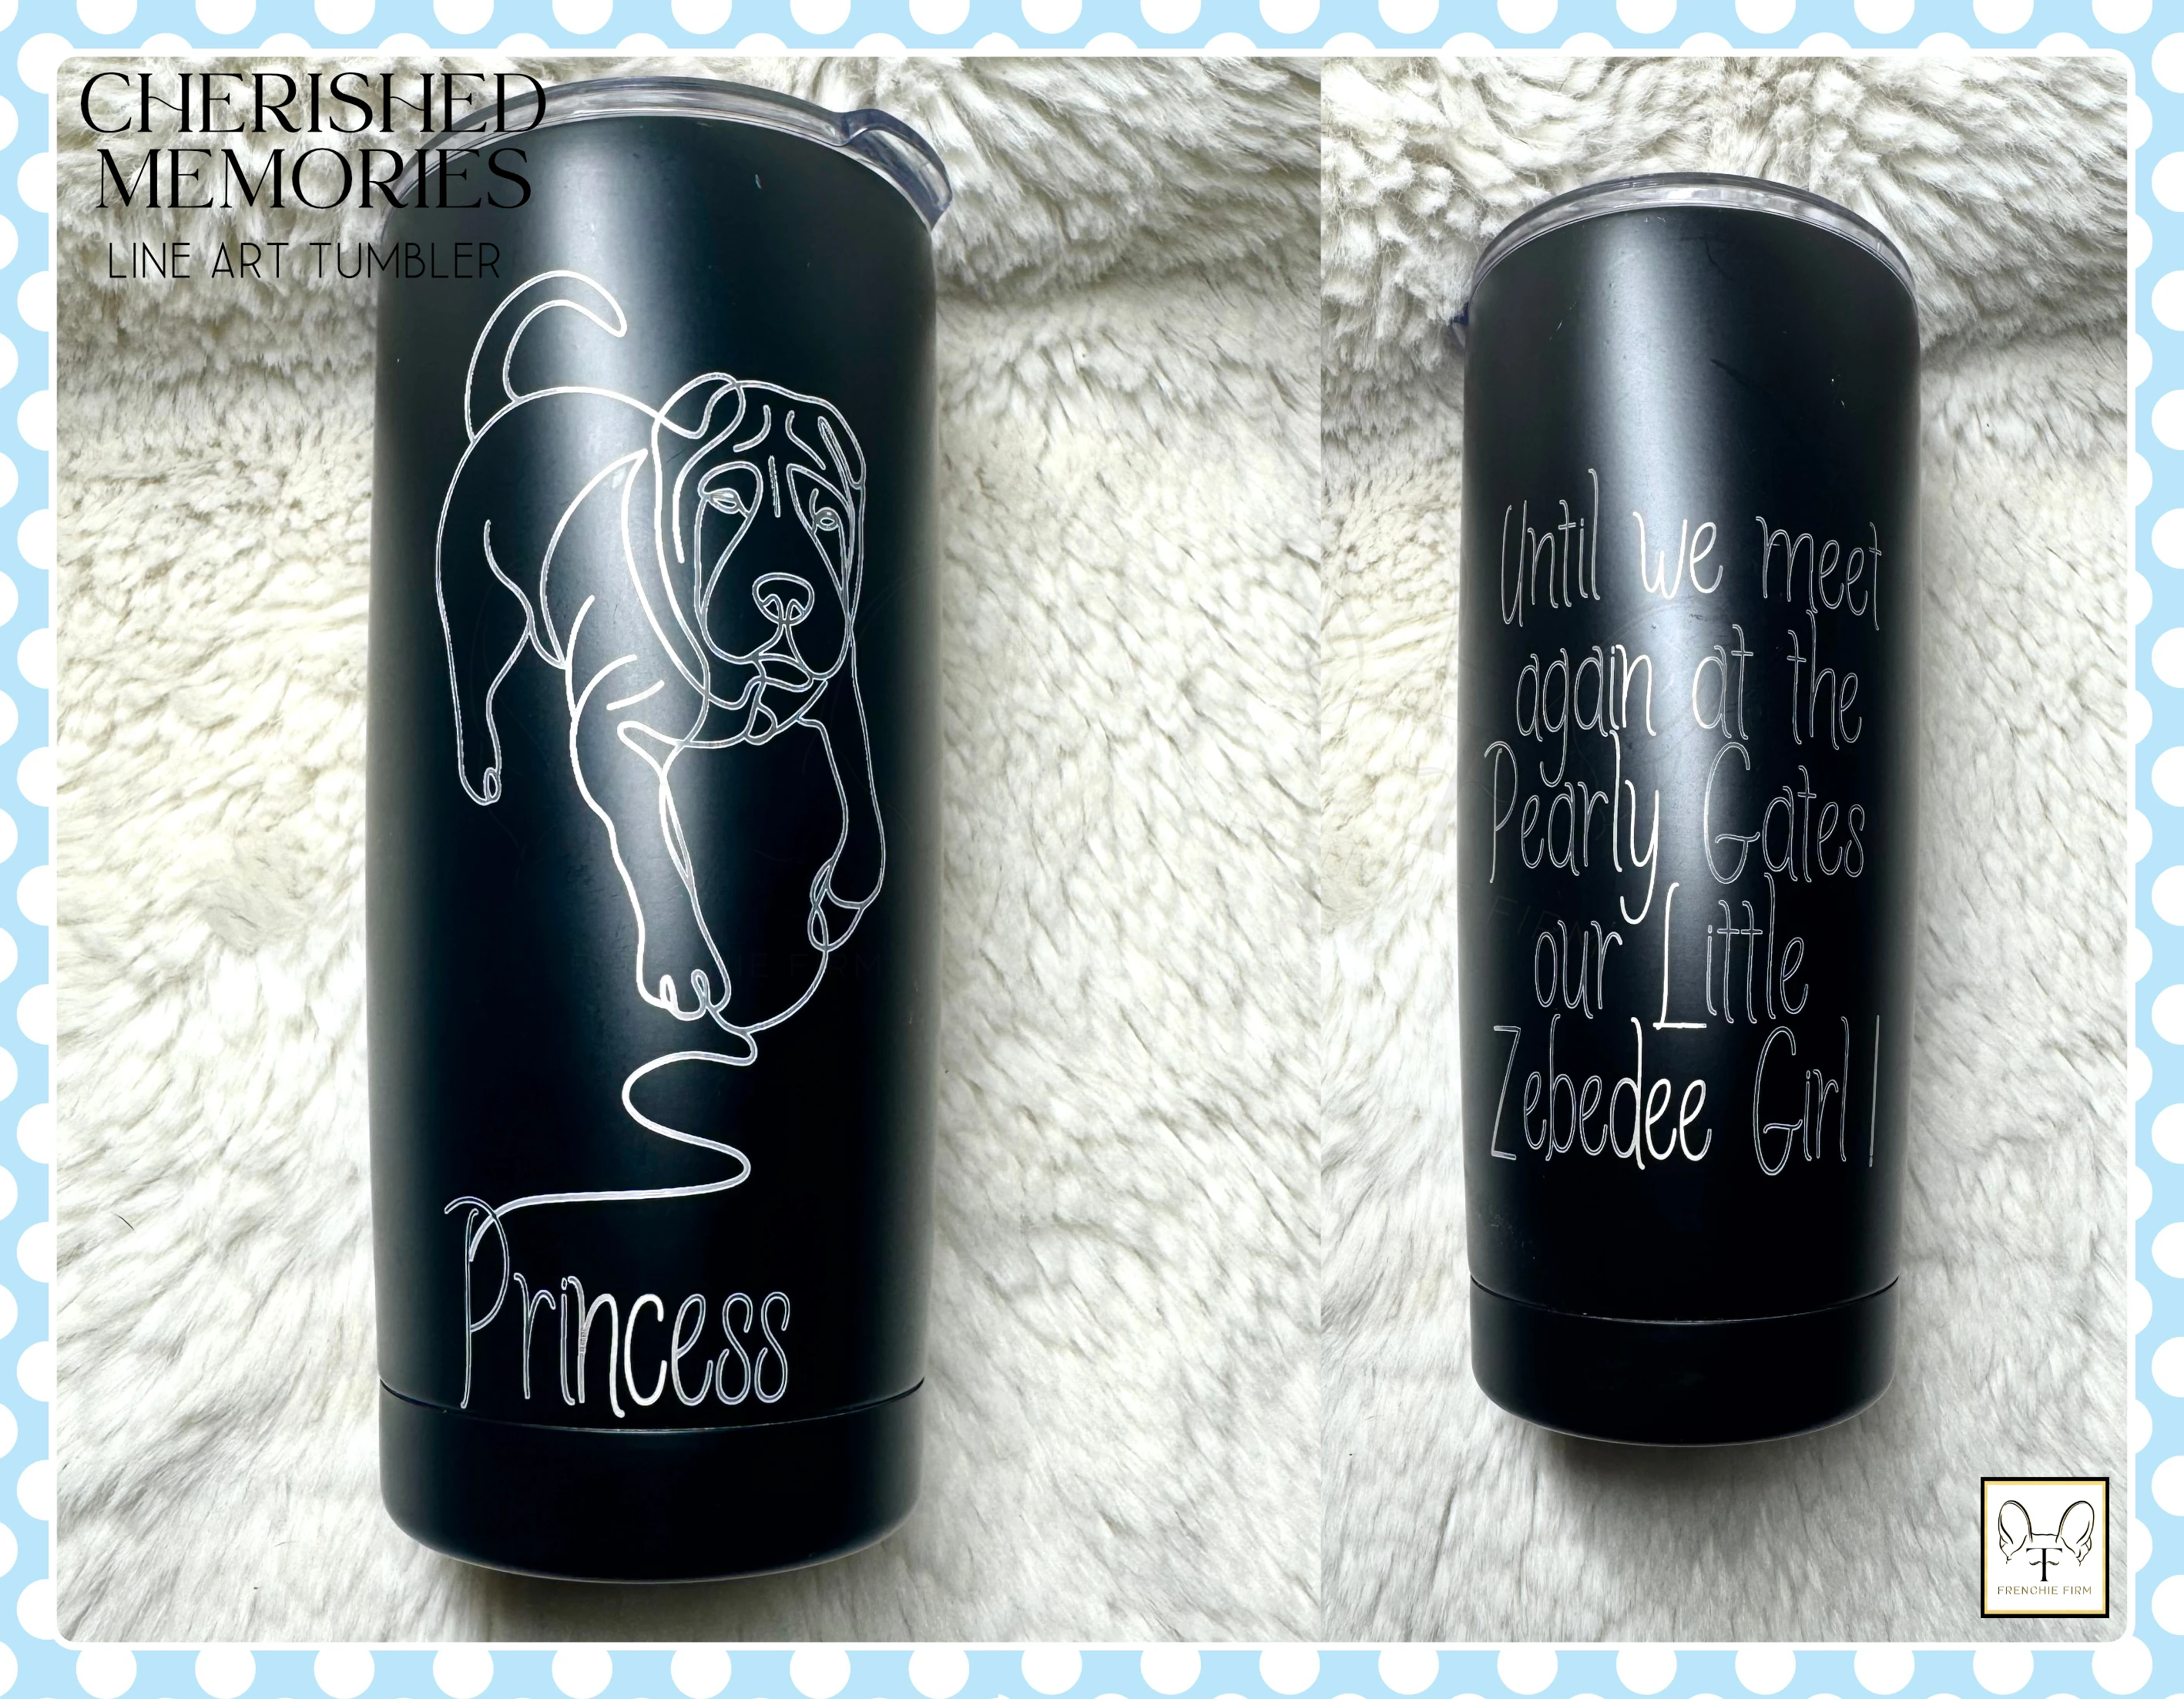
- Photo or Line Art Engraving – Convert a pet photo or family silhouette into an engraved design
- Travel or Hobby Themes – Mountains, maps, camping icons for outdoor lovers
💡 Example: A powder-coated black Yeti tumbler with a laser-engraved hiking trail map and the owner’s name.
Corporate and Branding Projects
- Employee Appreciation Gifts – Engraved company logo + employee name
- Event Swag & Promotional Giveaways – Add the brand mark and event date for conferences or festivals
- VIP Client Gifts – Pair a Hydro Flask tumbler with a custom wooden gift box
💡 These high-value corporate products are perfect for small laser businesses targeting B2B clients.
Holiday & Seasonal Collections
- Christmas & New Year’s – “Merry Christmas 2024,” snowflakes, or “Cheers to 2025” in metallic engraving

- Valentine’s Day or Wedding Season – Couples’ initials, dates, or matching half-heart designs
- Local & Tourist Themes – City skylines, landmarks, or souvenir patterns for gift shops
💡 A limited-edition stainless steel tumbler with seasonal engraving sells well on Etsy and local markets.
Premium & Niche Designs
- Glow-in-the-Dark Inlay – After engraving, add resin or paint for glow effects
- Multi-Surface Engraving – Combine tumbler + lid engraving for a complete set
- Bundle Gift Sets – Offer engraved tumblers with straws, carriers, or hot cocoa kits for Q4 holiday packages
6️⃣ FAQs
Q: Can I engrave any stainless steel tumbler?
A: Yes, but powder-coated tumblers (like Yeti and Hydro Flask) produce the best results due to color contrast. Raw metal may require marking spray.
Q: Do I need a rotary attachment?
A: Yes, for round tumblers. Without it, your design may distort or misalign.
Q: Will engraving damage the tumbler's insulation?
A: No—laser engraving affects only the surface coating, not the internal vacuum layer.
Conclusion
Engraving tumblers is one of the most profitable and eye-catching laser projects for makers and small businesses.
By learning how to laser engrave Yeti, Hydro Flask, and other stainless steel tumblers, you unlock a world of personalized gift ideas, branded products, and seasonal bestsellers.
✨ For more inspiration, browse real engraving projects in the Atomm Community, where makers share tools, designs, and results.